Procedural Screenshots of Windows Data Recovery Software
To make the Windows Data Recovery procedure easy and convenient, please take help of the screenshots given below

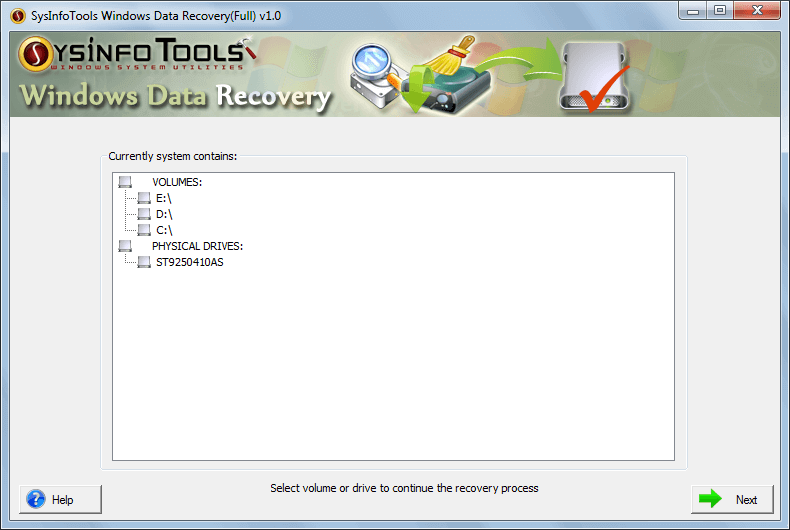
Step 1:
Launch Windows Data Recovery software on your system. Select the volume or drive you want to recover.
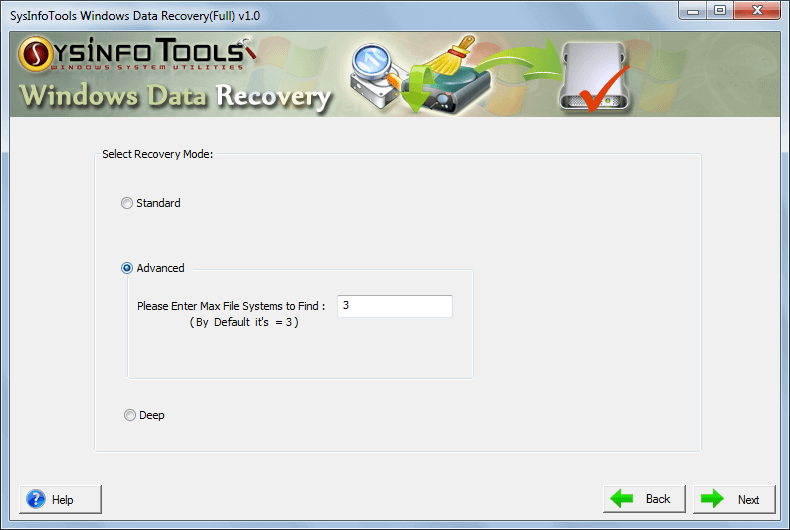
Step 2:
Now select the recovery mode: Standard, Advanced or Deep. Click Next to continue the process.
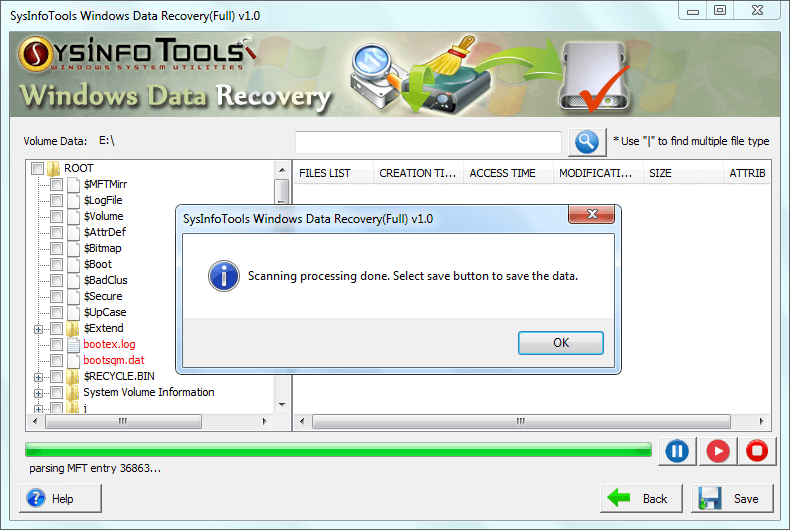
Step 3:
Within a few seconds, the scanning process of selected Volume or Drives will be completed.
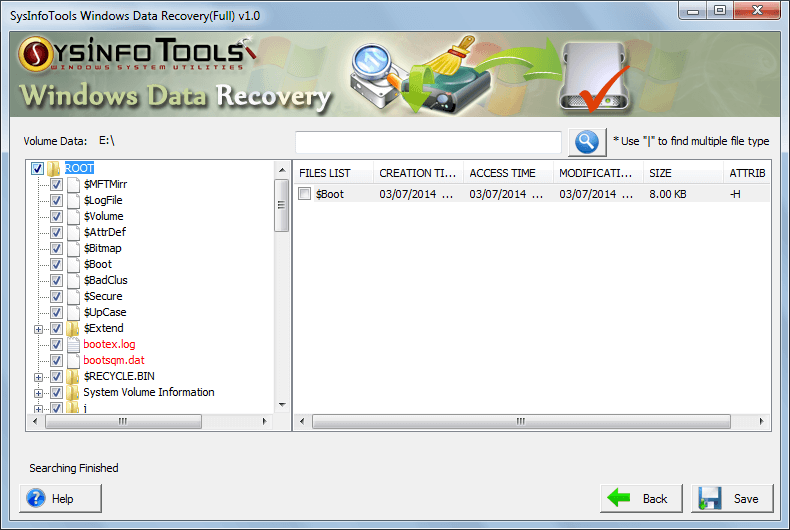
Step 4:
Now expand the Root folders to check your files and their properties before saving them. And then click on 'Save' button.
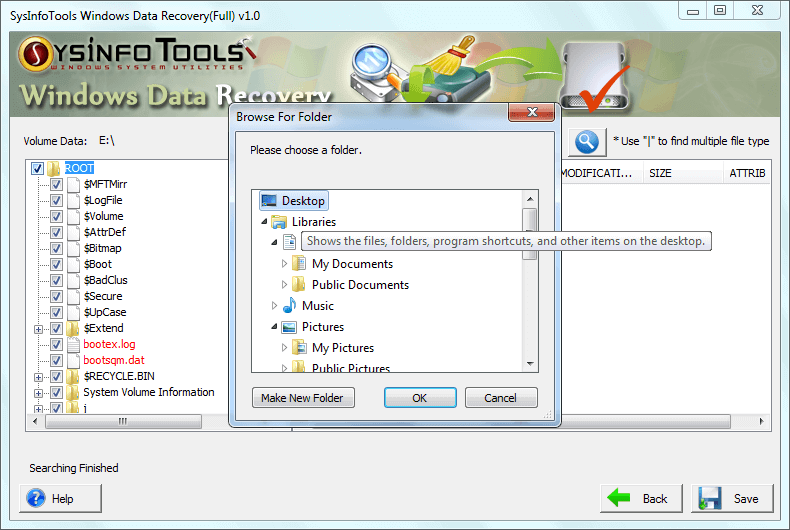
Step 5:
Select a location where you want to save the recovered data, for e.g. Desktop. Click OK to start the saving process.
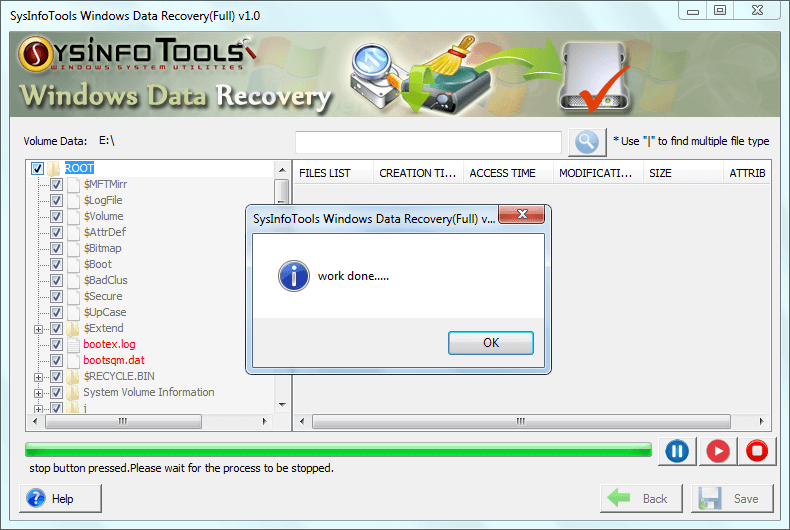
Step 6:
Within a couple of minutes, the saving process will be completed. Click OK.