Install and run the Sysinfo VHDX Recovery Tool with administrative privileges.
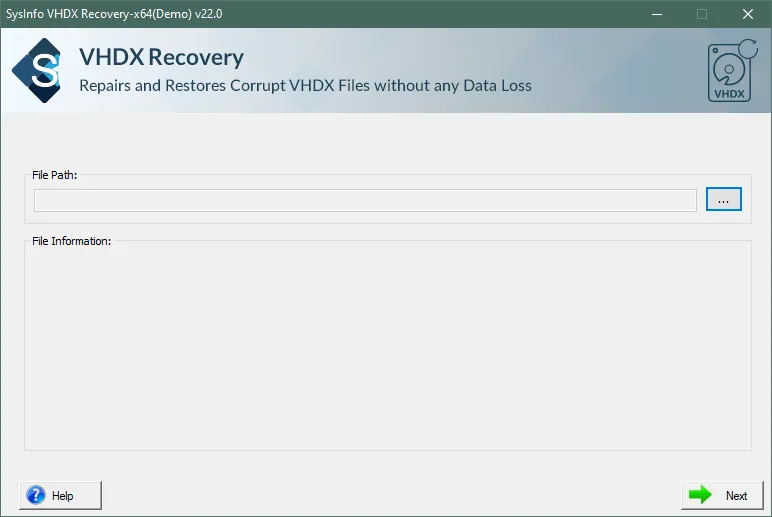
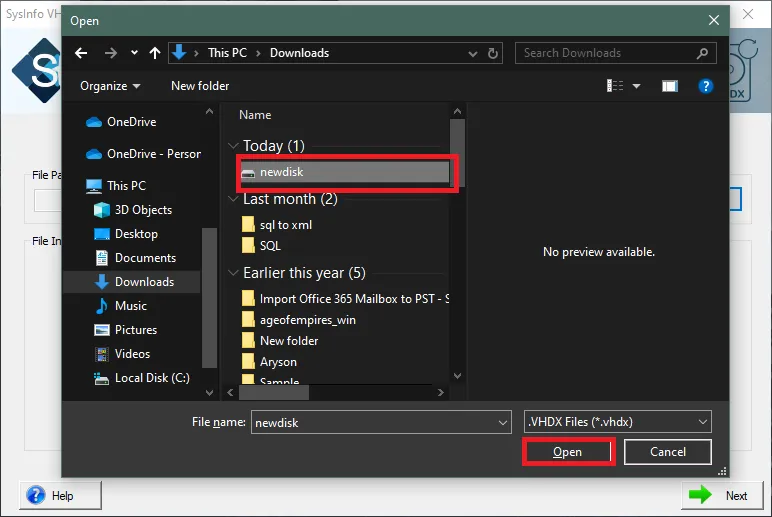
Now, click the Browse button and add the corrupt VHDX image from your system. Then click on the Open button.
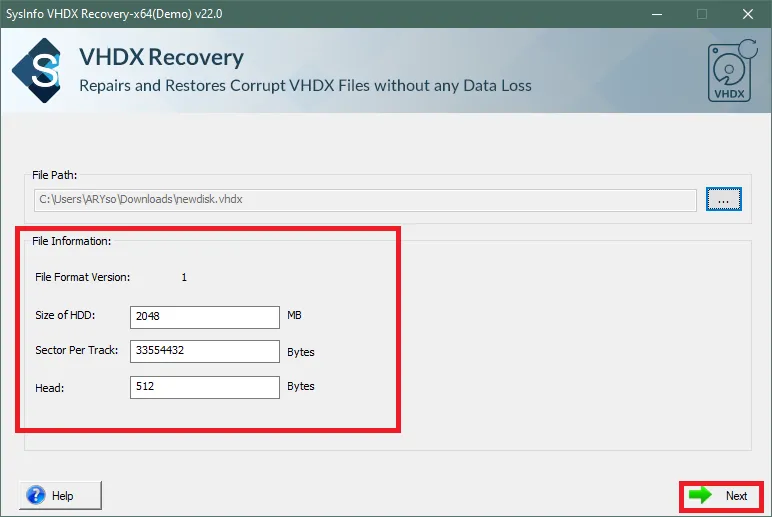
After adding the VHDX Files view the details of the VHDX files in the Advanced Preview Panel. Then click on the Next button.
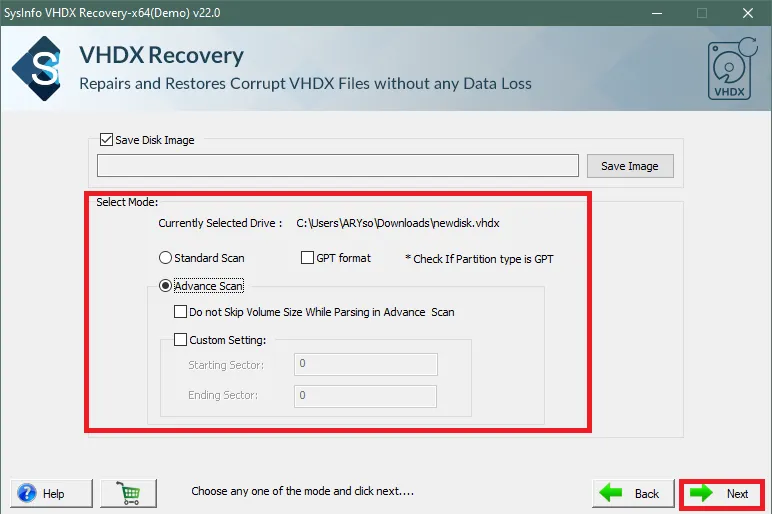
Now, either select the Scan mode as Standard or Advanced. Additionally, select the Desired Features and click on the Next button.
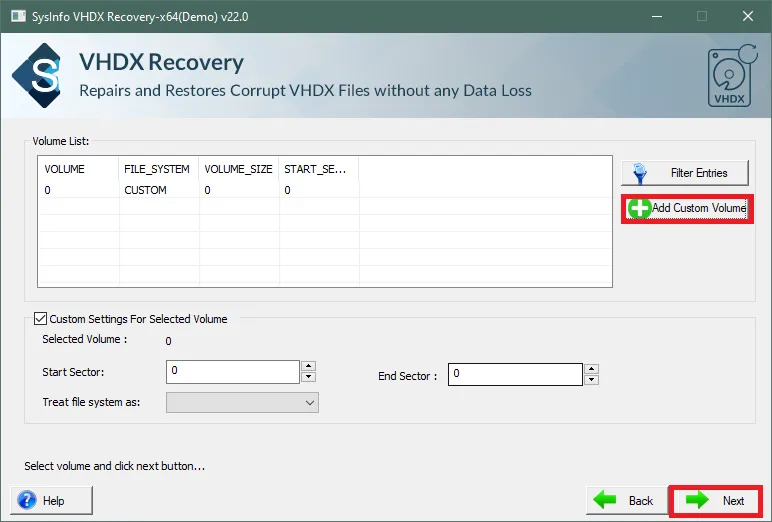
Click on the Add Custom Volume to add disk partitions. Additionally, select the Sectors and click on the Next button.
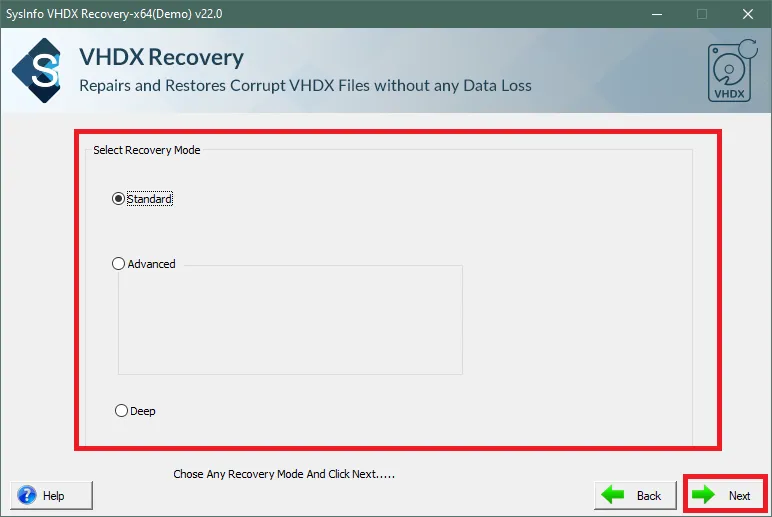
Choose the recovery mode such as Standard, Advanced, & Deep. Then click on the Next button.
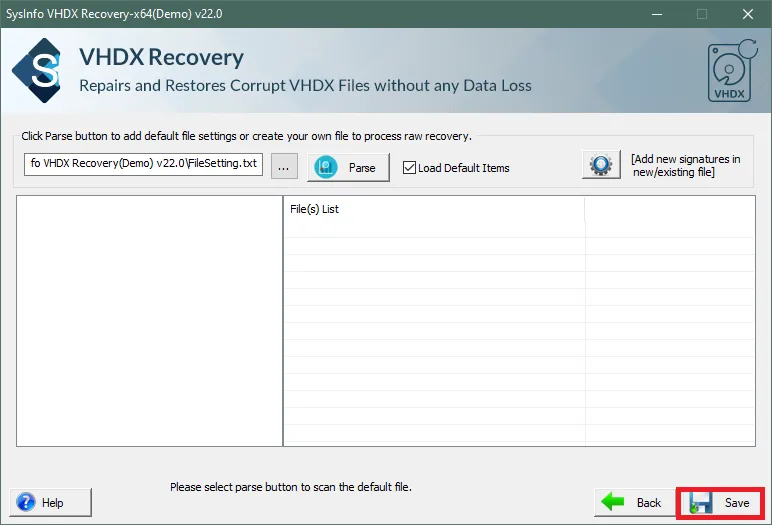
Finally, select the Desired Recovered VHDX Files and click on the Save button.