Download and install the SysInfo Photoshop Recovery Tool as an administrator on your device.

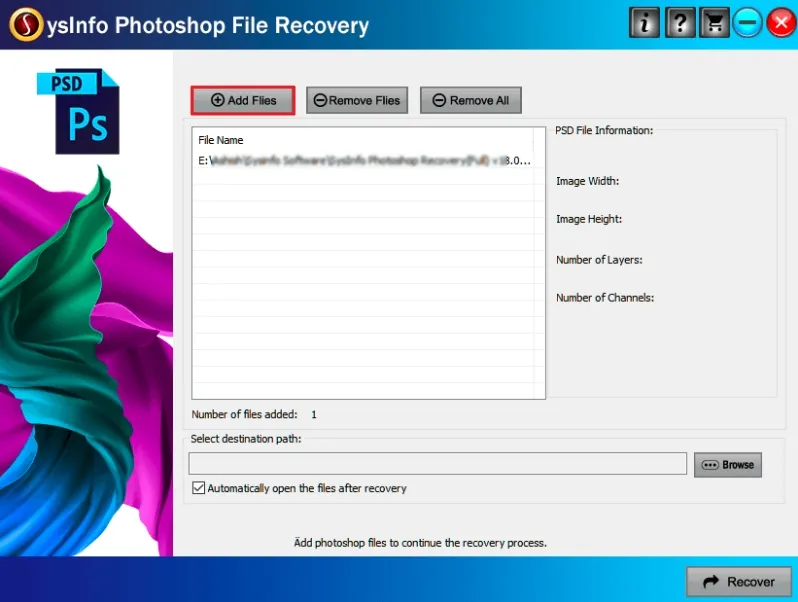
Click on the “Add Files” button to add the corrupt PSD file or you can add multiple corrupt PSD files once.
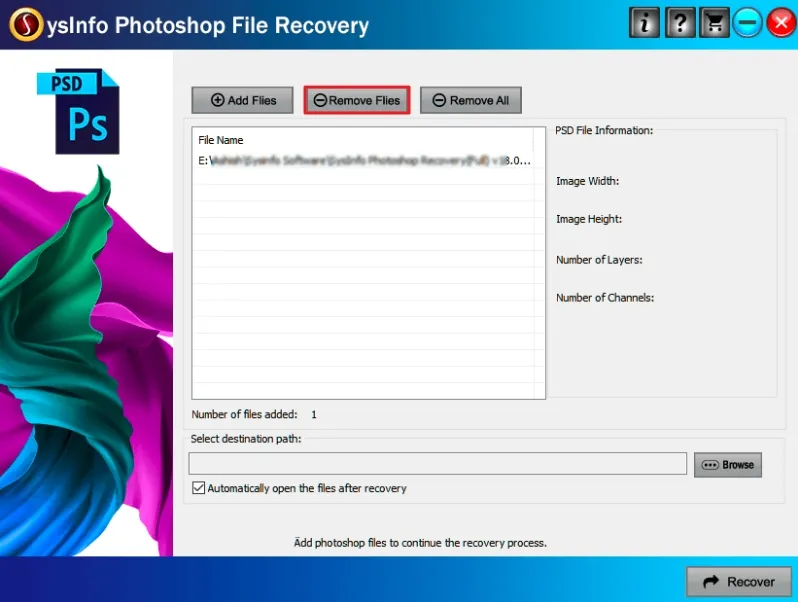
You can also click on the “Remove Files” option if you wish to remove any specific selected PSD file.
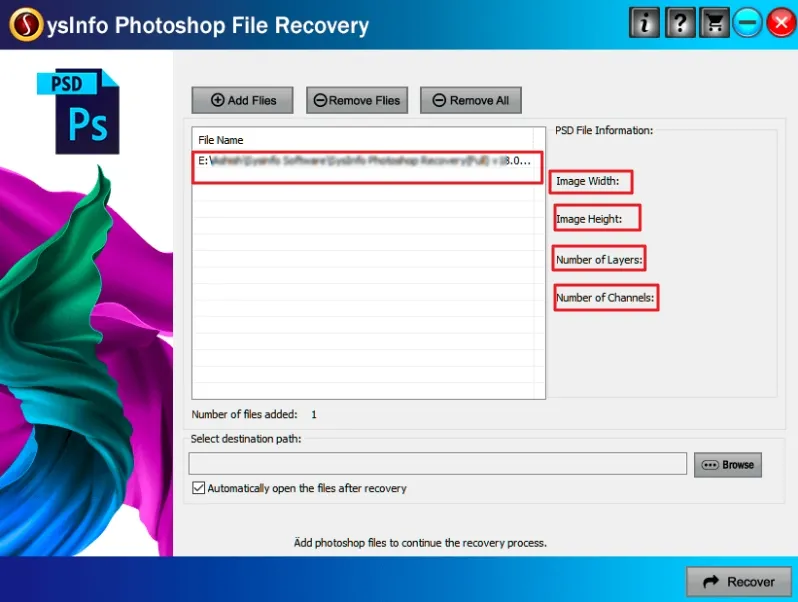
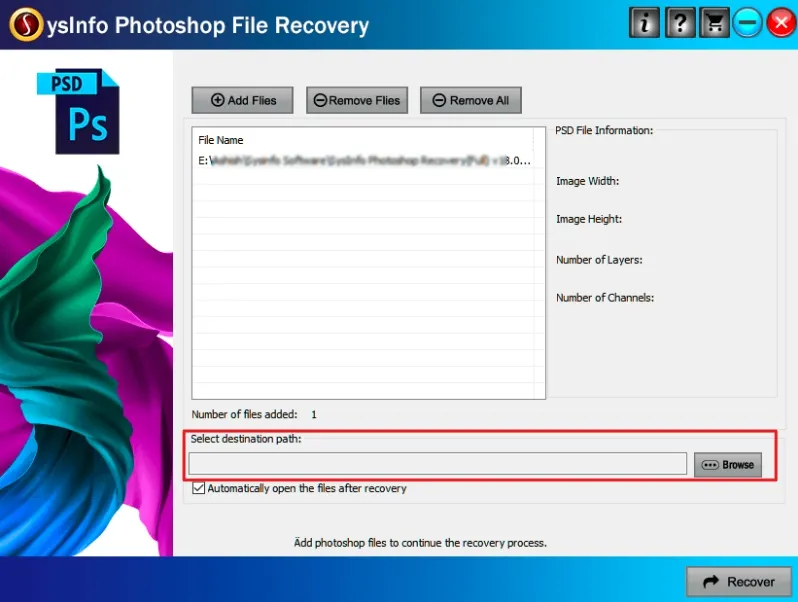
Here, you can preview the added corrupt PSD files and their details like Image Width, Height, Number of Layers, Number of Channels, and Total Files Added.
Now under the “Select destination path” option, click on the “Browse” button to select the location to save the recovered Photoshop file.
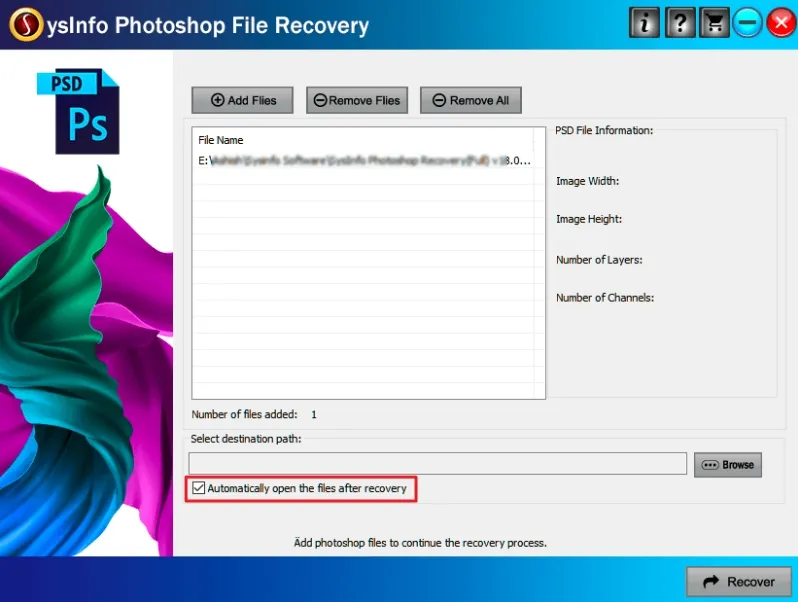
After that, if you want to automatically open the file then, click on Automatic open the files after recovery option.
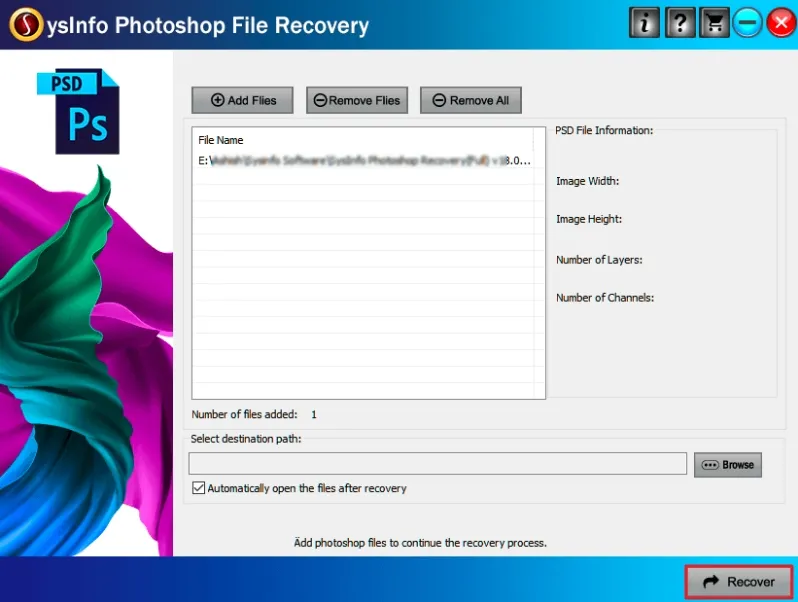
Click on the “Recover” button to start the recovery process of damaged PSD files.
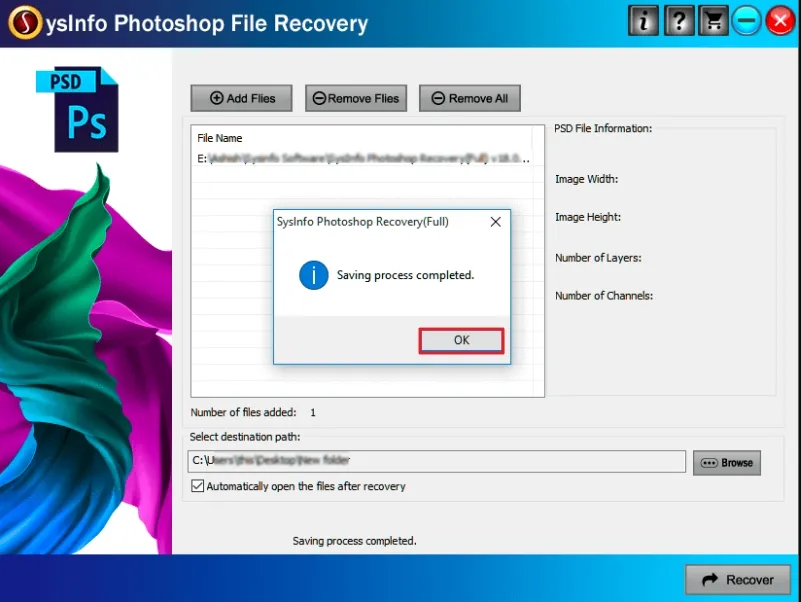
Once the recovery process is completed, you will receive the successful messages on the screen. Click on the OK button.