Run the SysInfo OpenOffice Calc Repair Tool as an administrator. The Select Single File option is selected by default. Click on the Browse button.

You can also opt for the Select Multiple Files option to repair multiple ODS files. Press Next.

Choose the corrupt or damaged ODS files from the system and click Open

Within a few seconds, the selected ODS file will be scanned completely. After that, click on the OK button

Open the Select Sheet drop-down menu and select any sheet from the list.

Then, to see the preview of the recovered data within that sheet, click on the Show Preview button. Click on Next to continue

Choose the resultant file format of the recovered data: Save in ODS or Save in Excel.

Choose the Save Media option, to save the associated Media file from corrupt ODS files.

Tap on the Browse icon to select the saving location for the resultant file. Choose a desired folder and click on OK.

Now, click on the Save button to save the recovered ODS file in the chosen format.

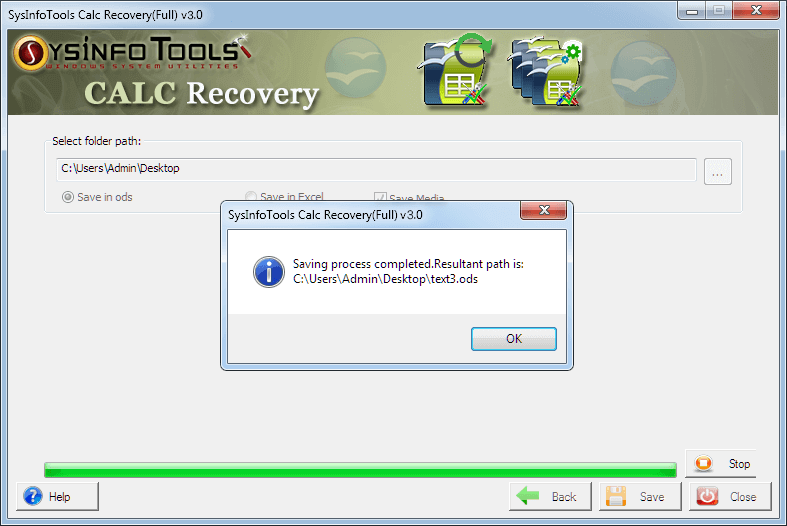
Within a few seconds, the saving process will be completed. Click on OK and close this application