Successfully install and run the SysInfo RAID Recovery Tool as an administrator.
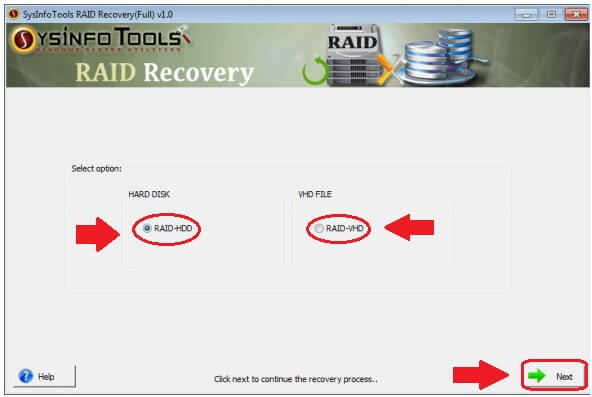
Now, from RAID-HDD and RAID-VHD choose one suitable option. Click NEXT.
Select the ADD VHD FILE option to add corrupted VHD files to roll back them again. Click NEXT for further process.

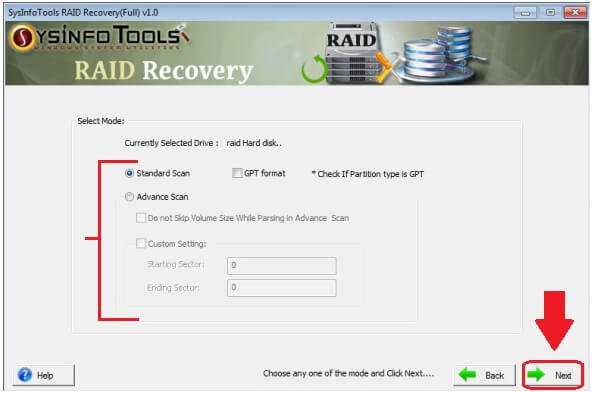
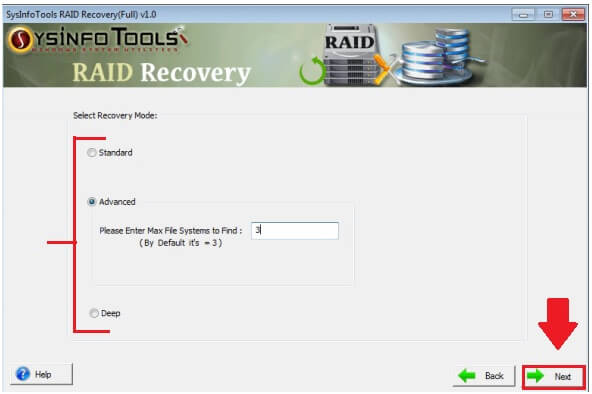
Choose a suitable scanning mode according to your need between Standard and Advance. Also, define other choices. Click Next.
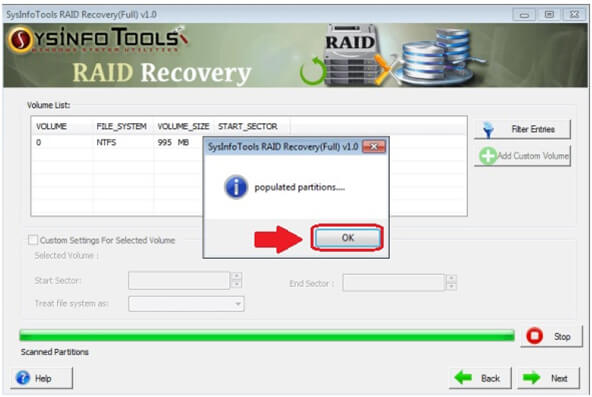
Wait until the scanning process is completed. Click the OK button.
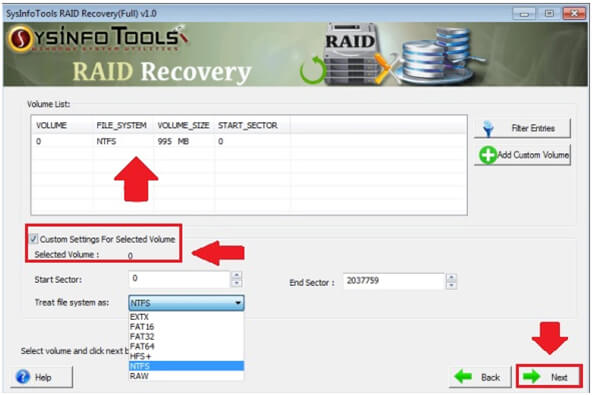
From the Volume List, select the volume from which you want to recover along with the additional Custom Settings. Click Next to move further.
Select the mode of recovery from Standard, Advance, or Deep. Choose accordingly and click on the Next button.
All the recovered files & folders will be visible to you in the Tree Structure format. Click OK and select the recovered files.
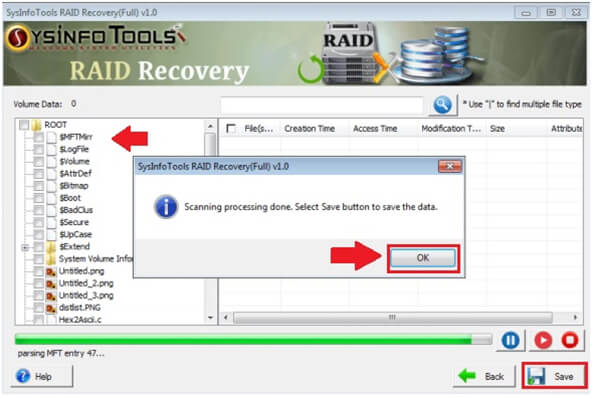
Click on the Save button to save them in a user-defined location.
