Download the SysInfo FAT Recovery Tool and install it on your system. Run the FAT file recovery software.

Then, make sure you select the corrupt FAT-based hard drive, that you want to repair. Click on Next.
Detailed information on selected volumes, will be shown to you. Click on Next to continue the process.

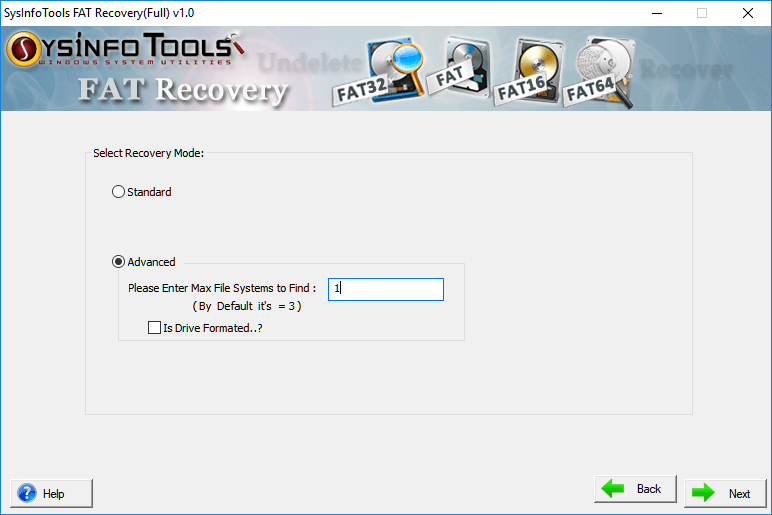
Select any recovery mode out of Standard and Advanced available. If you select Advance mode, also, define the number of file systems. Check Is Drive Formatted to ensure whether your drive is formatted or not. Click on Next.
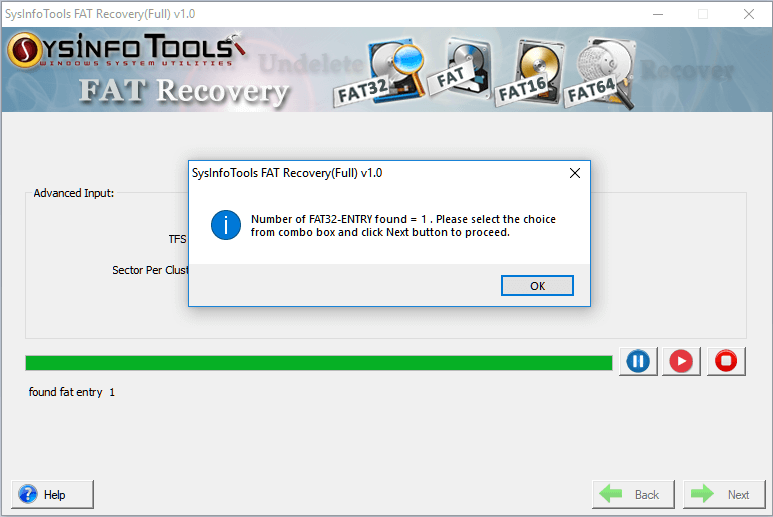
Click on OK on the message box displaying the number of file systems. Here, you can see it is 1. Then, click on Next.
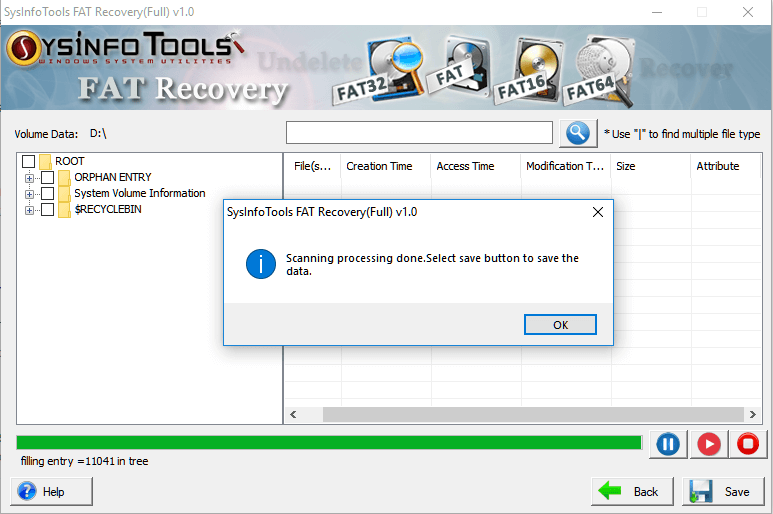
Now, the tool begins to scan the added FAT files. Wait till the scanning is going on.
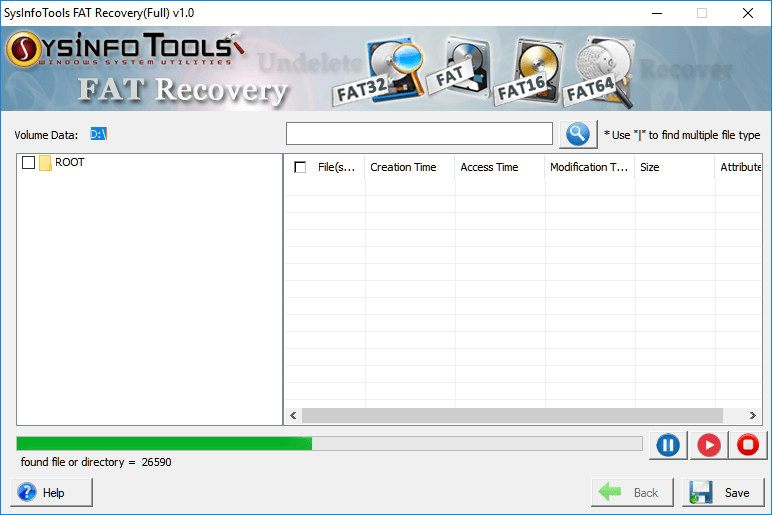
Once the scanning process is completed, click on the OK button and proceed.
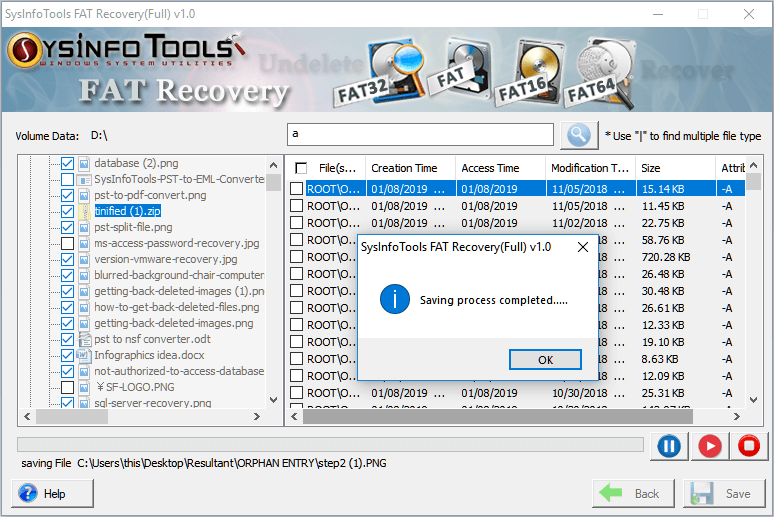
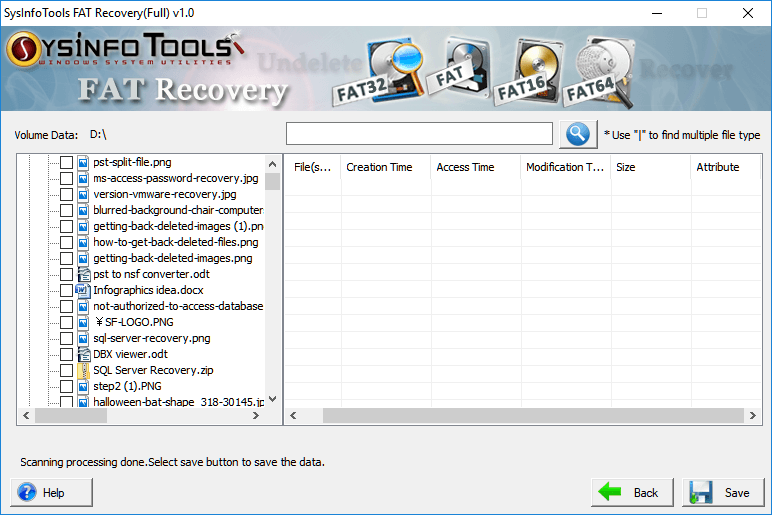
All the recovered files are displayed here as a tree view structure. Select files checkboxes to save them.
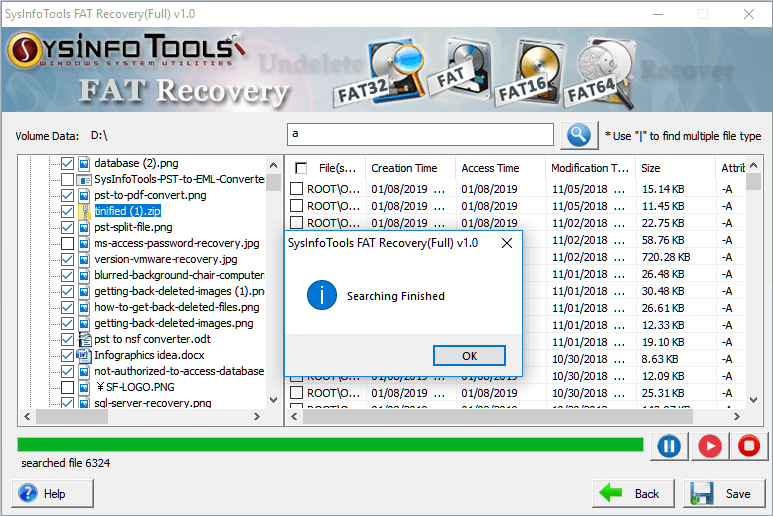
You can also search the files from the recovered files in the search bar. After completion of the search process. Click on OK.
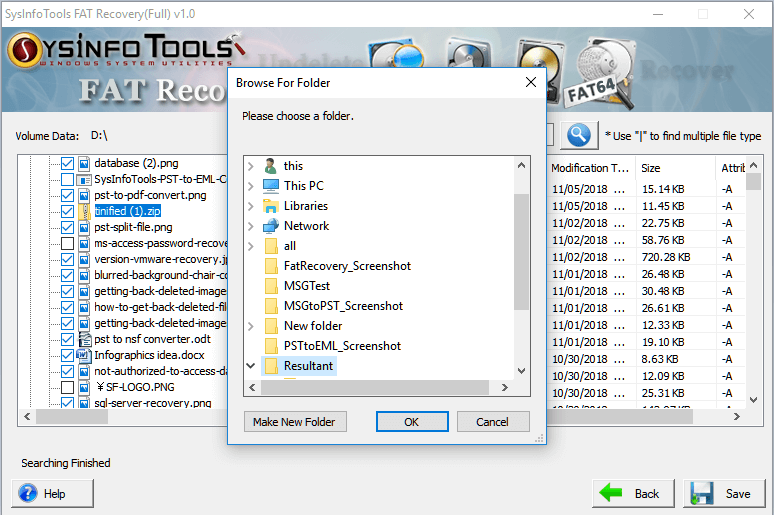
Now, define a saving location, where you want to save the recovered FAT file. Select a folder, and click Ok.
Lastly, click on the Save button to begin. Once the saving is completed, click on OK to finish it.