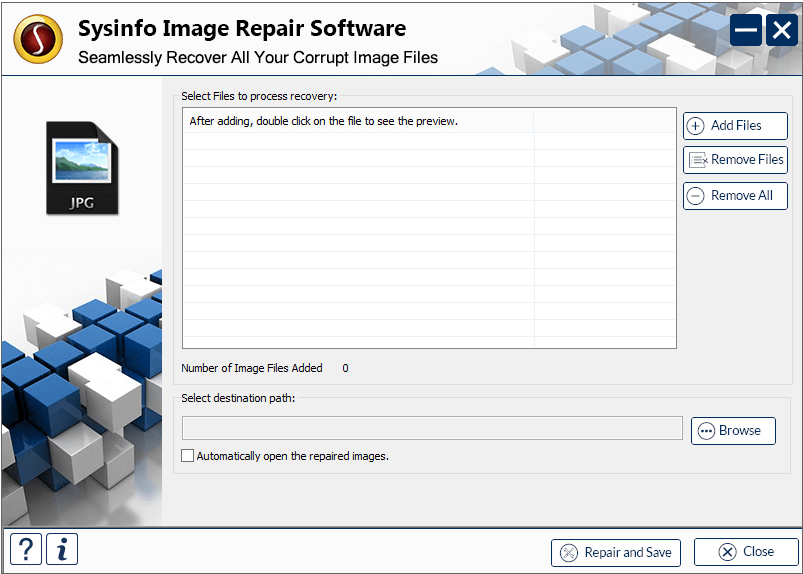
Install and open SysInfo Image Recovery Software on your system as an administrator.
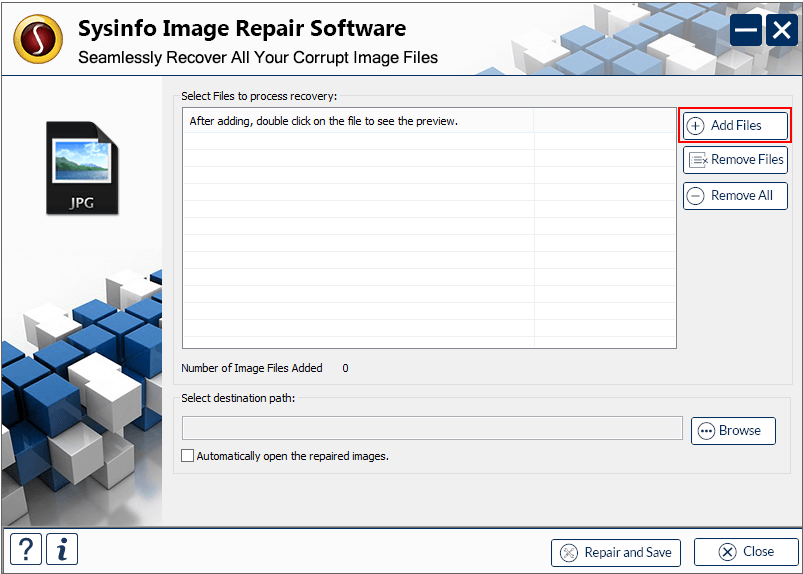
Click on the Add Files button to browse and add images for the image recovery.
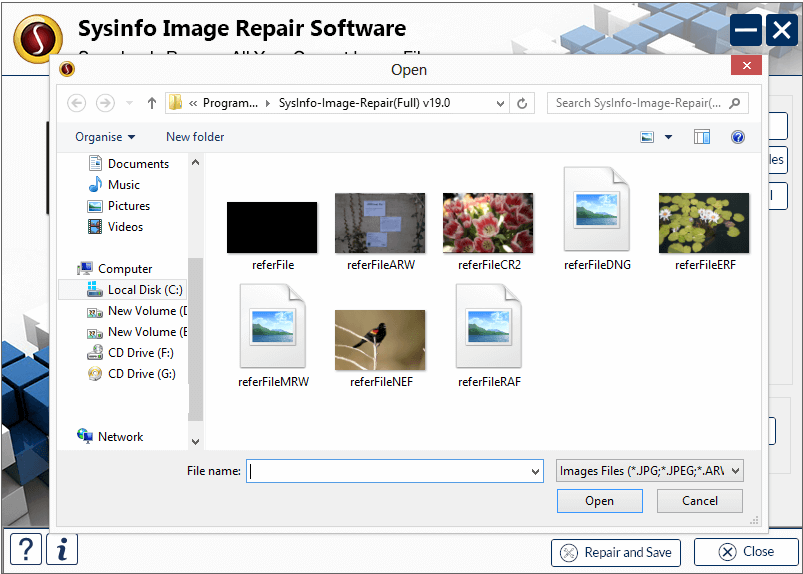
Select a file from the displayed image files on your system and click on Open.
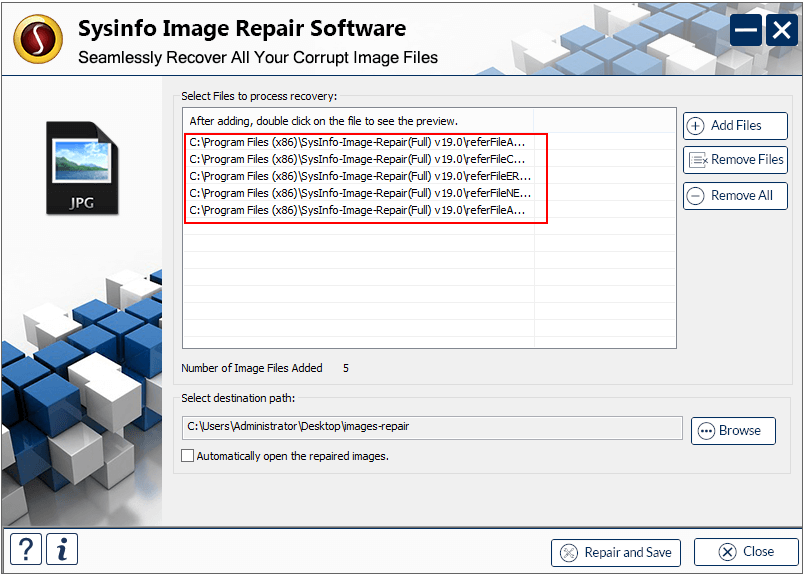
Repeat the process for adding more files by clicking on the Add Files button. Additionally, you can choose to remove the unrequired files.
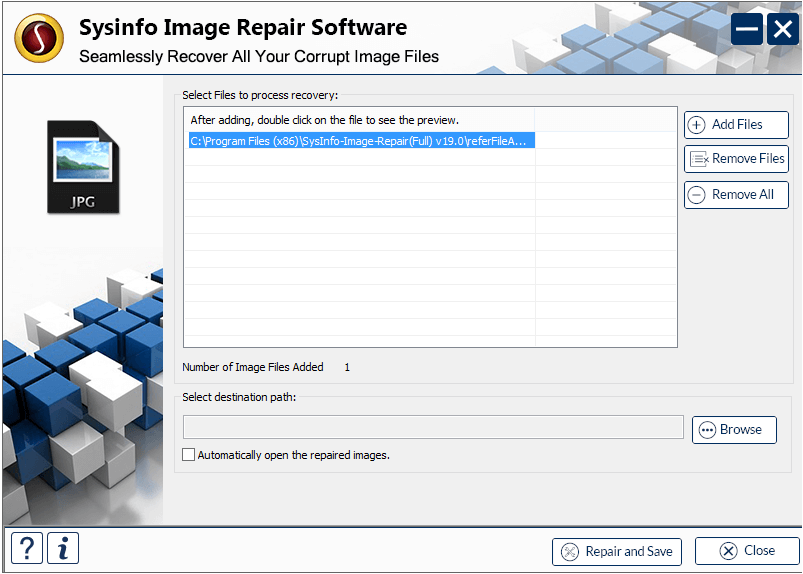
The software also provides you a preview option to view the added image files by double-clicking them. You can also check the Number of files added in the panel.
Further, click on the Browse button to select the saving location of recovered files.
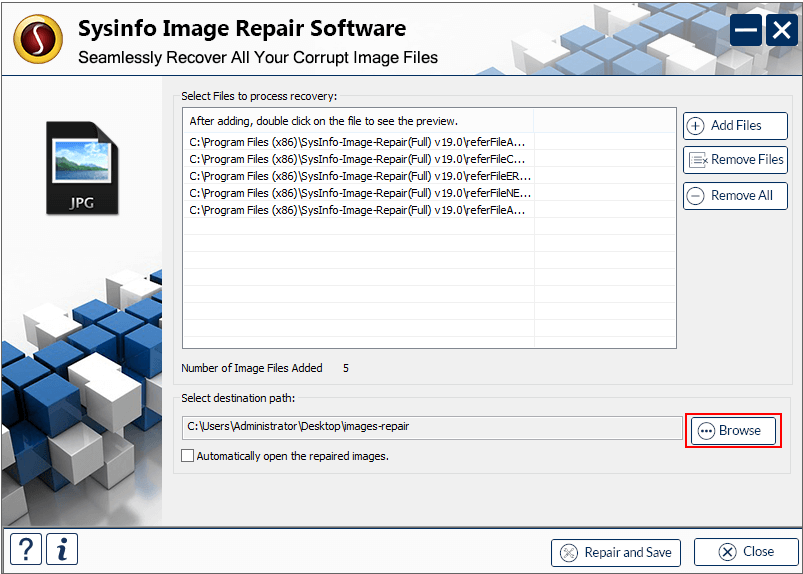
Then, choose the desired folder on the system where you want to save recovered images. Click OK.

The tool also provides you with an additional option to directly open the repaired images. Checkbox it to view them.
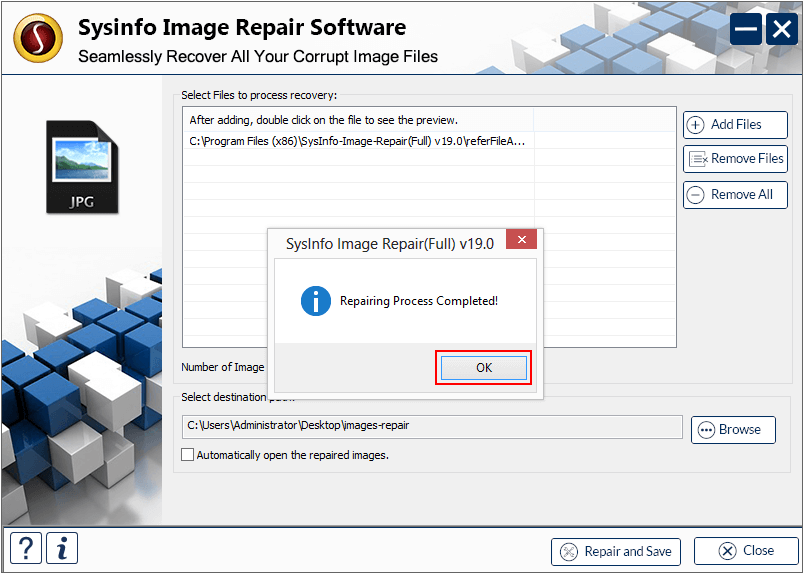
Click on the Repair and Save button. Then, in a new pop up click on OK.
At last, click Close and when prompted, click Yes to exit the application.
