Open Encase Data Recovery software on your system as an administrator.
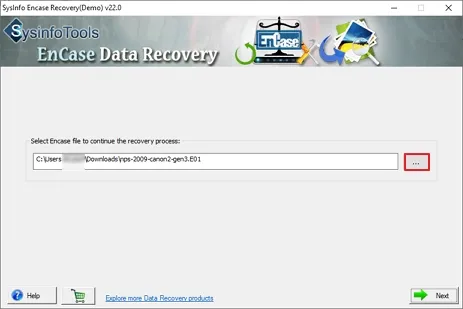
Browse the damaged EnCase File from your system and then click on Next.
In the new window, you can see the detailed information for your added EnCase data file.
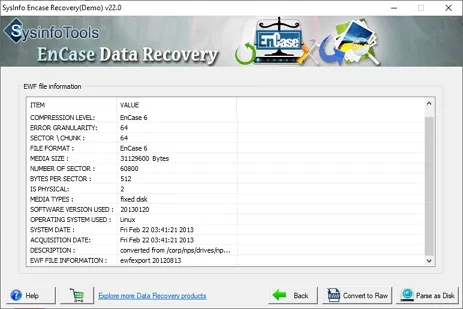
After that, click the Parse as Disk button at the bottom right corner to scan the Hard Disk Images. Alternatively, you can also choose to Convert to Raw.
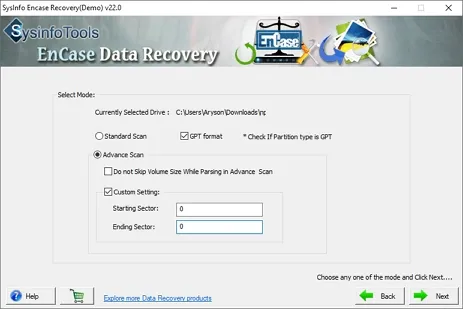
Now select the scanning mode, i.e. Standard or Advance. Also, select the other options (if required). Click Next to continue the process.
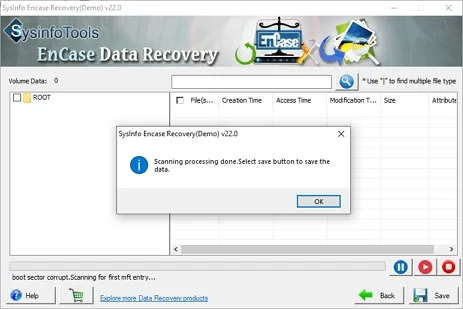
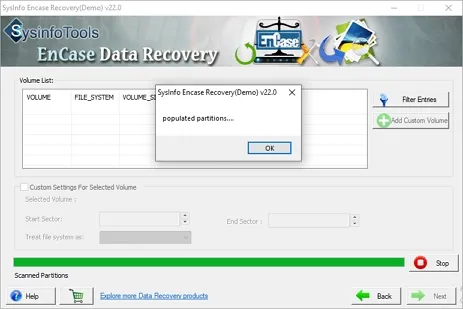
Within a few seconds, the scanning process of the file will be completed as per the selected mode. Click OK.
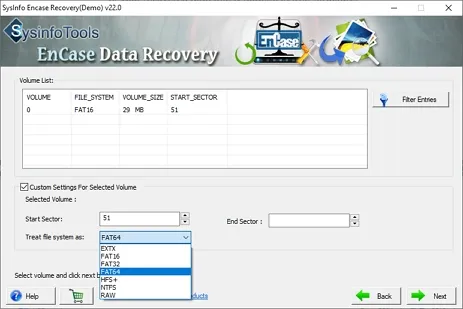
Choose the volume in the list, and define its custom settings to perform EnCase data recovery. Click Next to continue.
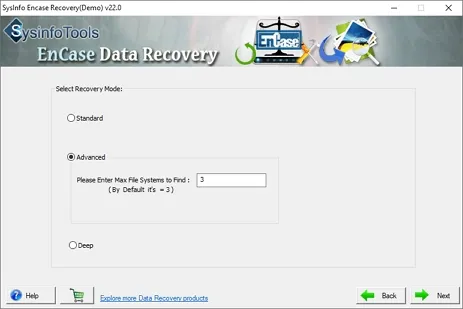
Now select the recovery mode here, i.e. Standard, Advanced, and Deep. Click Next to continue the process.
You can check the preview of your recovered data (file & folders) in tree-structure. At last, click Save and define a location where you want to save them. Once done, click OK.