Generally, users recover their data from MySQL through phMyAdmin. However, with the advancements in technology and updates in software, they have shifted to XAMPP Server. If any unavoidable situation arises, such as data corruption or disk failure, the XAMPP Server can save recovered data from the MySQL database easily. Do you want to know how? Explore this blog till the end to learn how the MySQL Database Recovery Tool with XAMPP helps restore your database.
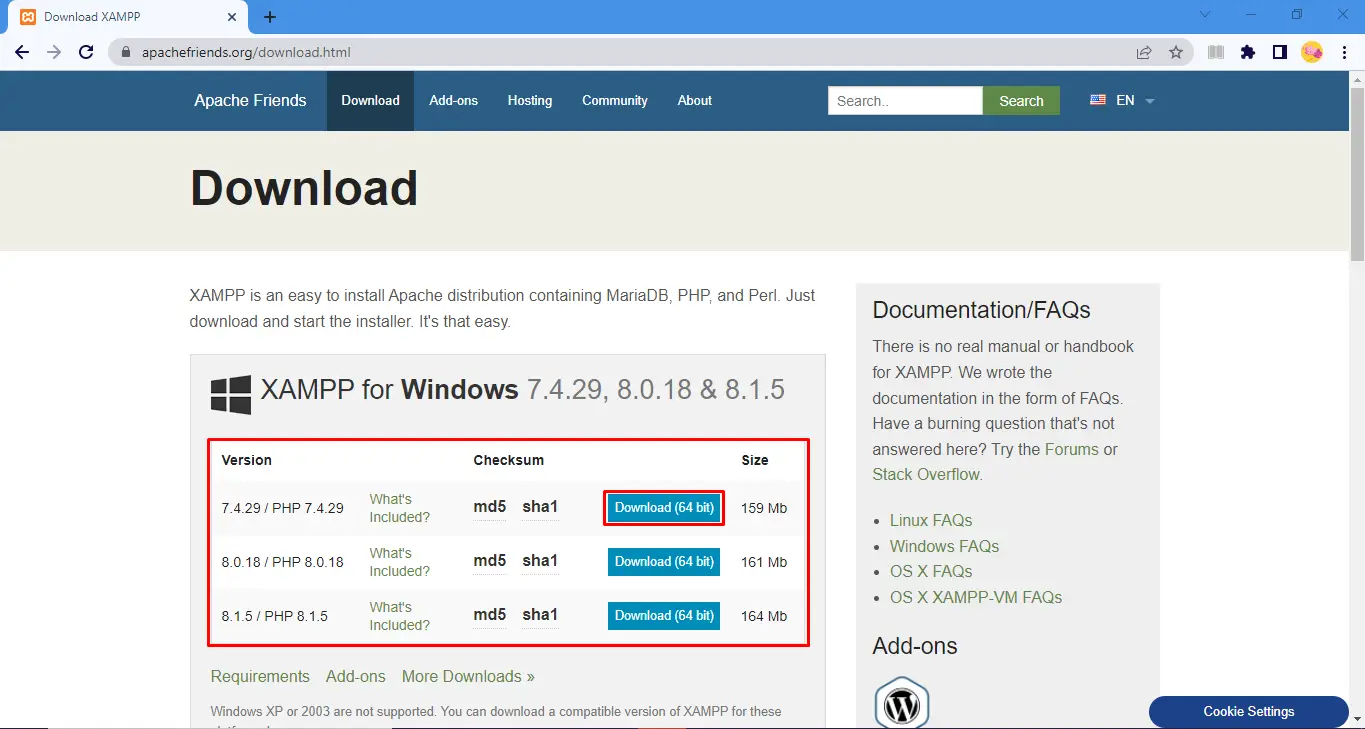
XAMPP is an open-source software developed by Apache. XAMPP provides a local web server environment for testing and development of web applications. It tests them locally before deployment, to ensure they function correctly on a live server. XAMPP contains multiple modules like PHP, MySQL, Perl, and more. Also, it helps to restore data manually from directories. Therefore, it is considered to be a feasible solution for recovering data.
Once my MySQL database file got corrupted and to fix this issue, I purchased the SysInfo MySQL Database Recovery Tool. I have recovered all the data items from my MySQL database. However, I want to save the recovered data on the XAMPP Server. How do I fix this issue?
The advanced SysInfo MySQL Database Recovery Tool supports saving the recovered data items by XAMPP Server. But before initiating the recovery process, ensure these:
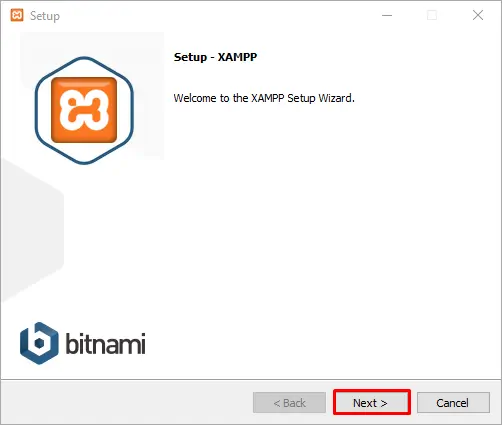
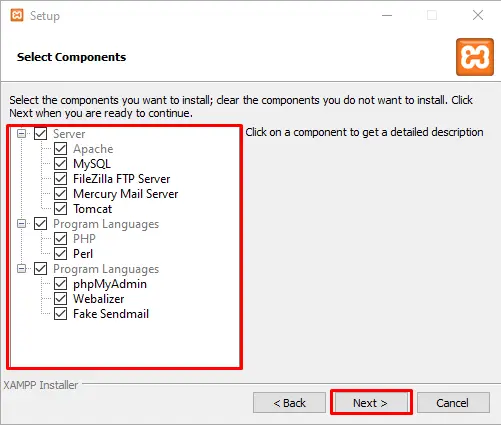
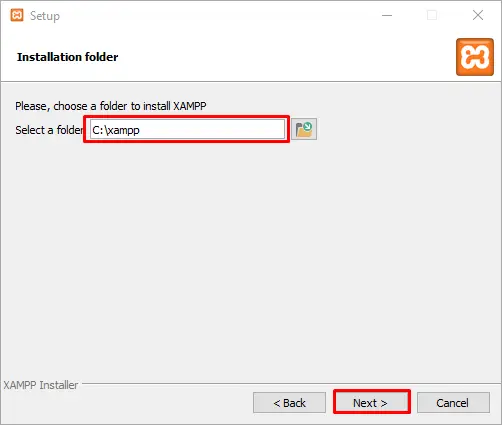
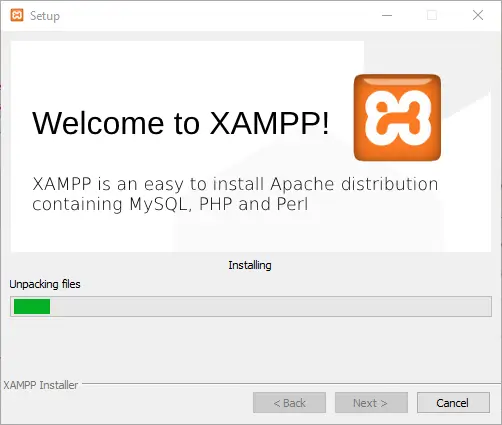
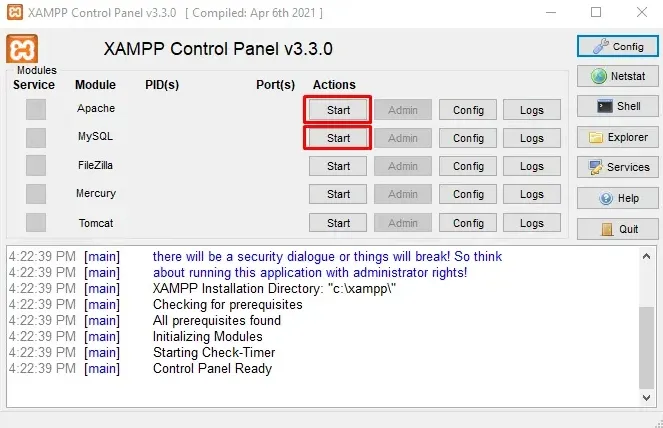
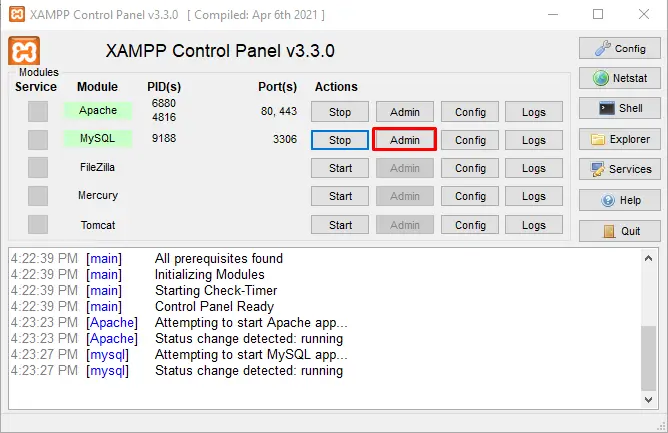
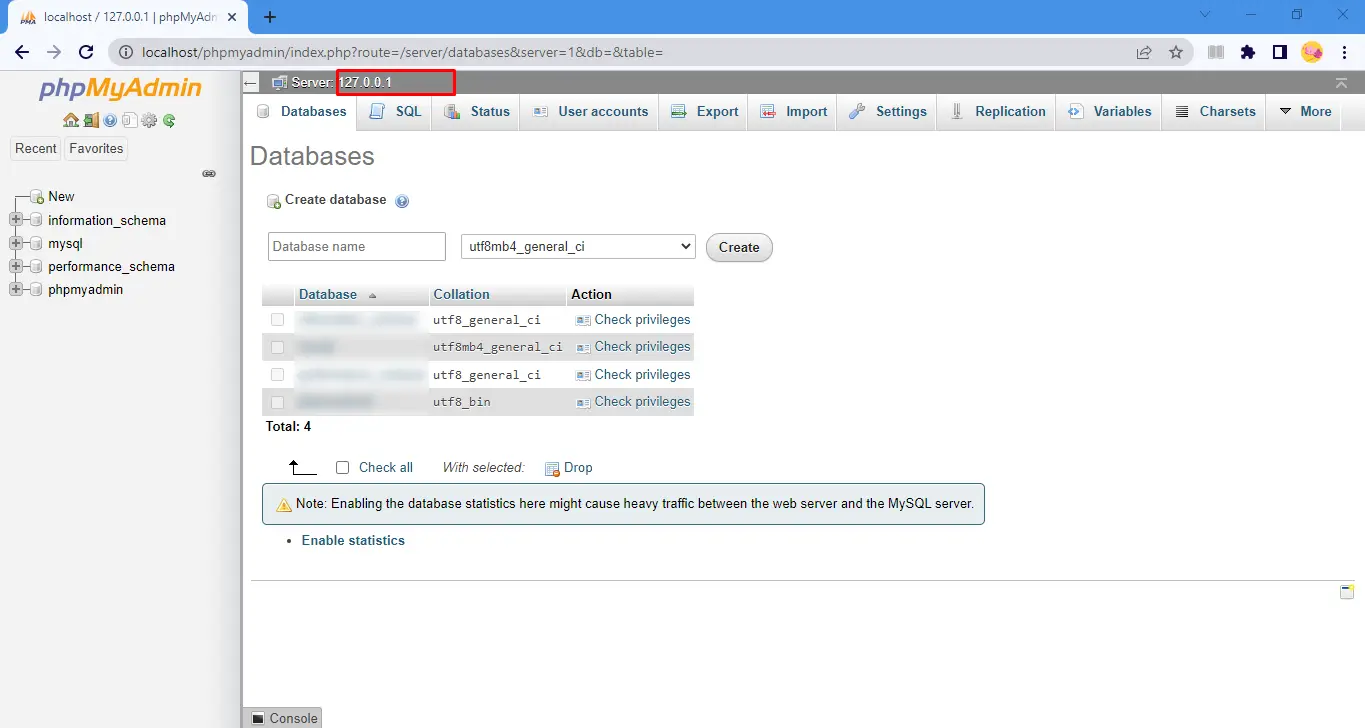
Now, follow the below steps carefully to-do-so:
Note: In the password box, if you have set up the password, enter the same password. Whereas, In case of no password, continue with a blank password textbox.


Key Features of the MySQL Database Recovery Tool
This write-up explains how you can save recovered data from MySQL database. We suggested the best expert tool to connect the XAMPP Server and restore your database. You don’t need any technical knowledge for it. Just simply follow the steps above to resolve your issue
Q1. How can I save recover data from MySQL database?
Ans. To save recovered data from the MySQL database, use the Sysinfo MySQL Database Recovery Tool. This software is easy to use, highly compatible, and ensures to keep your database secure. It provides you options to save your recovered data as a database or script. Moreover, it has other advanced features too. You can save your output file at your desired location and find it easily in the future.Related Articles
How to Export Yahoo Mail to PST File Format? How to Migrate Yahoo Mail to Office 365 Account Easily? How to Change Yahoo Email Address? How to Setup Yahoo Mail in Outlook Email Client? How To Export Gmail Emails To PDF? How to Export Yahoo Emails to Computer? How to Save Gmail Emails with Attachments to the Hard Drive?