This write-up provides a clear guide on how to generate an application-specific password for Zoho Mail. An application-specific password is a 16-digit special password used to access your Zoho account from third-party apps (a non-Zoho app). This password is essential when using tools like the Zoho Backup Tool. It ensures a secure connection without compromising your account security. Further, follow the procedure outlined below to generate and use this password for your applications.
Note: You have to make sure that two-factor authentication is enabled on the Zoho Mail account, then only you can generate the application-specific password.
Follow the steps to generate an app-specific password:
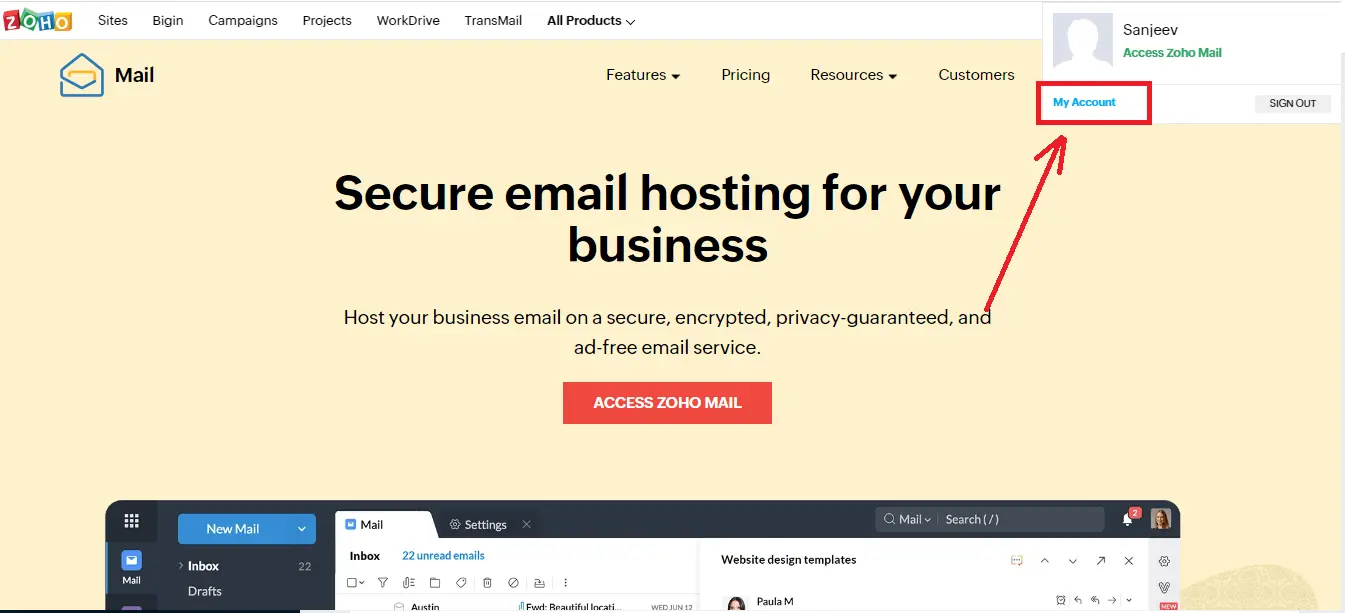
Step 1: Use: https://accounts.zoho.com/signin.
Open Zoho Mail and Login with the required credentials. Click on My Account
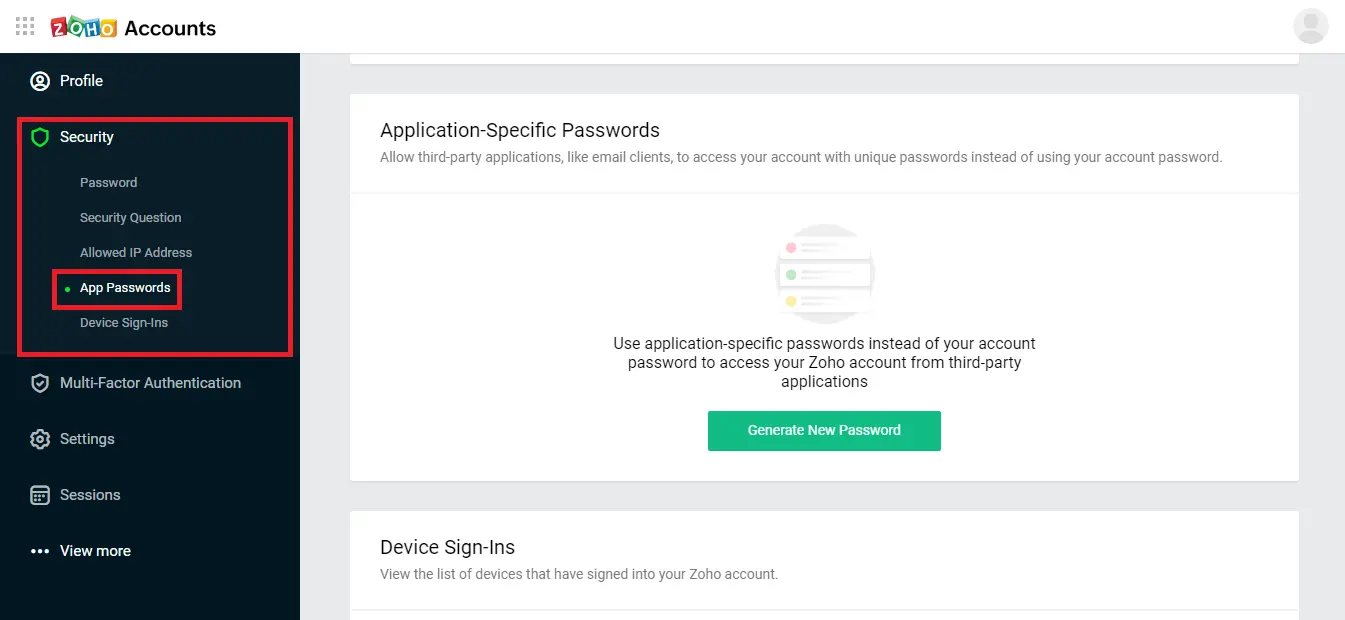
Step 2: Under the Security section, select the App
Password option.
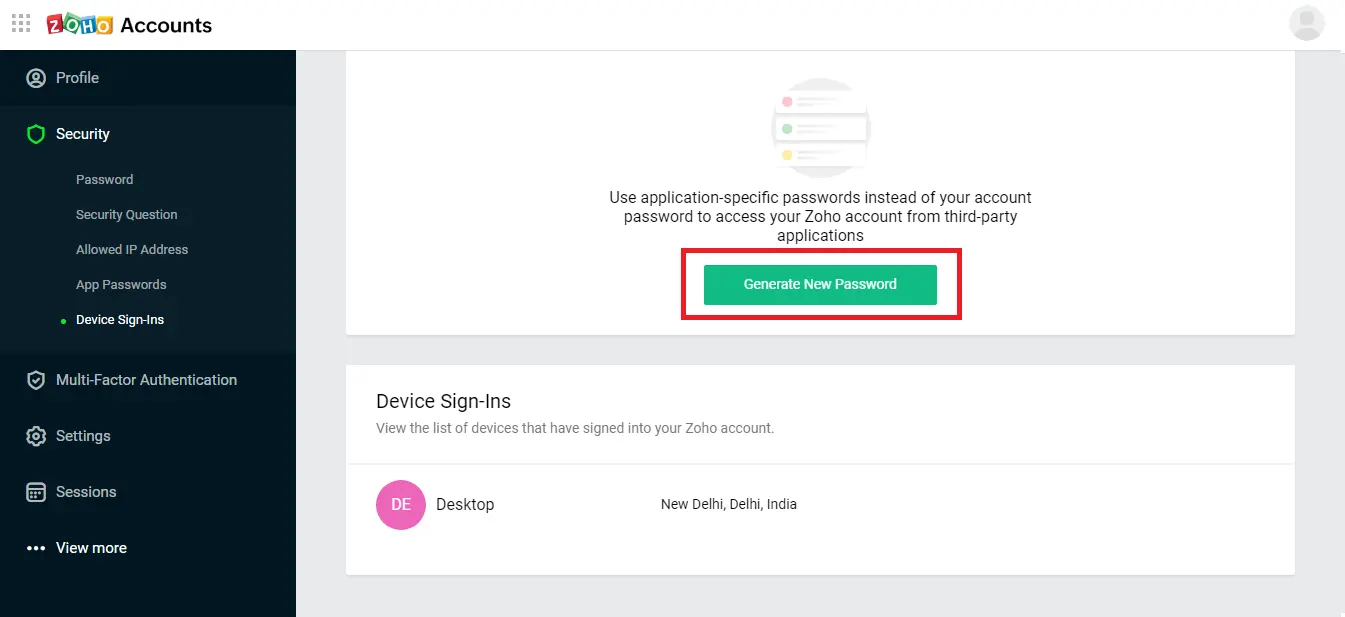
Step 3: Now, click on the Generate New Password option.
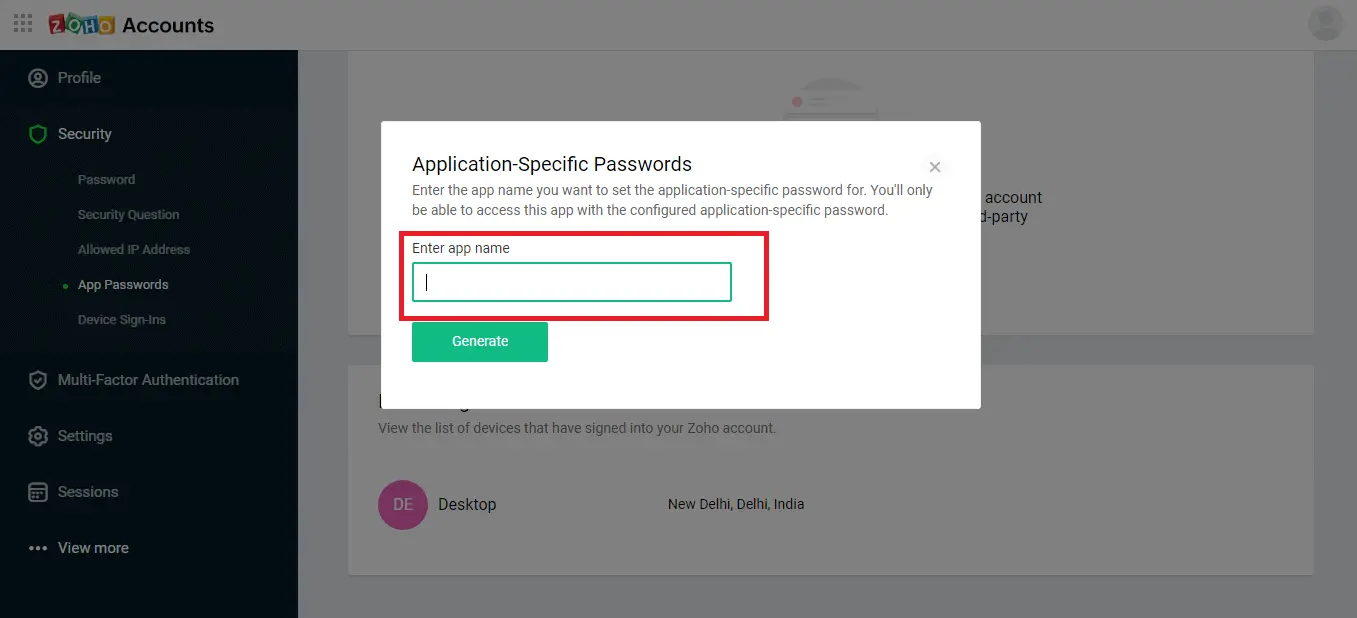
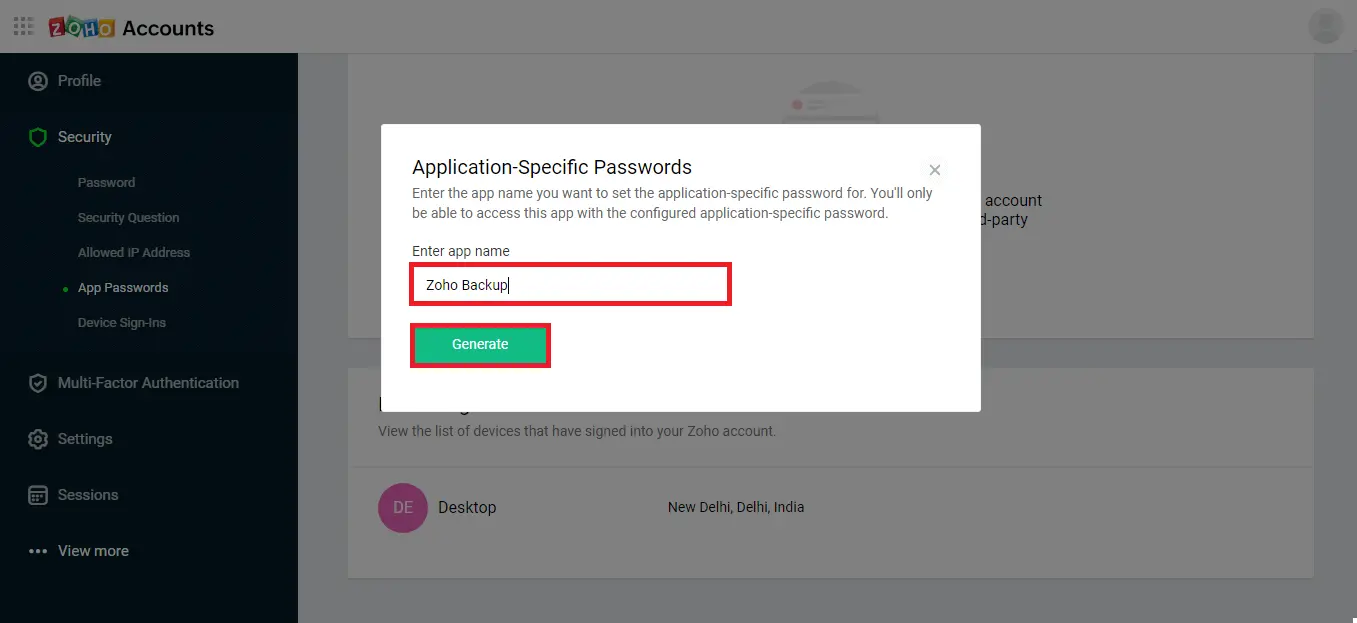
Step 4: Enter the name of the application for which you want to create an app
password. Click on the Generate button.
Step 5: Click on the Verify button to proceed further.
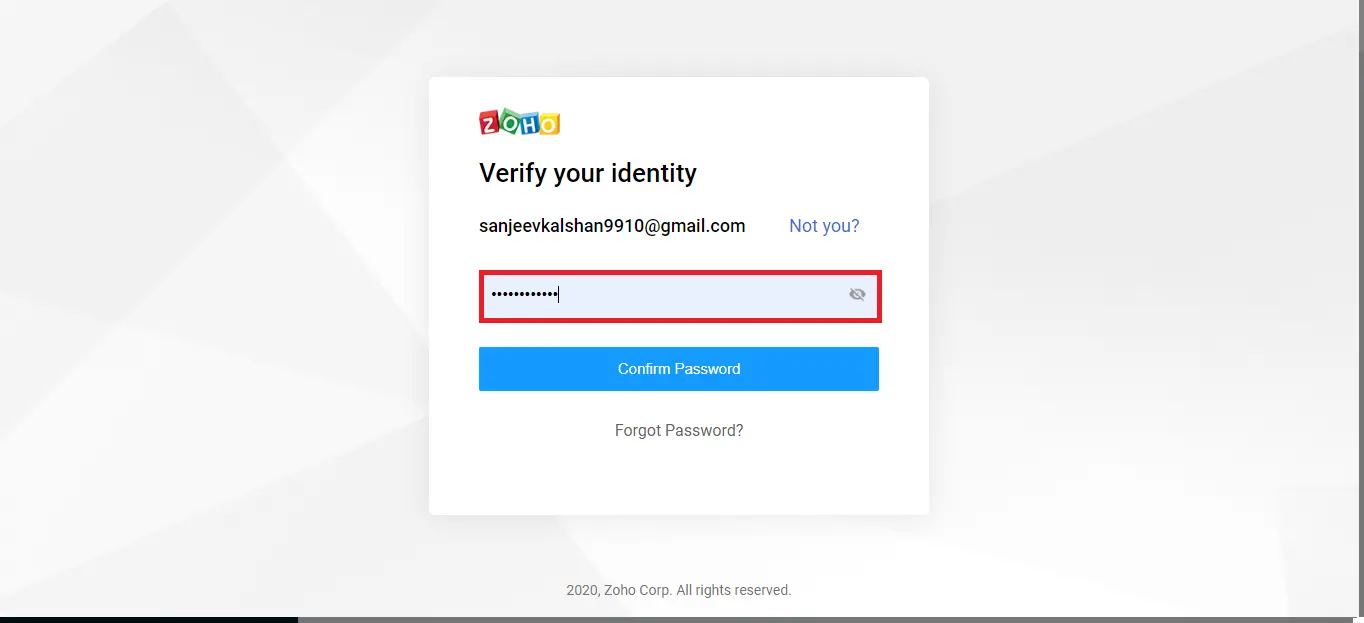
Step 6: Type the Zoho Mail account password and click on the Confirm
Password button.
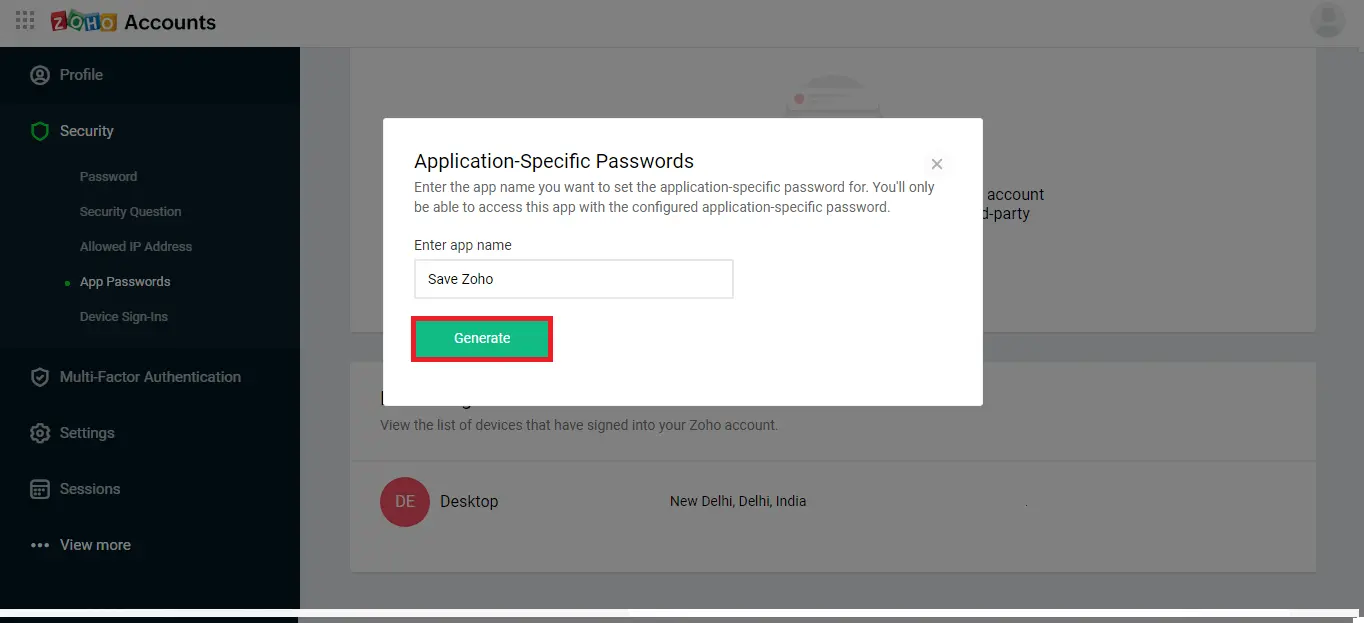
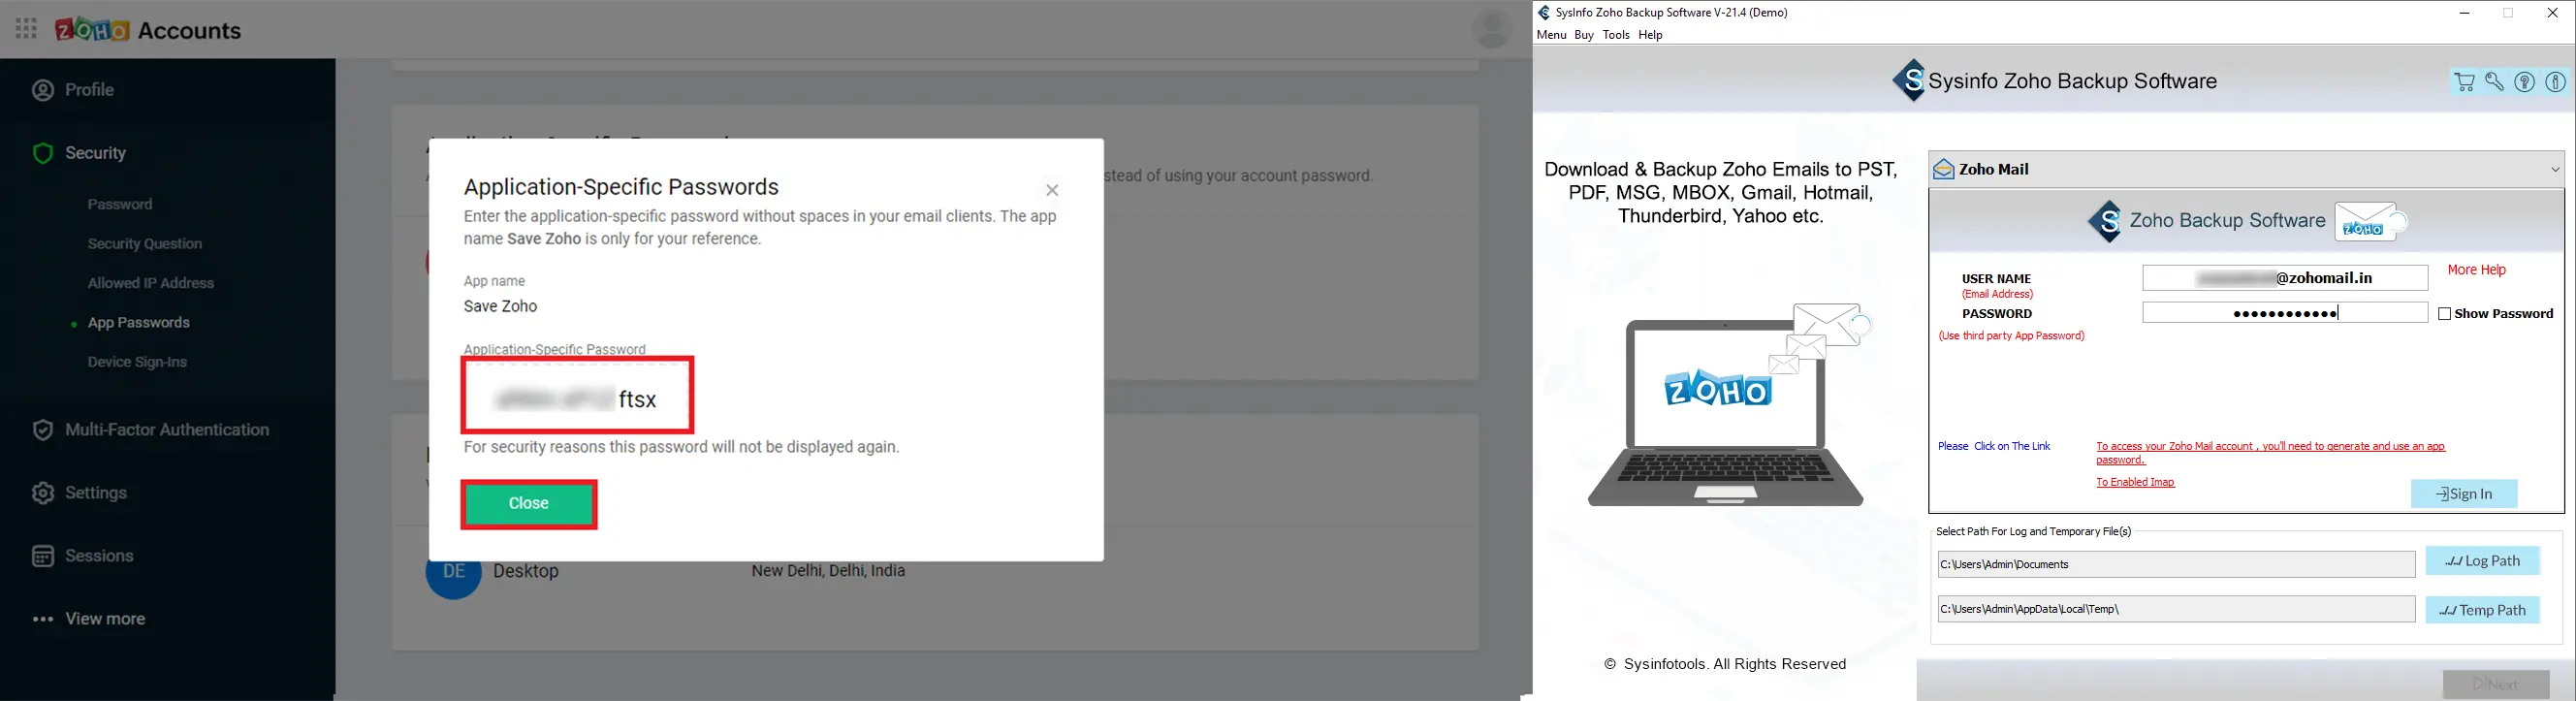
Step 7: Again, click on the Generate button.
Step 8: Copy & Paste for further process, and click
Close.
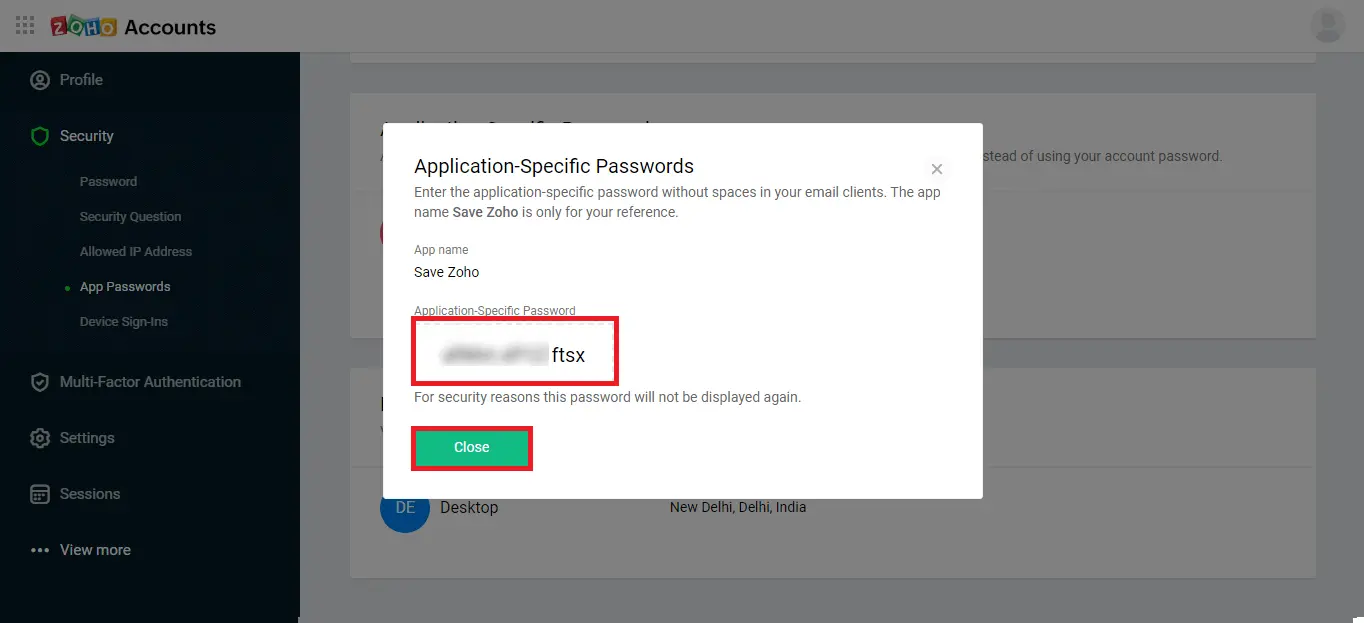
Note: If you are using the SysInfo Zoho Backup Tool, then you will have to enter the Zoho Mail account email address and third-party app password to sign in. Thus use the created app password in the required field.
Multi-factor authentication is a process of using the known account password together with an unknown randomly generated OTP. By this, one can provide additional security to the Zoho Mail account and reduce the chance of unauthorized access. Follow the steps to turn on two-factor authentication for your organization and specific users.
Step 1: Open Zoho Mail on your browser and log in with the required credentials. Use: Zoho Mail Admin Console
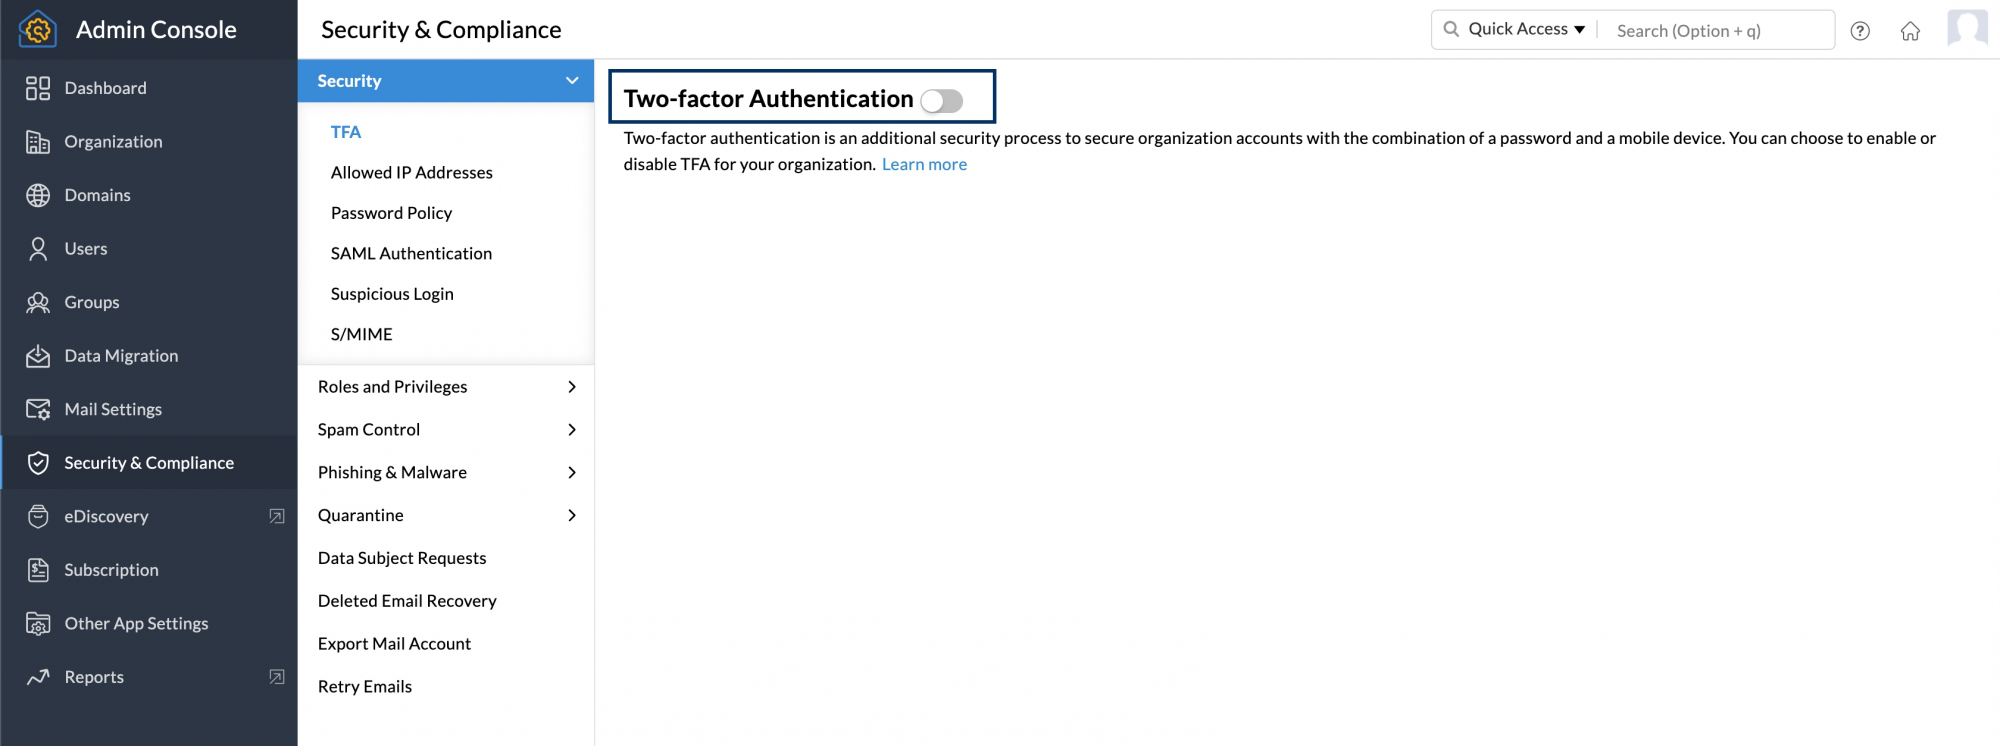
Step 2: Now, navigate to Security and Compliance in the left pane.
Step 3: Under the Security section, go to TFA, and toggle it to ON.
Step 1: Open Zoho Mail on your browser and log in with the required credentials. Use: Zoho Mail Admin Console
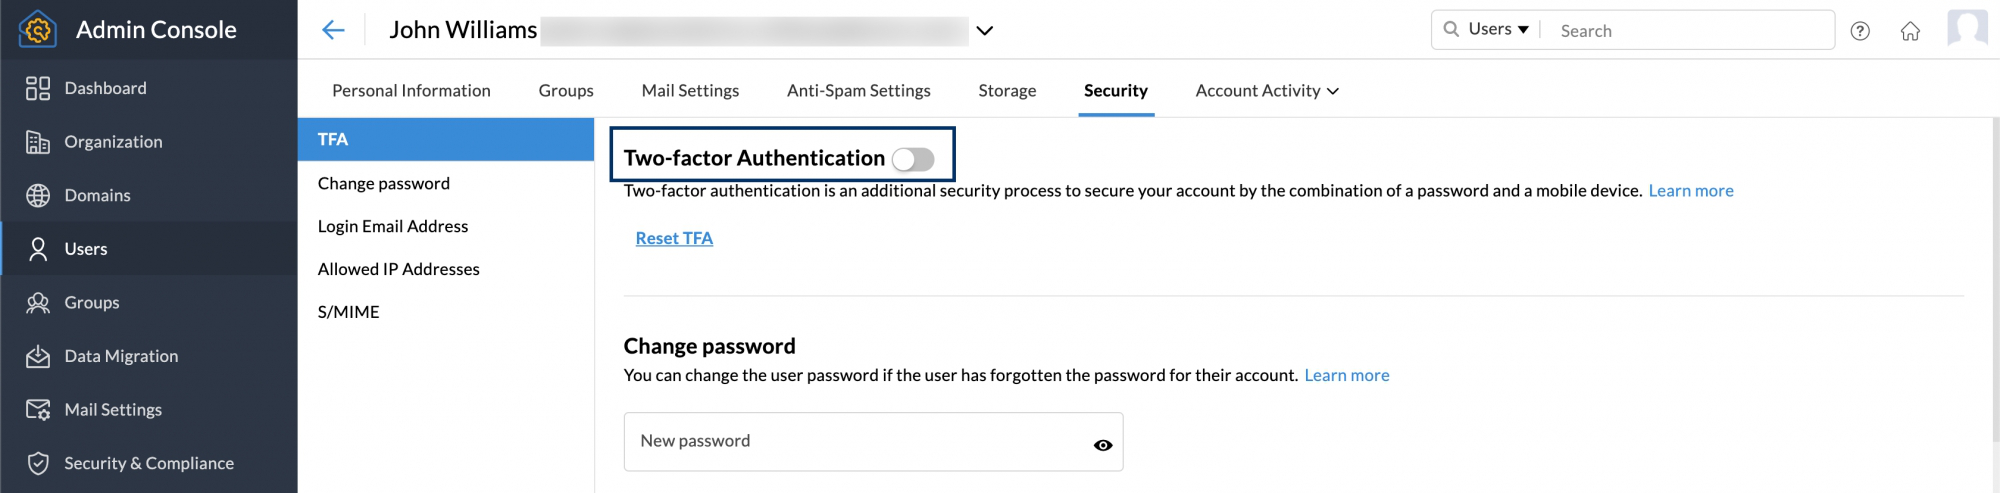
Step 2: Now, navigate to Users in the left pane and select the user you would like to enable/disable Two-factor authentication.
Step 3: Move to Security settings, click TFA,
and toggle it On/Off to turn on or off the two-factor authentication.
Follow the steps below to enable IMAP access on your Zoho Mail account:
Step 1: First of all, log in to your Zoho Mail account.
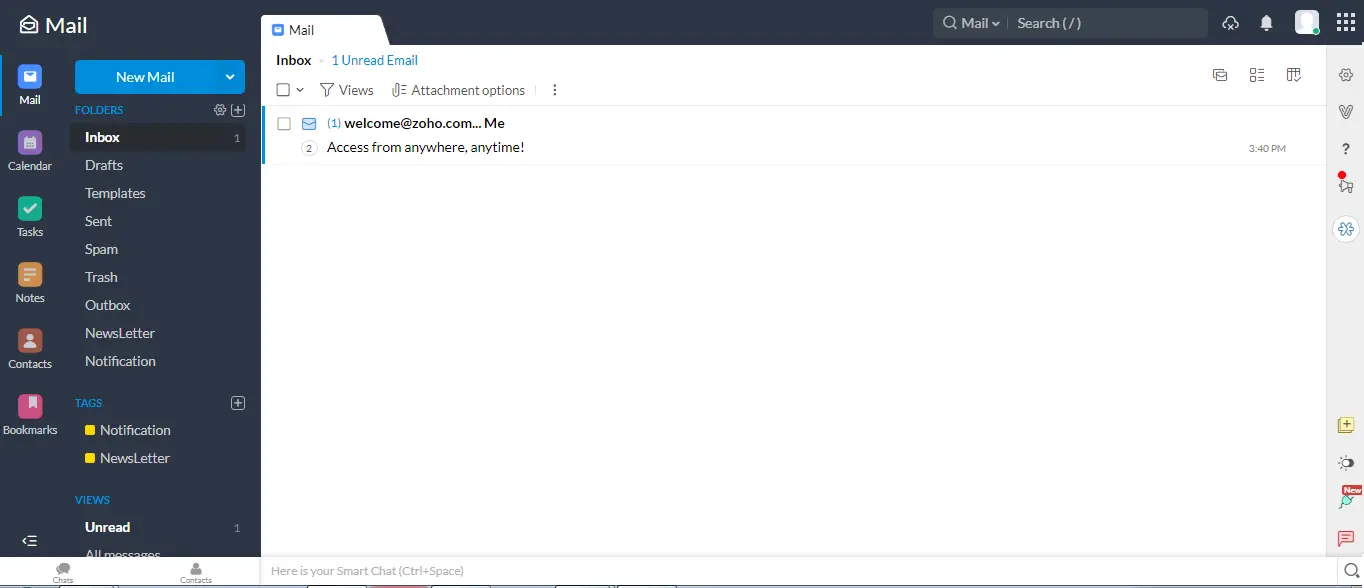
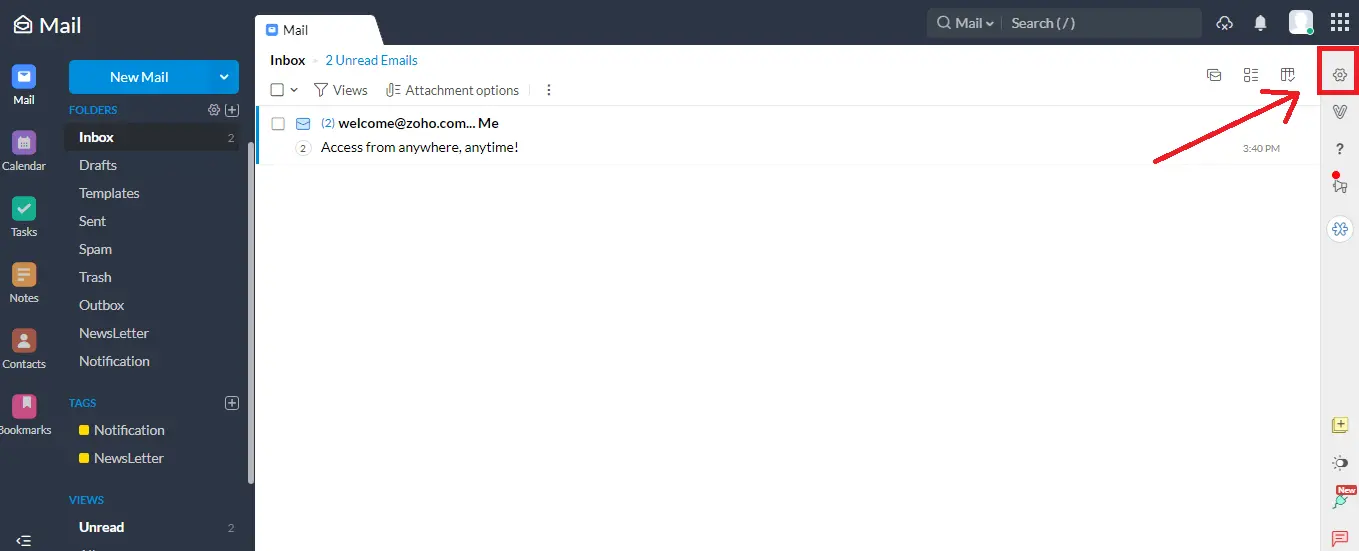
Step 2: Click on the Settings gear icon.
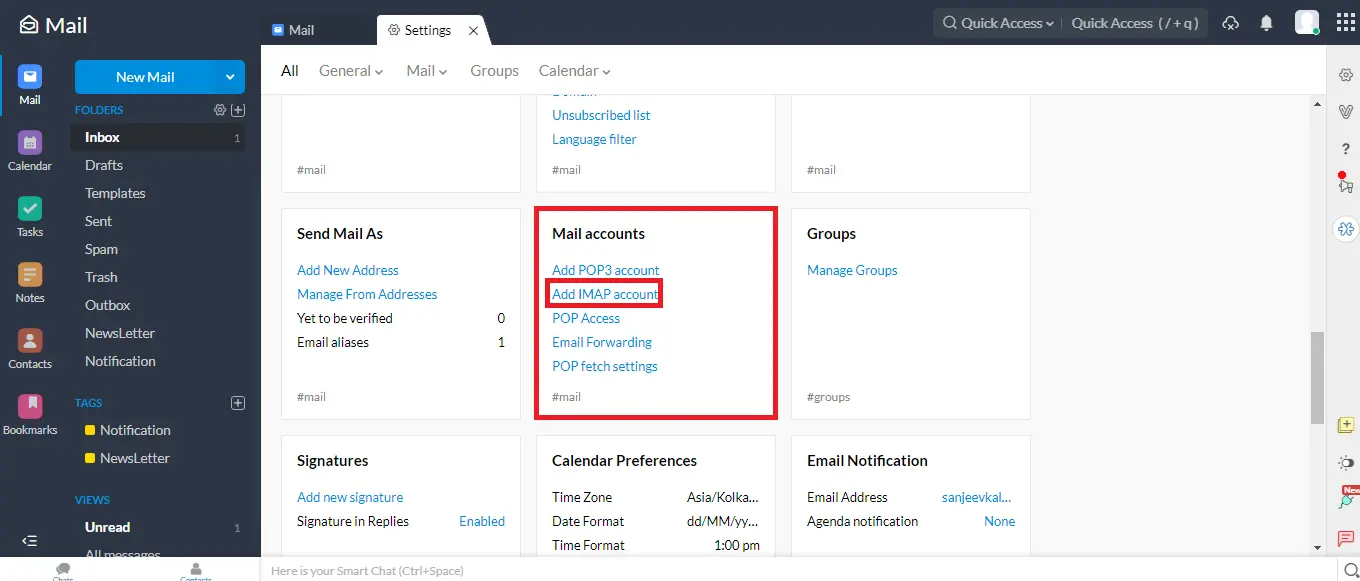
Step 3: Scroll the page, go to the Mail Accounts section, and
opt for Add IMAP Account.
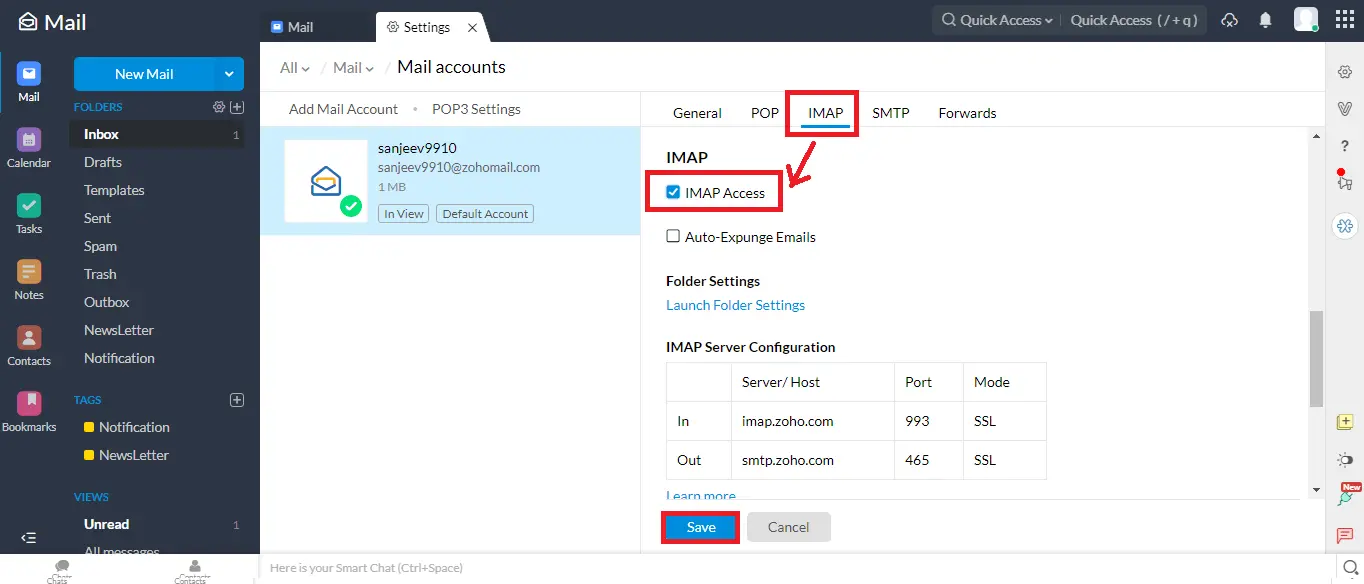
Step 4: Now, click on the IMAP tab, and enable
IMAP. After that, tap the Save button.
Hence, we have explained the detailed procedure to create an app password for the Zoho Mail Account. Moreover, we discussed how to enable/disable two-factor authentication for security purposes as well as enabling IMAP. Hopefully, these procedures will help you manage your Zoho Mail account across third-party applications securely.
Related Articles
How to Export Yahoo Mail to PST File Format? How to Migrate Yahoo Mail to Office 365 Account Easily? How to Change Yahoo Email Address? How to Setup Yahoo Mail in Outlook Email Client? How To Export Gmail Emails To PDF? How to Export Yahoo Emails to Computer? How to Save Gmail Emails with Attachments to the Hard Drive?