A third-party app password for Gmail is a special 16-digit password that allows external applications to access your Gmail account securely. This password is essential when using tools like Gmail Backup Tool to backup your emails and data. To use this password, you must ensure IMAP is turned on. These steps enhance your account's security while allowing trusted apps to connect without exposing your primary password. Let us explore various security measures of Gmail.
An App Password is a 16-digit passcode that provides a less secure app or device permission to access the Google Account. Follow the steps below to create an app password:
Note: You have to turn off the two-step verification to create a third-party app password in Gmail.
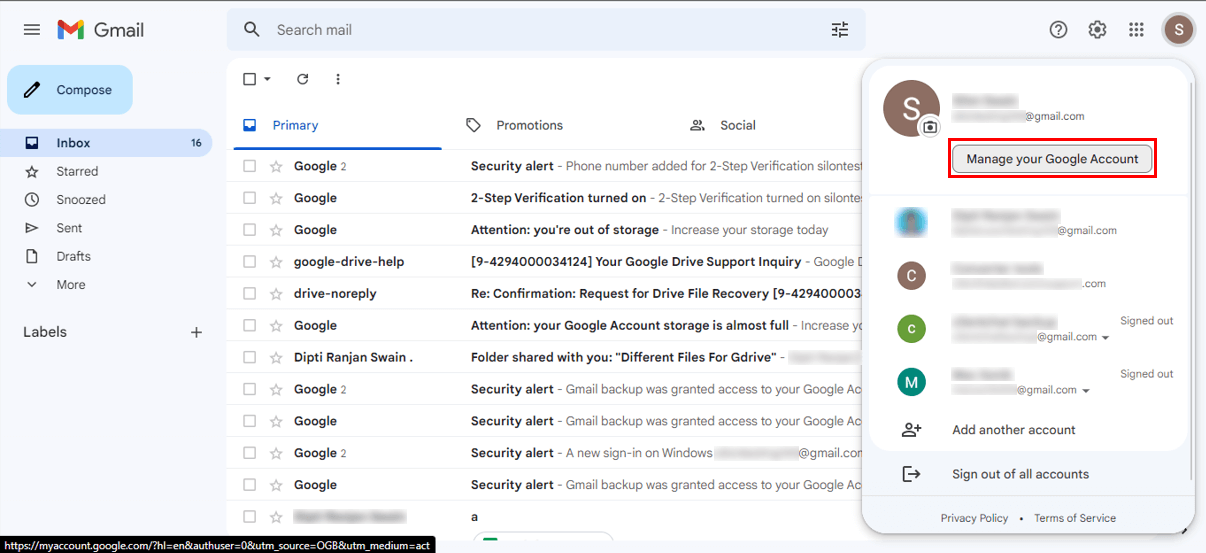
Step 1: Log in to your Gmail Account and click on the
Manage your Google Account option.
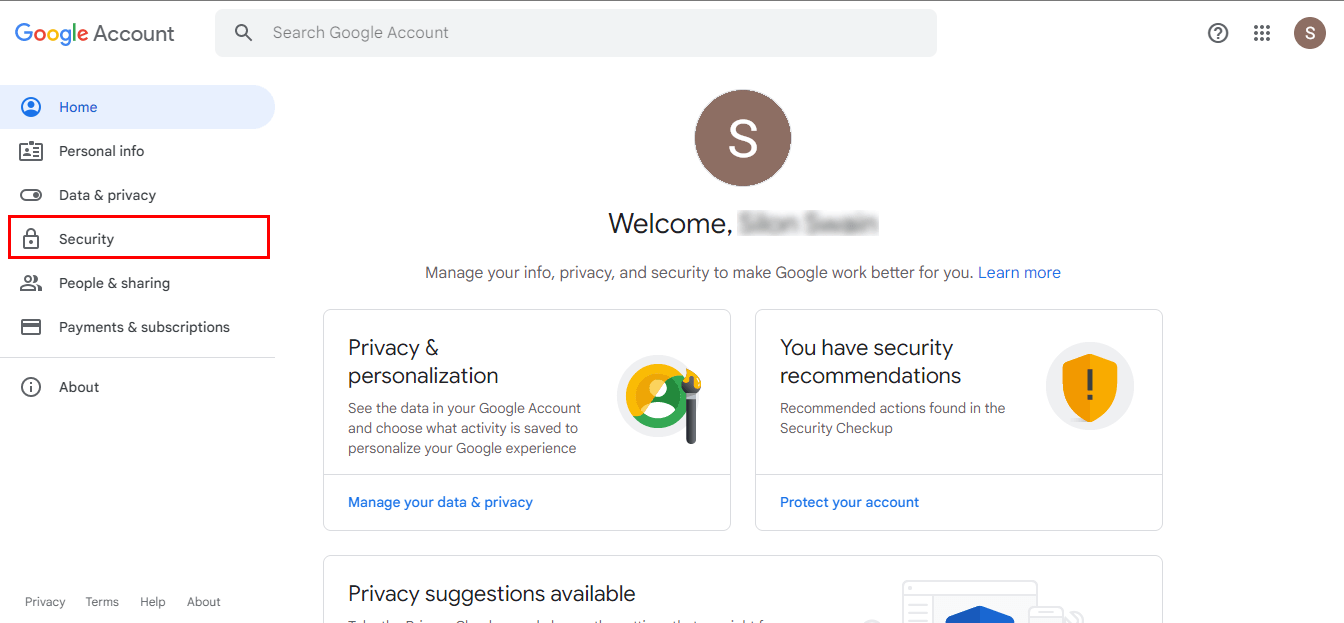
Step 2: Then, click on the Security Option present on the left
side.
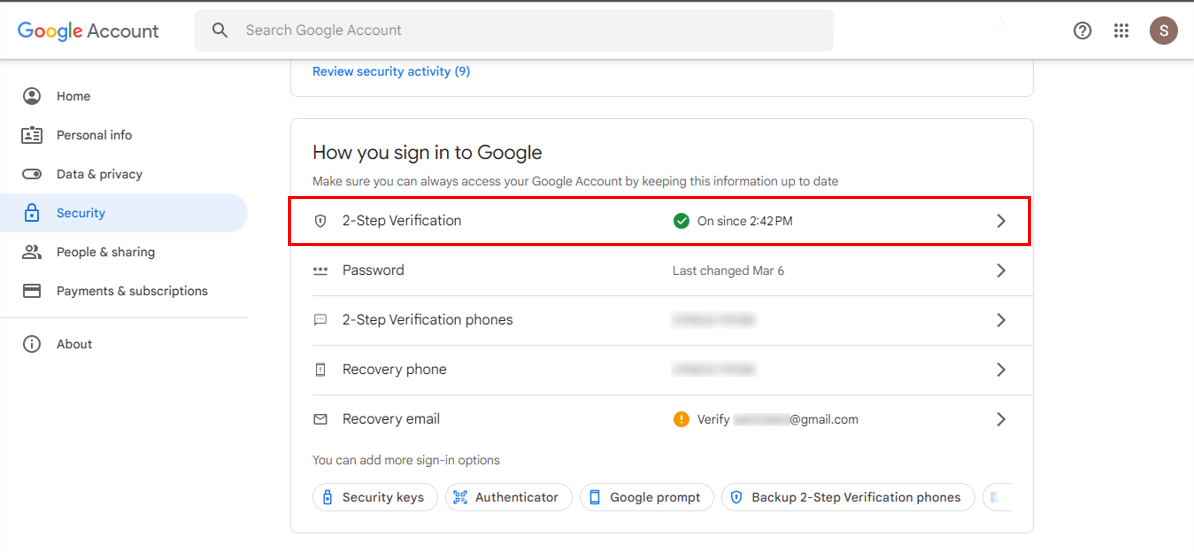
Step 3: Click on the 2-Step Verification option.
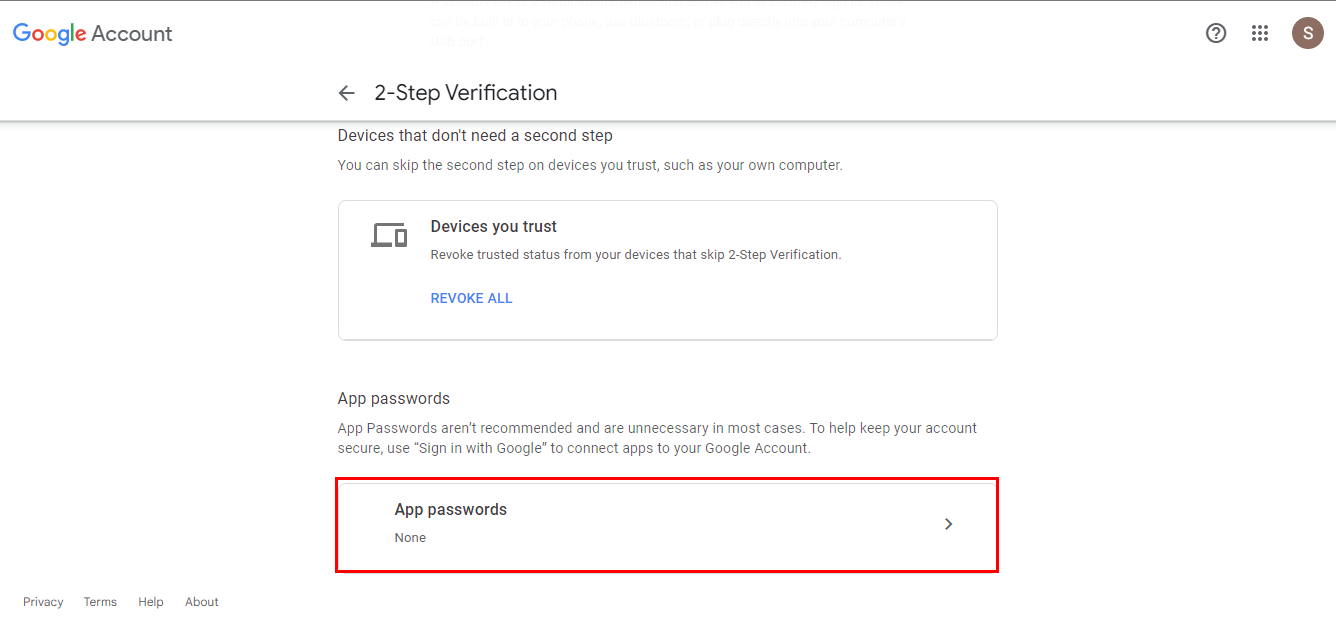
Step 4: Now, click on the App Passwords option.
Step 5: Then, select your Application and your
Device as shown below and click on the Generate Button.

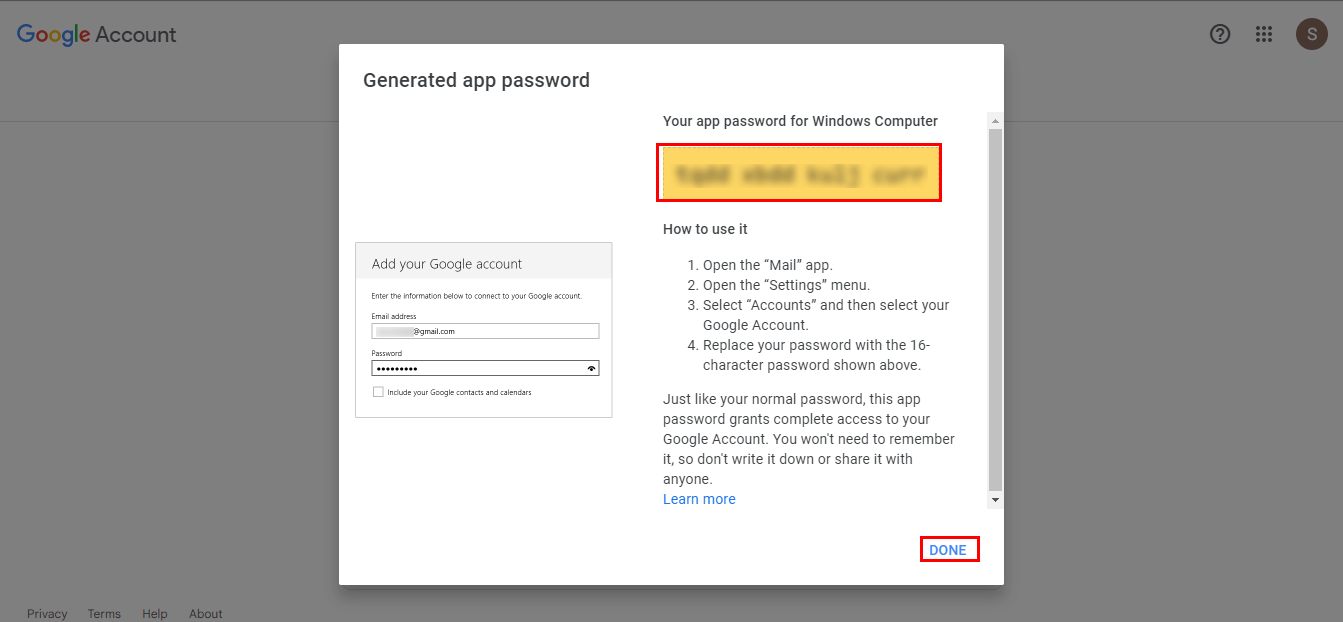
Step 6: Your 16-Characters third-party App password will be
generated and you can use it in the desired software.
Using 2-Step Verification, you can add an extra layer of security to your Google account if your password is stolen. Follow the steps below to turn on two-step verification:
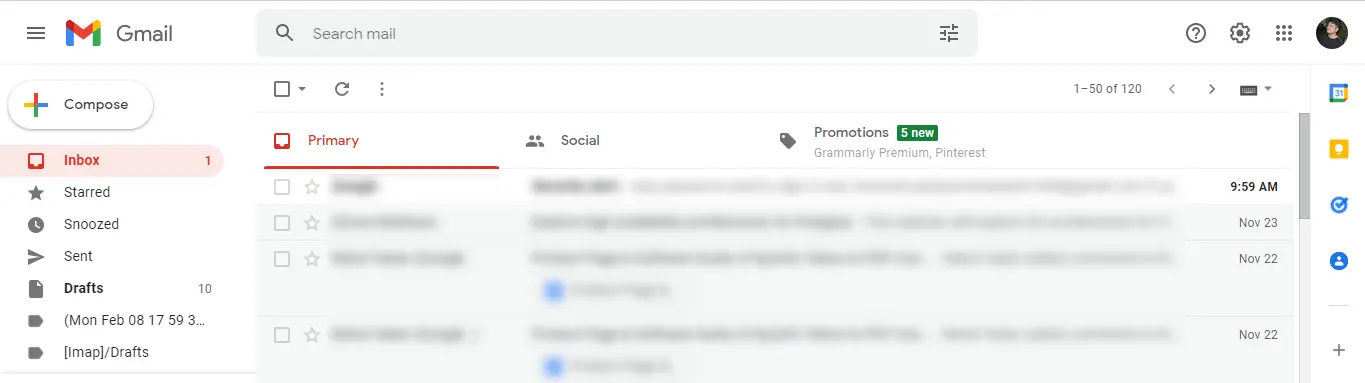
Step 1: Open Gmail and login with the required Gmail credentials.
Step 2: At the extreme right corner, you will find your Account icon, click on it, and opt for Manage your Google Account.
Step 3: Now, you will find this Google Account page on your screen.
Step 4: Select the Security option from the left panel.
Step 5: In the Security wizard, scroll the page and go to Signing in to Google.
Step 6: In the Signing into Google, click on the 2-Step Verification.
Step 7: Click on the Get Started button.
Step 8: Enter your Gmail account password and click Next.
Step 9: Now, click Try It Now to continue the process of getting set up to receive Google Prompts.
Step 10: Google sends a prompt to all the devices you have listed. To continue, click Yes in the prompt on your device.
Step 11: If you want to use another option like a Physical device, Text Message, or Voice Call, select another option from the drop-down. Click Continue.
Step 12: Now, you have to add a backup option like a Contact Number, and you will also have to verify the same by using a Text message or Phone call. Click Send.
Step 13: Type your Gmail account password and click the Next button.
Step 14: Now, enter your Code and click Next.
Step 15: Click on the Turn On button, and the Two-step verification of your Gmail account goes on.
Note: If you are using the SysInfo Gmail Backup Tool, then your two-step verification needs to be on because to sign your Gmail account in the software, you have to enter the third-party app password.
Enabling ‘Allow Less Secure Apps’ in Gmail lets older or less secure applications access your account. This setting is useful for apps that do not support modern security standards, such as OAuth.
Step 1: Open Gmail and login with the required Gmail credentials.
Step 2: Go to Less Secure App Settings:
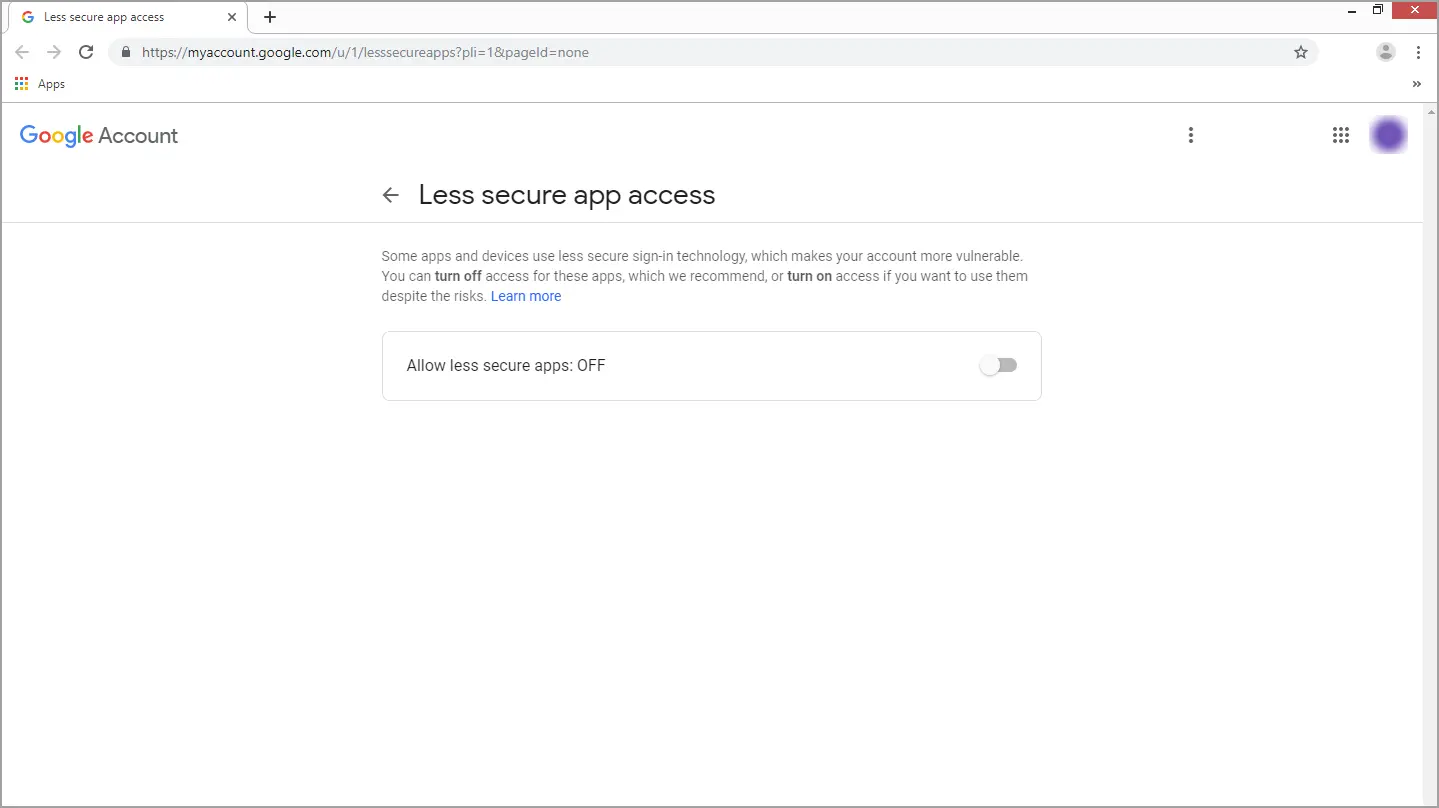
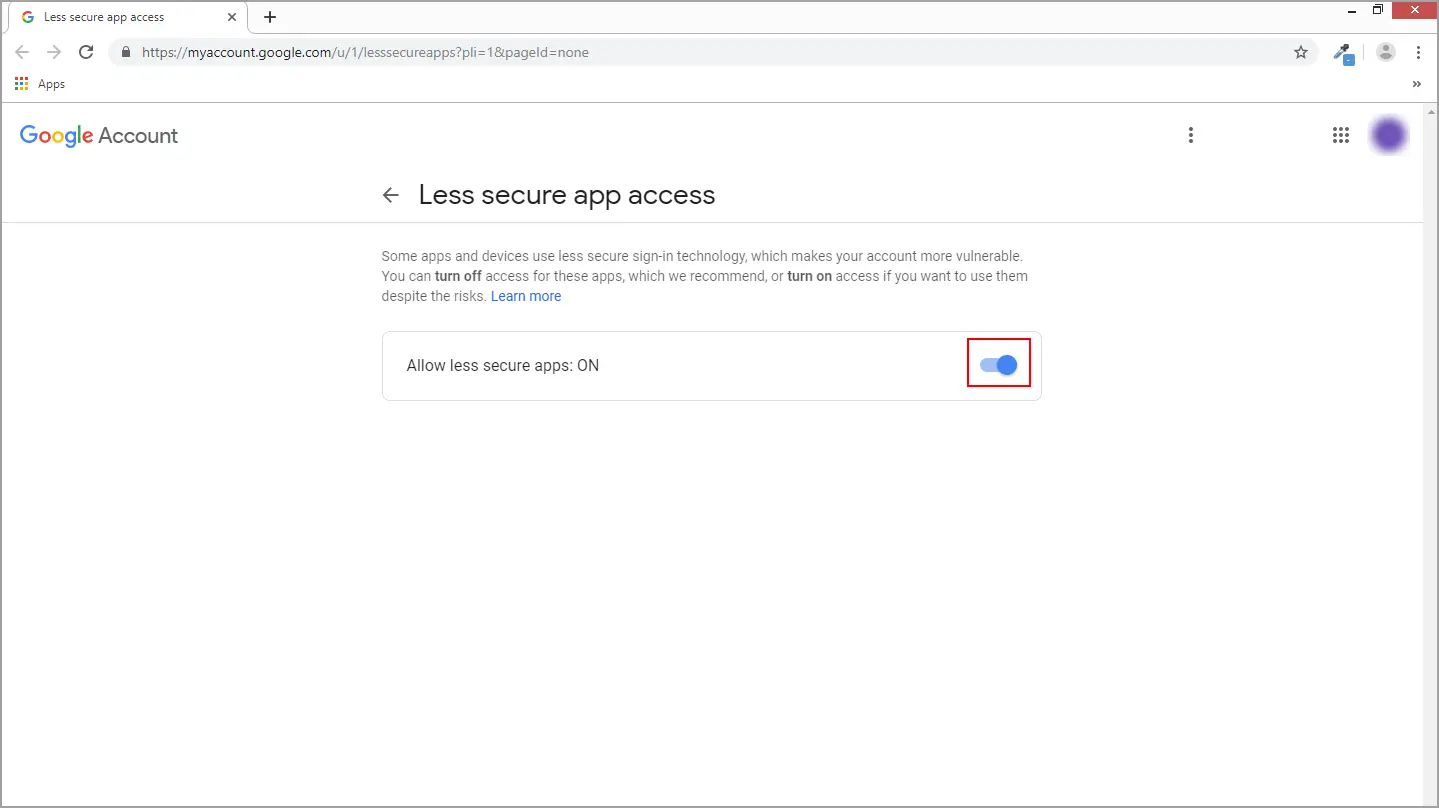
Step 3: Now, slide the toggle to the right to enable less secure app access. https://myaccount.google.com/lesssecureapps?pli=1
IMAP stands for Internet Message Access Protocol. It is a type of protocol that allows you to save messages from a mail provider's servers. Such as those for Gmail, onto your computer. Thus you will use it on another IMAP-compatible email to view or edit emails.
Note: To access Gmail from other email clients, you do need to enable IMAP access. To do so, follow the below steps:
Step 1: Open Gmail and login with the required Gmail account
credentials.
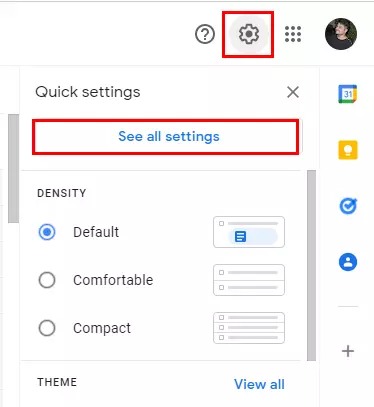
Step 2: Click on the Setting Gear Icon and opt for See
All Settings.
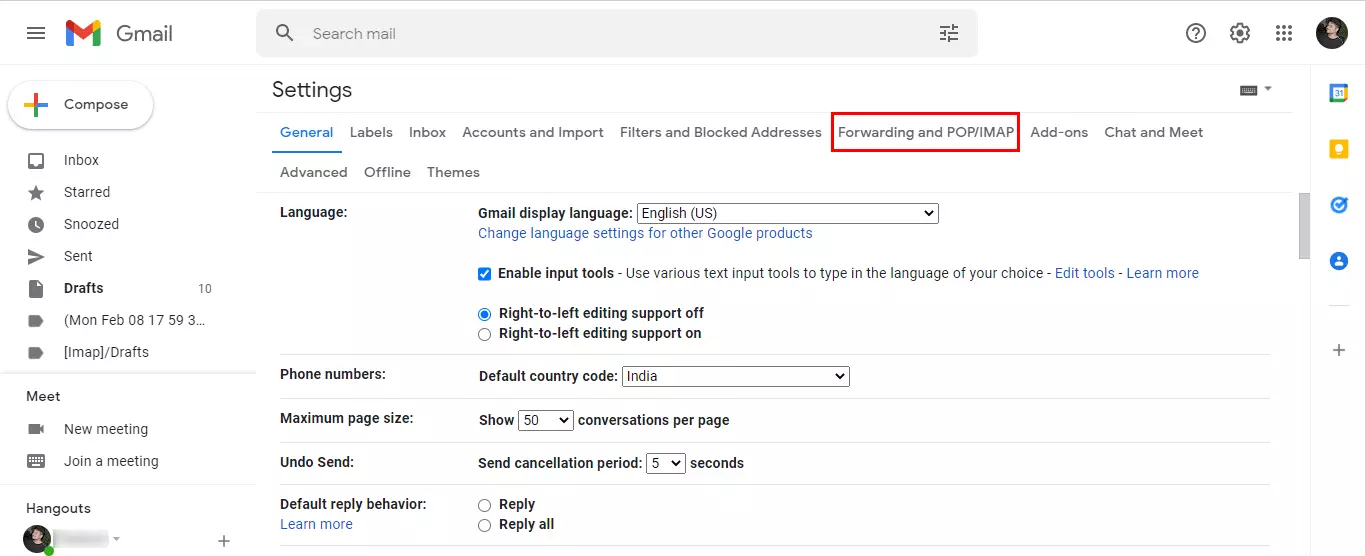
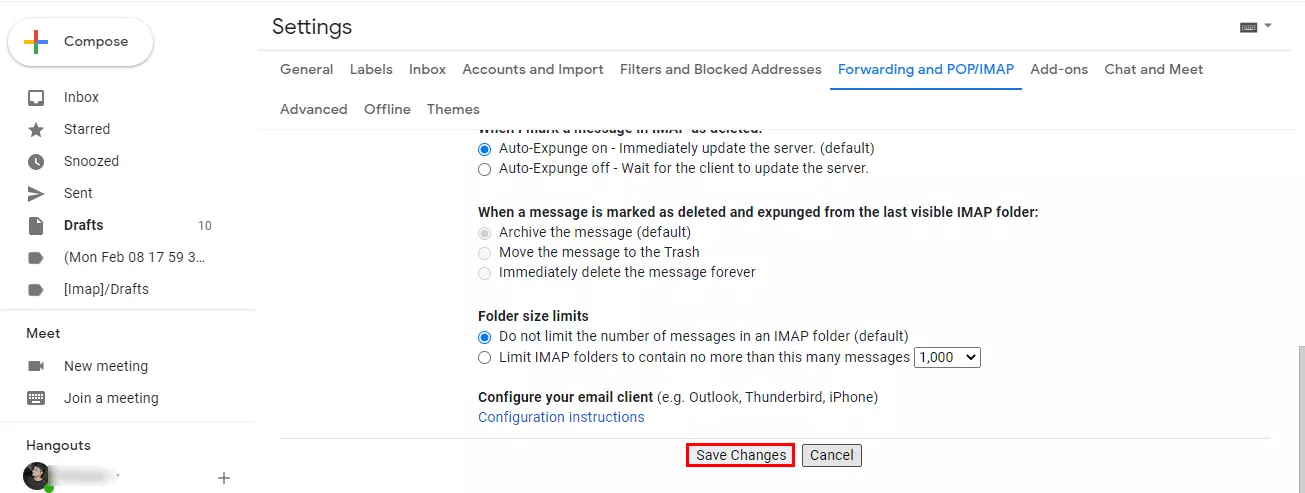
Step 3: Now, select the Forward and POP/IMAP tab from the Gmail
settings interface.
Step 4: Under IMAP access, click on the radio button of Enable
IMAP.
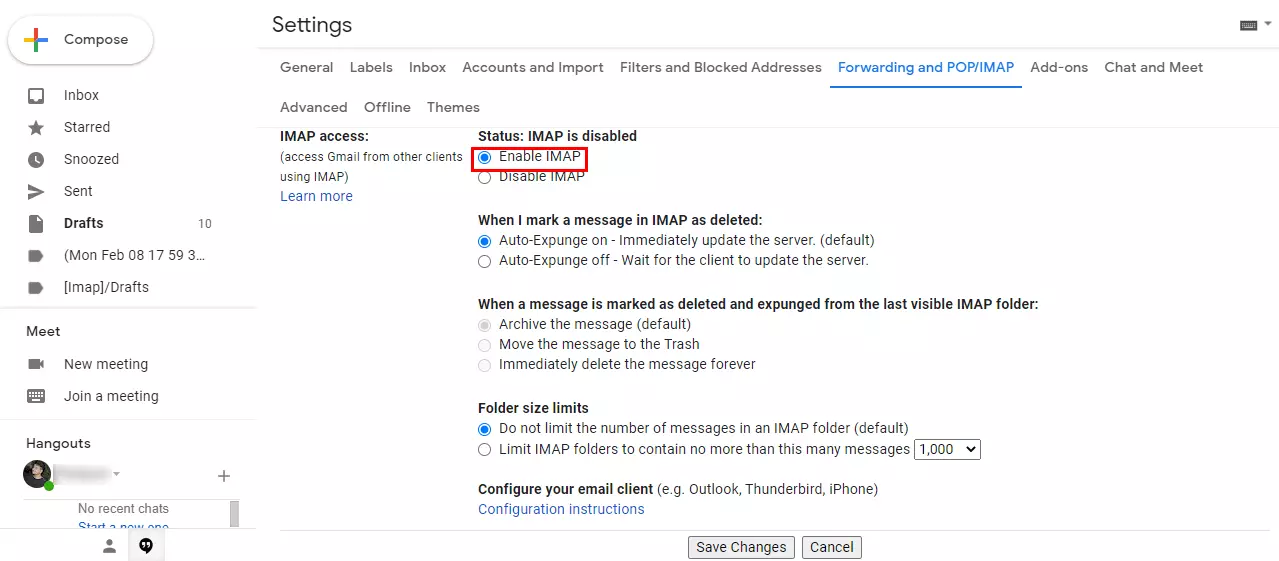
Step 5: After that, click on the Save Changes button.
Note: Now, it is required to change the SMTP & some other settings in your mail profile.
Follow the mentioned below information to update your settings:
Incoming Mail (IMAP) Server: imap.gmail.com
Requires SSL: Yes
Port: 993
Outgoing Mail (SMTP) Server: smtp.gmail.com
Requires SSL: Yes
Requires TLS: Yes (if available)
Requires Authentication: Yes
Port for SSL: 465
Port for TLS/STARTTLS: 587
Full Name or Display Name: Your name
Account Name, User name, or Email address: Your full email address
Password: Your Gmail password
Note: In this way, you can easily enable IMAP in your Gmail account. Further, you can also access your Gmail account with other email clients.
A third-party app password is crucial for securely accessing your Gmail account with external tools. Always prioritize secure methods to protect your Gmail account while utilizing the needed tools. Follow the procedure to create an app password for Gmail and use the Gmail Backup Tool. The tool enables users to convert/backup/migrate Gmail data securely.
Related Articles
How to Export Yahoo Mail to PST File Format? How to Migrate Yahoo Mail to Office 365 Account Easily? How to Change Yahoo Email Address? How to Setup Yahoo Mail in Outlook Email Client? How To Export Gmail Emails To PDF? How to Export Yahoo Emails to Computer? How to Save Gmail Emails with Attachments to the Hard Drive?