Procedural Screenshots of SQLite Database Recovery Software
To make the SQLite database file recovery operation easy and convenient, please take help of the screenshots given below

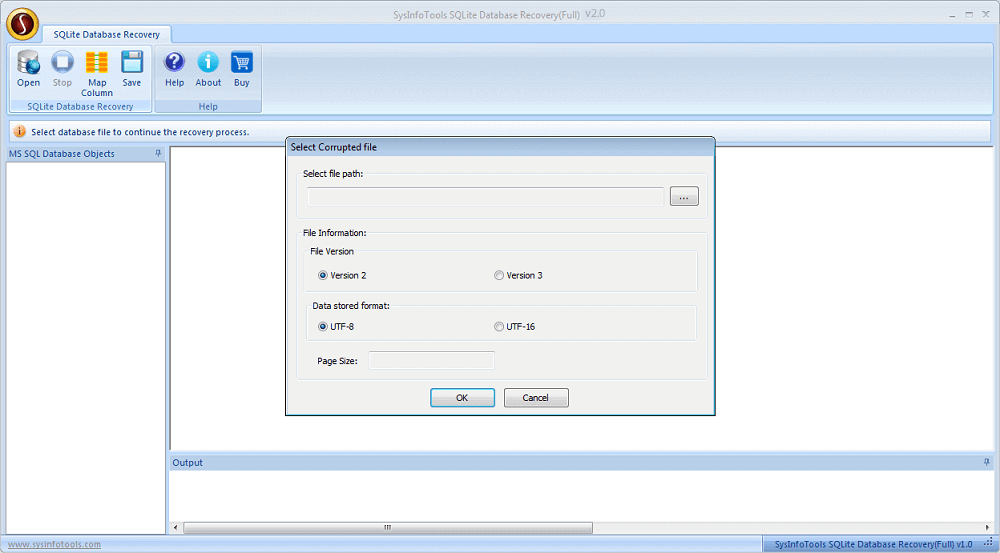
Step 1:
Launch SQLite Database Recovery software on your system. Click Open button and select the corrupt SQLite files to load on the software.
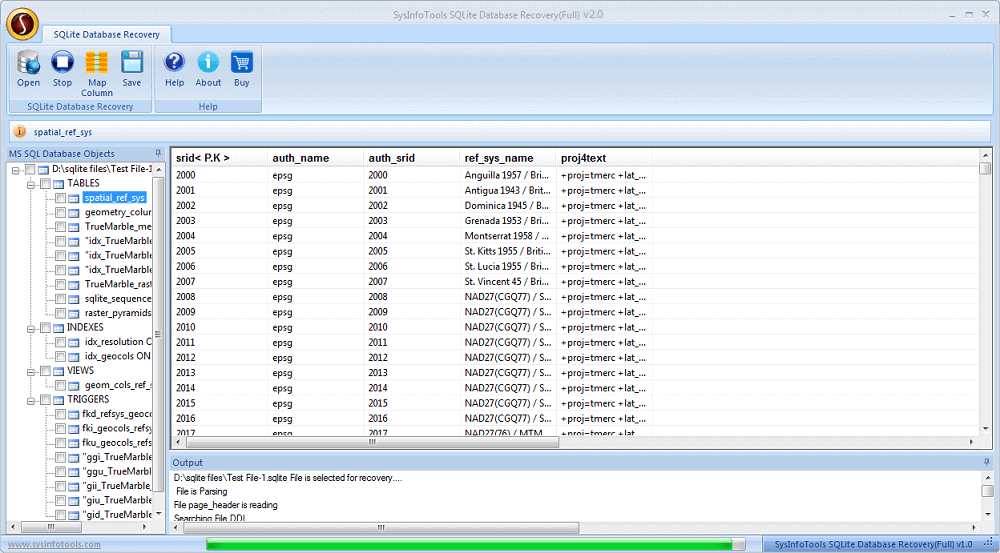
Step 2:
The scanning process starts executing on your system, you have to wait until it gets completed.
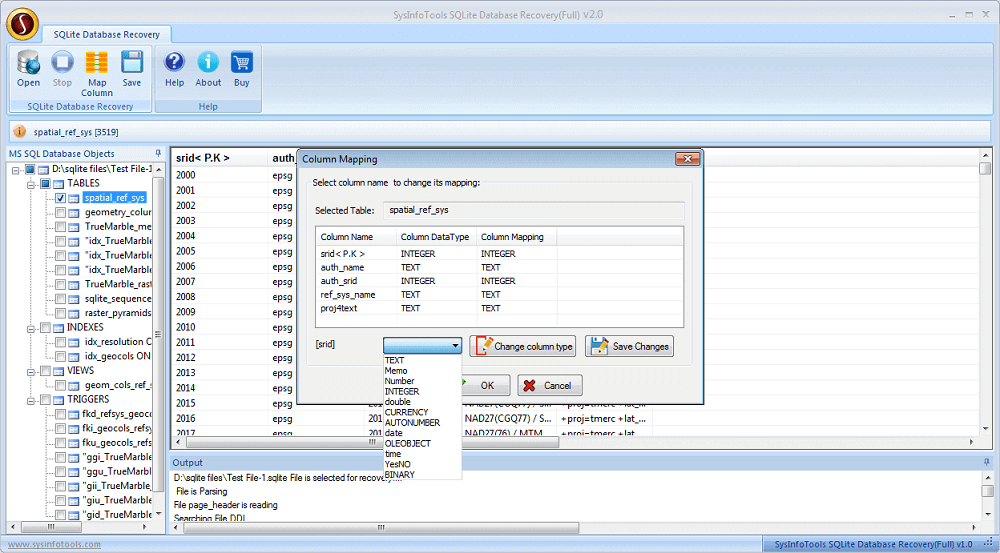
Step 3:
Click the recovered table in the list and click Map Column button if you want to change its column type.
Step 4:
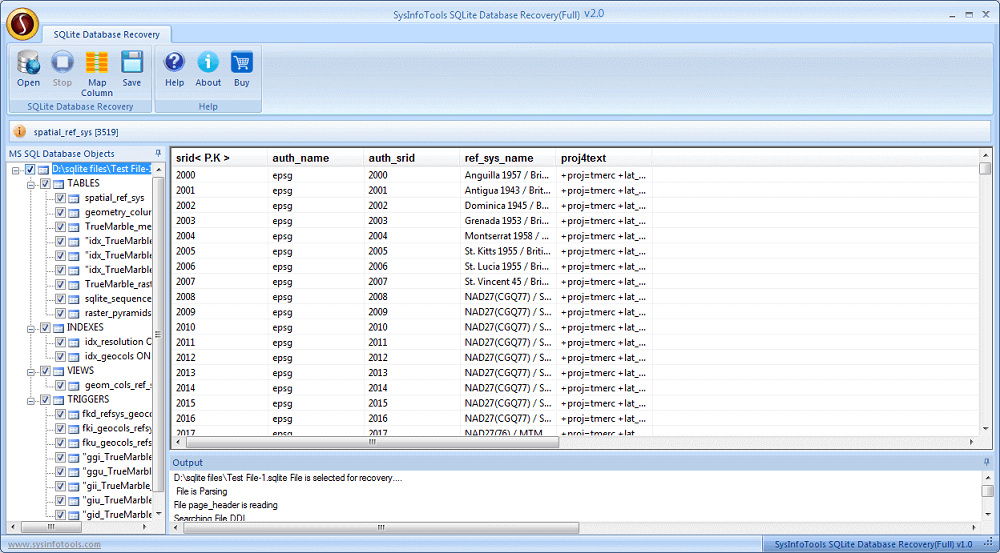
Now select the recovered tables you want to save. Or you can select the ROOT folder to save everything into a new database file. Then click Save button.
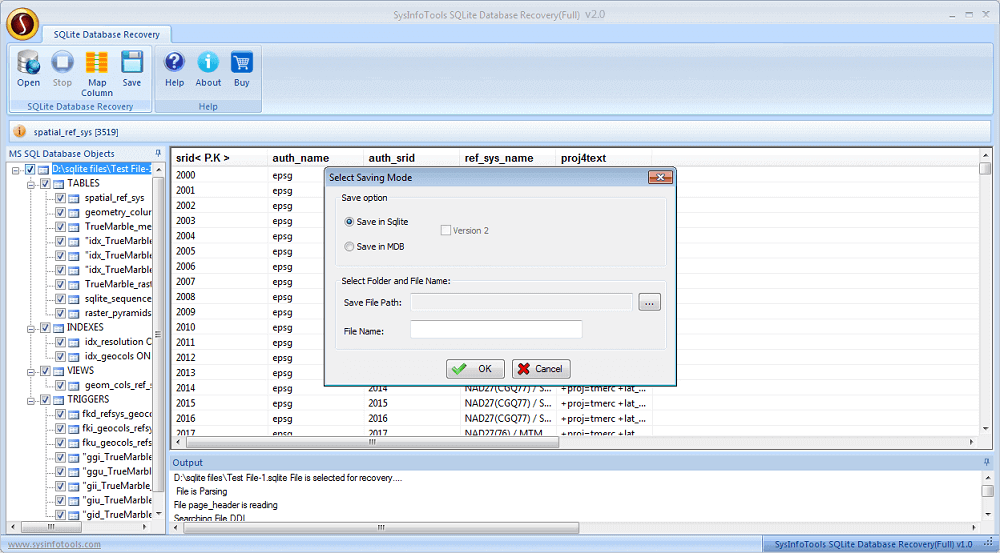
Step 5:
Select the option: either Save in SQLite to save recovered data into SQLite database or Save in MDB to save in MDB database. Click Browse.

Step 6:
Now define a location where you want to save the new database file. Also, give a name to this database file.
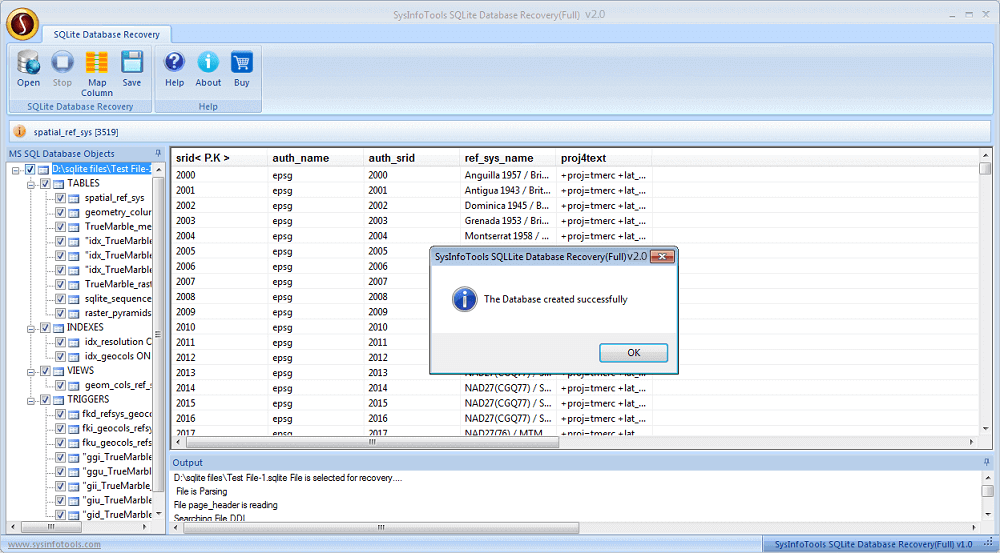
Step 7:
Within a couple of minutes, a database file will be created at the defined location.