Launch the Sysinfo MS Word DOTx Repair software with administrative privileges.
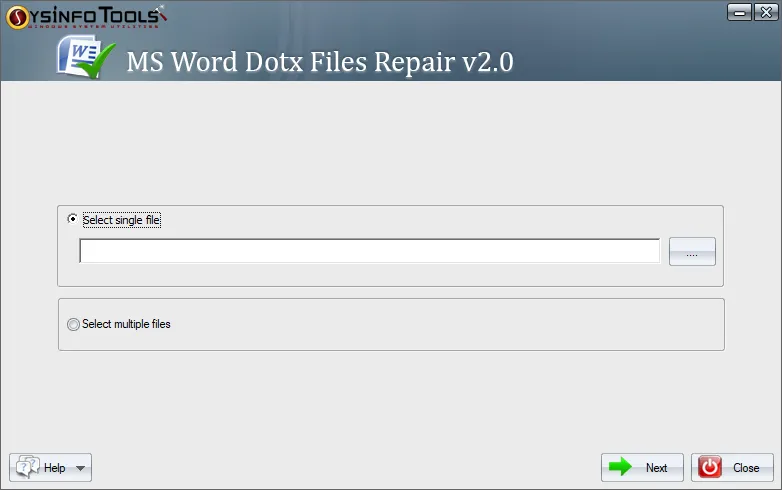
You will be presented with two options for file selection: Single & Multiple.
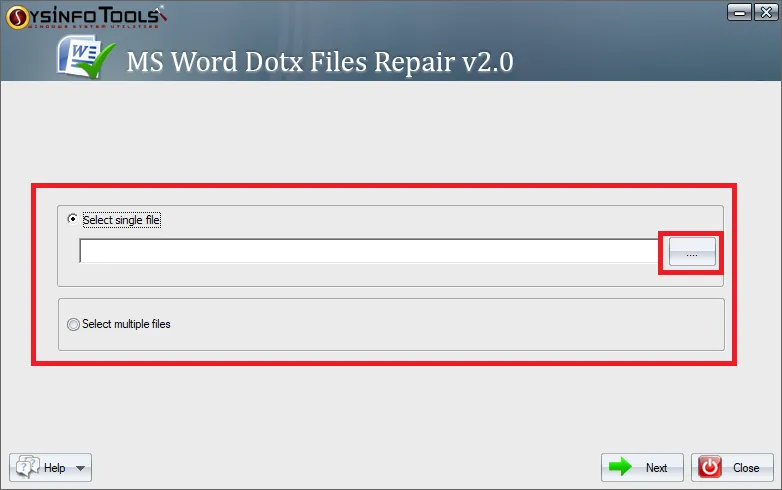
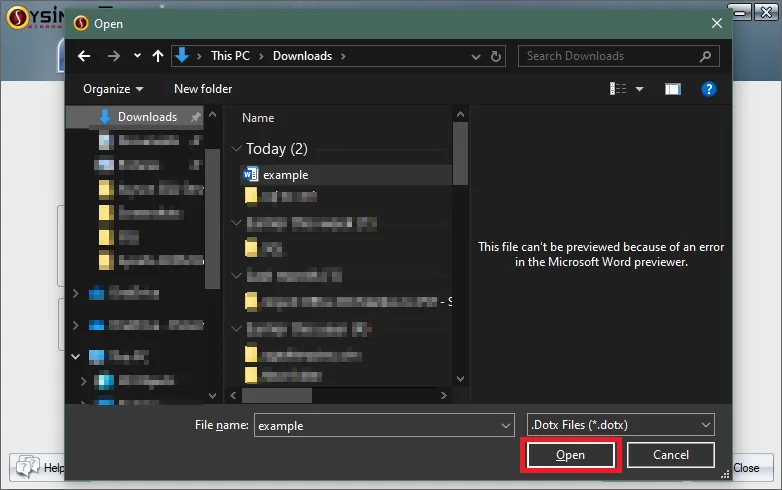
Browse and select the desired DOTx File. Then click on the Open button to add the DOTx file.
Now, preview the added DOTx File in the Wizard. Then click on the Next button to proceed further.

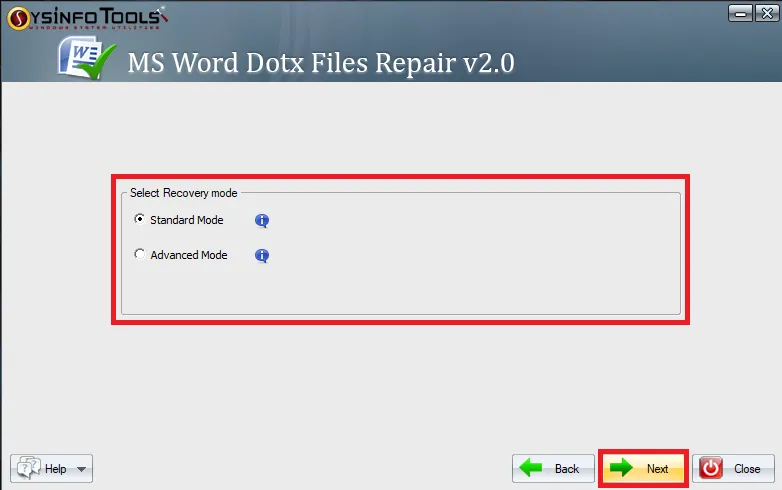
Select the desired Recovery Mode. There are two options Standard & Advanced Recovery Modes. Then click on the Next button
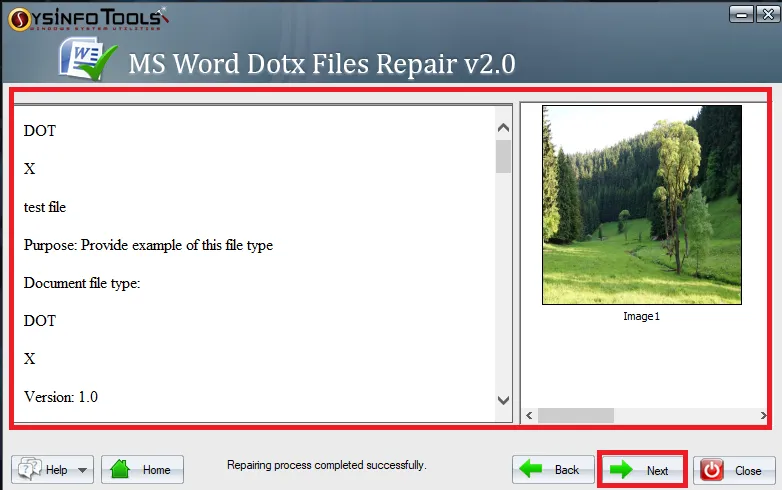
Now, preview the recovered DOTx file contents in the Advanced Preview Panel. Then click on the Next button.
Define the destination path by clicking on the button (...).
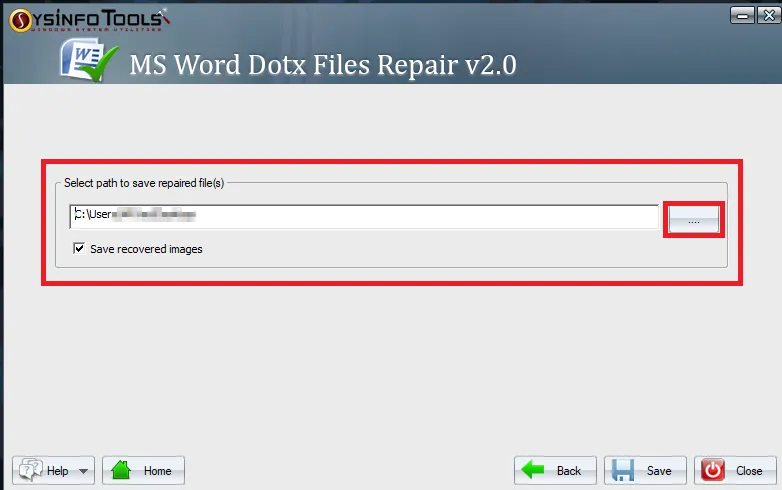
Finally, click on the Save button to complete the recovery process.