Launch the PPT Recovery Software and select the PPT files from your desktop.
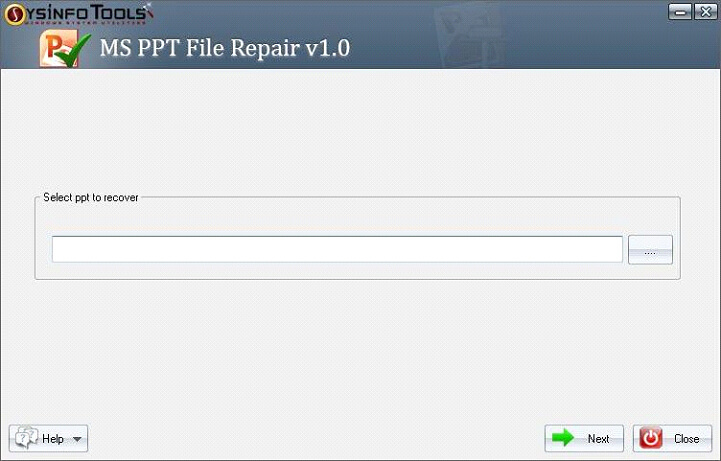
Click on the (...) button to add the corrupt PPT files to the wizard.
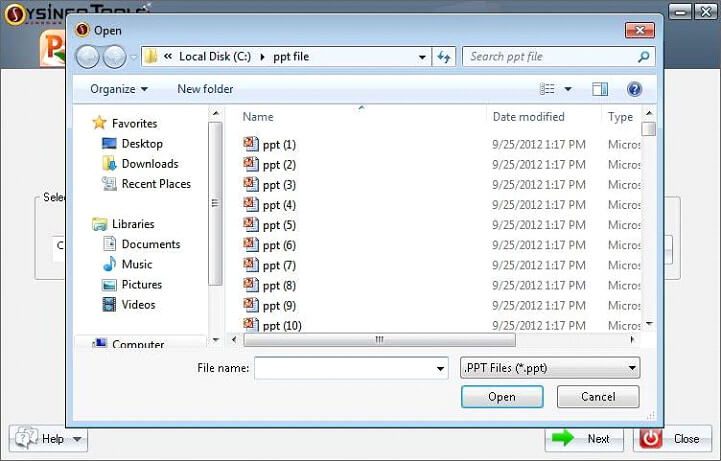
Now, the software will display the PPT files that have been added to the wizard. Then click on the Next button to proceed further.

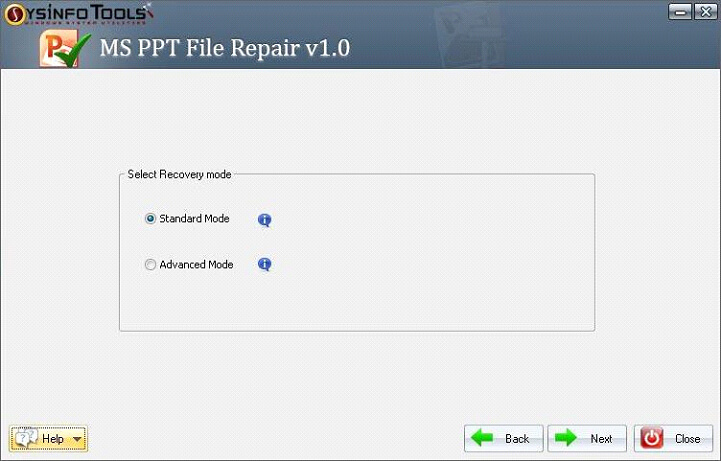
In this step, you need to select the Recovery Mode depending on the damage on your PPT file. There are two options Standard & Advanced.
Now, wait for the saving process to get it complete.
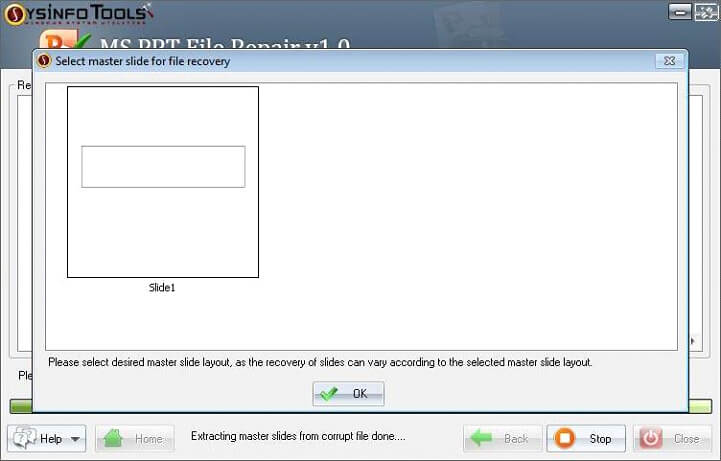
Now you need to select the master slide layout as the recovery of slides may vary.
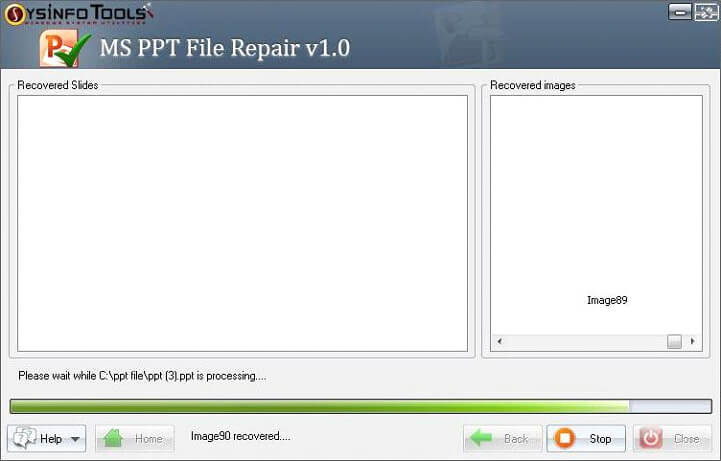
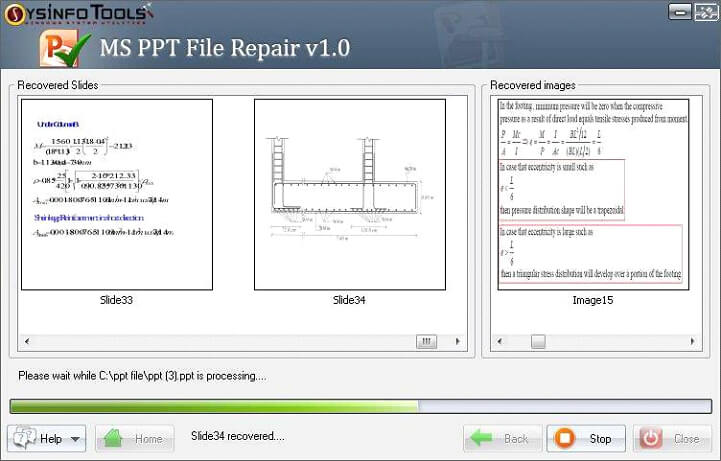
From here slides will recover respective ppt files. You need to wait till the process is completed.
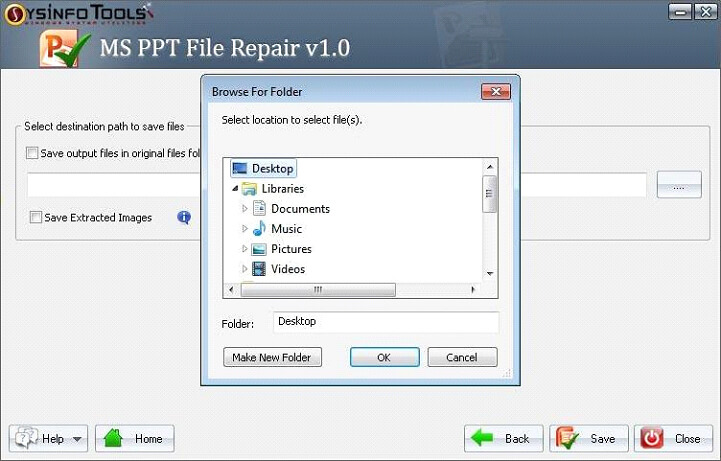
Now, click on the Browse button to define the destination path of the recovered PPT file.

Finally, click on the Save button to start the process of saving the repaired PPT files.