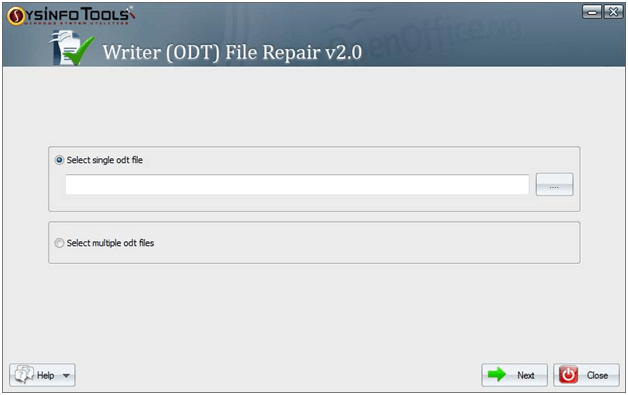
Launch the Sysinfo OpenOffice Writer Repair software and click on the browse button to add the corrupt ODT files.
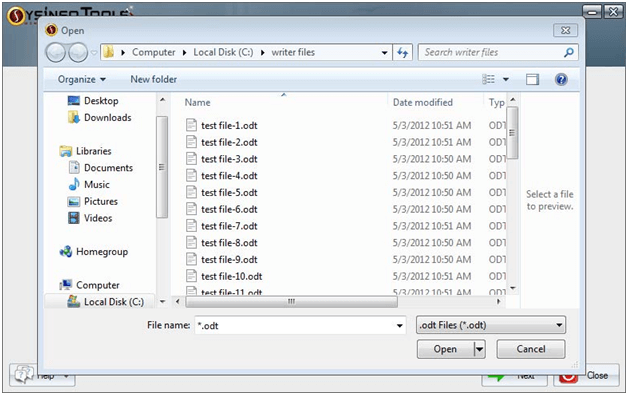
Browse the files and select the corrupted file. Click on Open.
Your file or folder’s location will be shown in the box. Confirm it and Click on Next.

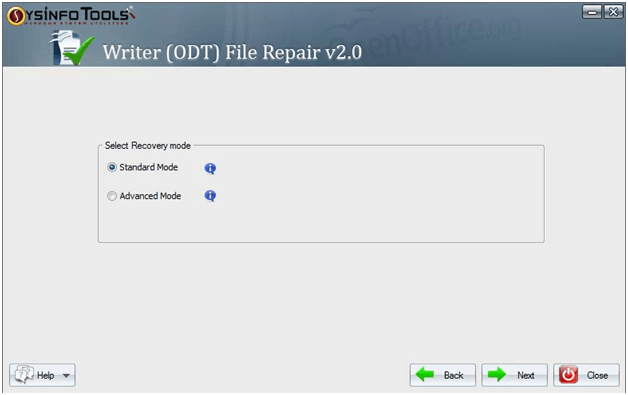
Choose the recovery mode according to the severity of corruption and Click on Next.
Please wait for some moments until the process is completed.
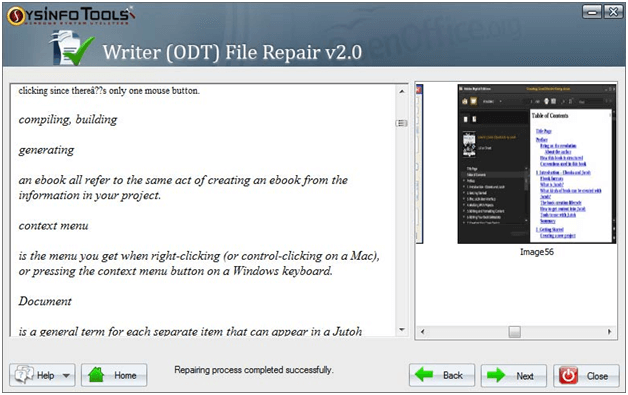
The Recovered data will be displayed in front of you. Click on Next to continue.
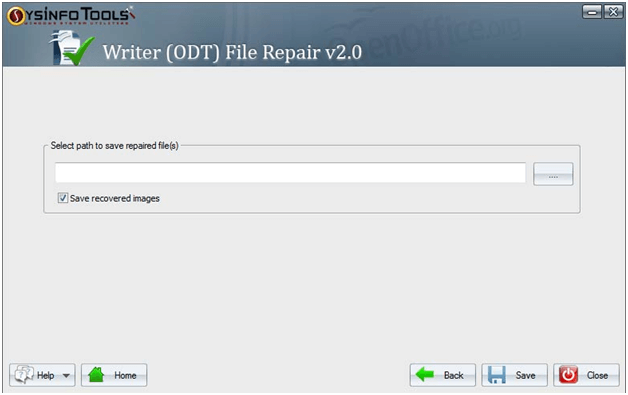
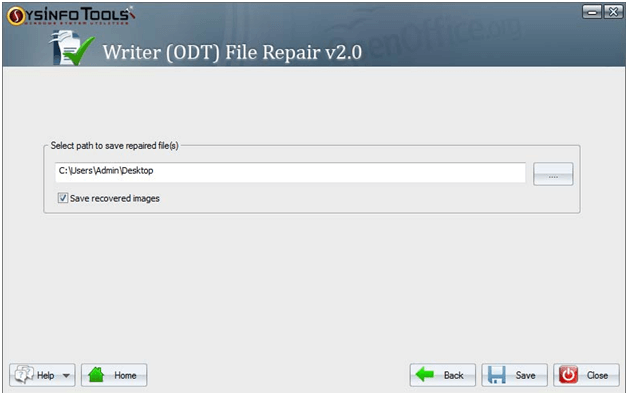
Navigate to the preferred location where you want to save the file by clicking on Browse.
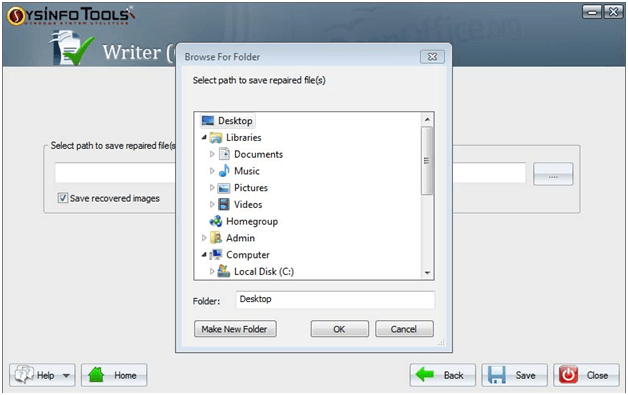
Select the desired location and Click OK.
Your location choice will be displayed in the Edit box. Confirm it and Click on Save.
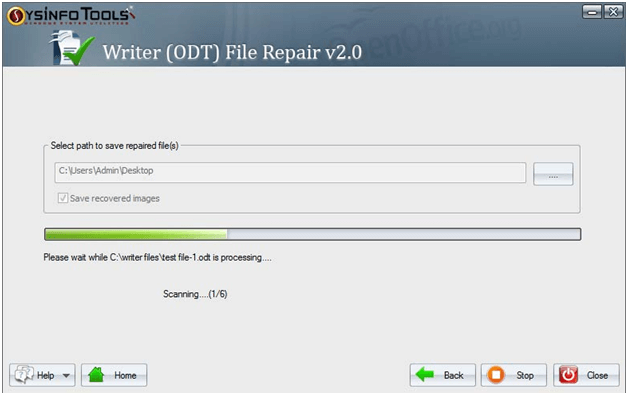
Just wait for the saving process until it completes.
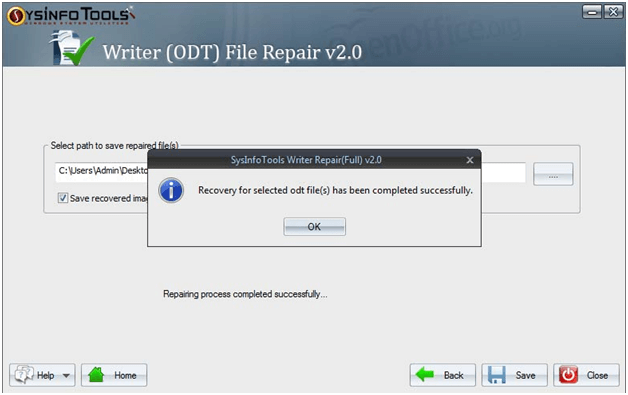
A confirmation box of recovery will appear. Click OK and close the application.