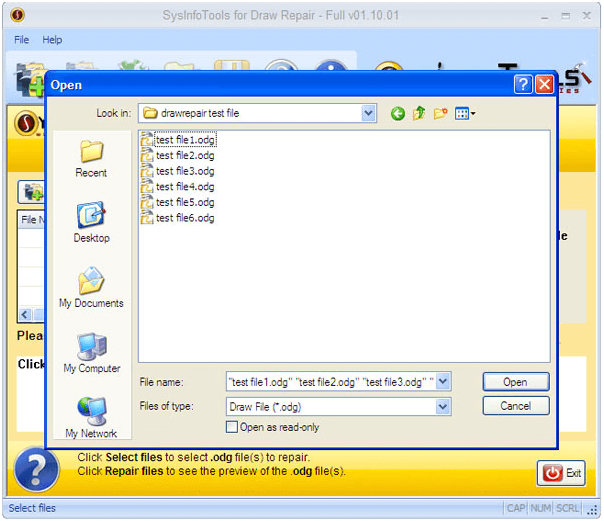
Step by Step Guide to Repair Severely Corrupted Open Office ODG Files

STEP 1

Launch Open Office Draw Recovery tool and Select the Corrupt ODG files. Then Click on Open.

Draw Recovery Step 1
STEP 2

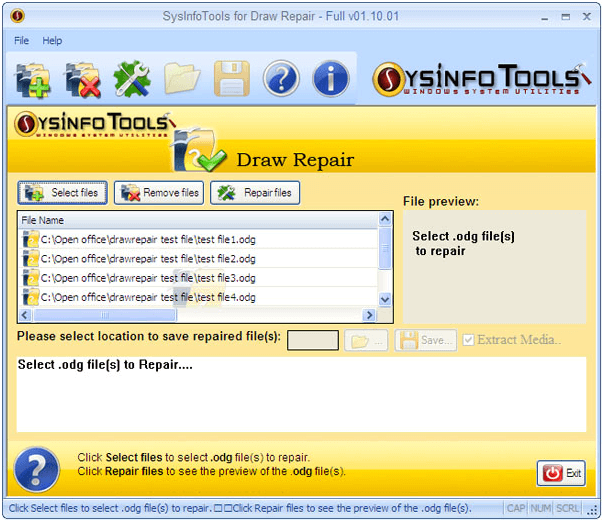
A list of corrupted files will appear. Review it and then Click on Repair Files.
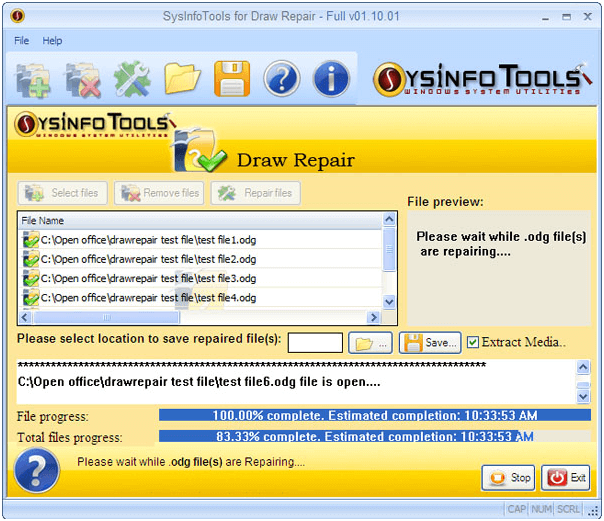
Draw Recovery Step 2
STEP 3

Recovery Process will Start. Wait until it is done.

Draw Recovery Step 3
STEP 4

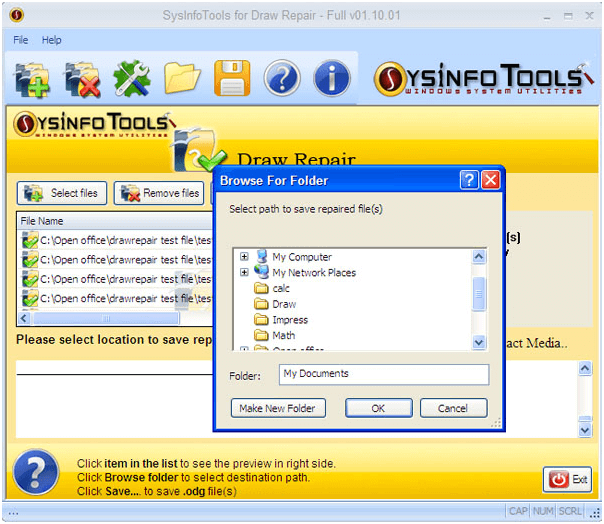
Choose the desired location where you want to save the Recovered ODG files and Click OK to apply.
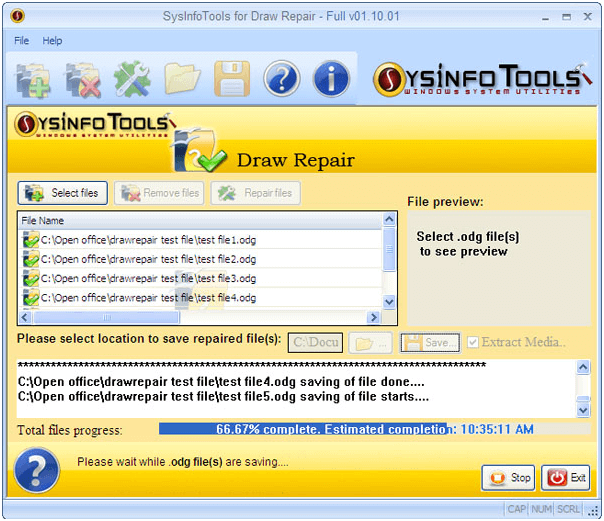
Draw Recovery Step 4
STEP 5

Saving process will start and you can see the progress meter. Wait until it completes.

Draw Recovery Step 5
STEP 6

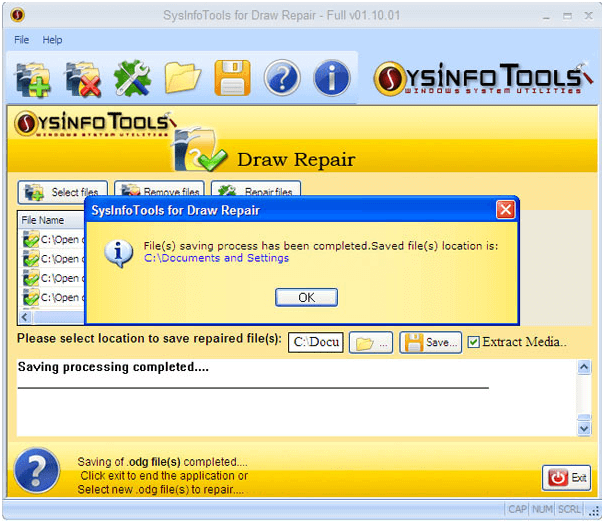
Once the process completes you will get a confirmation. Click on OK button and you can view the file on the location which you have selected.

Draw Recovery Step 6
STEP 7

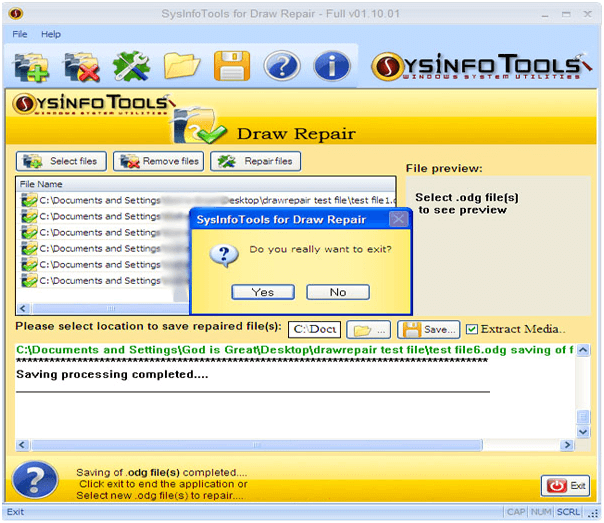
Close the application if you don’t want to use the application for further recovery and Click on Yes.

Draw Recovery Step 7
System Requirement
sysinfo Draw Recovery box
  • Pentium class processor
  • Minimum 512MB RAM (1GB recommended)
  • Support Windows 10/8.1/8/7,2008/2012(32 & 64-bit)
  • 50 MB Software installation
  • Disk Space - Enough space to store recovered output
  • Support OpenOffice 4.1.5 and its below versions
What's New in this Version?
Draw Recovery
  • Displays Preview of Recovered Data before Saving
  • Allows user to save recovered data on his desired Location
  • Recovers each and every contents like texts, images, etc.
  • Compatible with all the versions of Open Office
At Service Since 2010
Trusted by Millions
SSL Secure