Recover Corrupt Data from VHDX File Using SysInfo VHDX Recovery
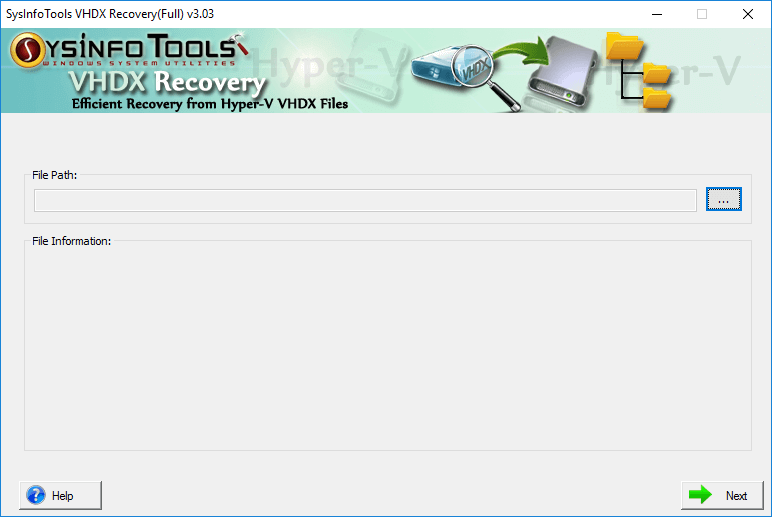
Download and launch SysInfo VHDX Recovery software. Now click on the “…” browse button to locate your VHDX files and extract or recover data from it.
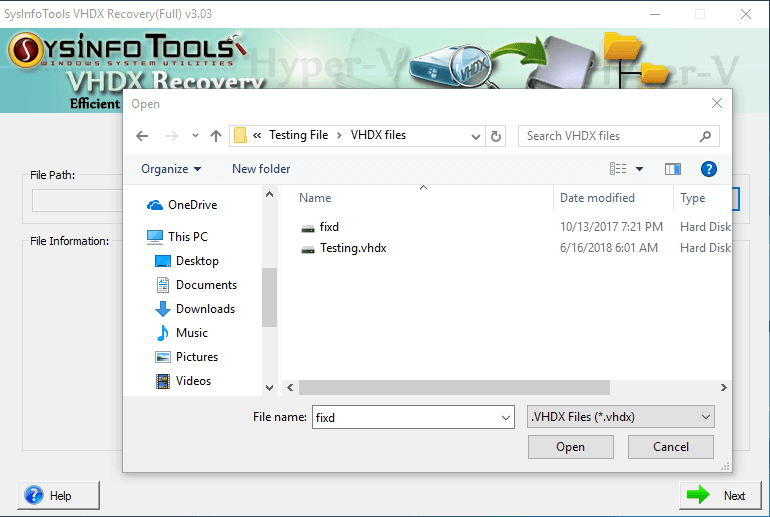
After you click on the Browse Button that will open a Window, select the corrupted .vhdx file to recover data. Click Open Button.
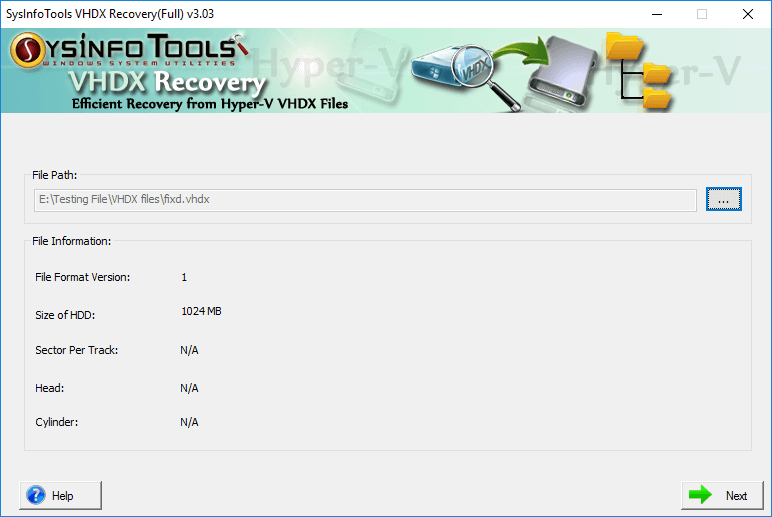
The software will show you the information of the selected file like its size, version, sector per track, head, and cylinder. Click Next to proceed.
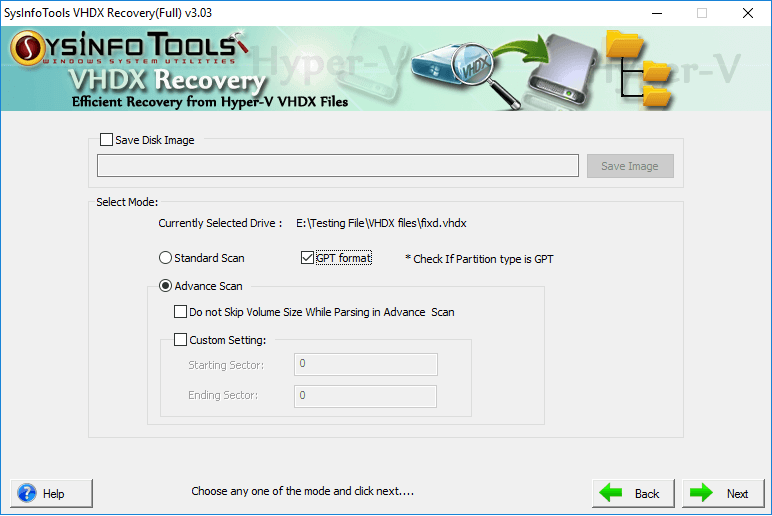
Choose any of the scanning modes; Standard or Advanced, as per your requirement that will scan the VHDX file. If your file supports GPT Partition then select the checkbox of GPT Format. The software gives you an option to save the image of the disk while scanning, click on the “Save Disk Image” option if you want to save the process. Lastly click on Next button to start the scanning process.
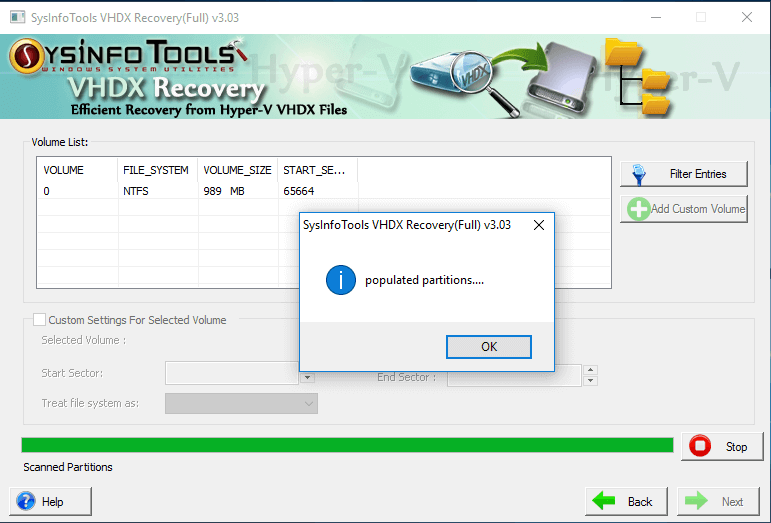
After the scanning process completes, you will get a popup window showing “populated partitions” click OK to move to the next step.
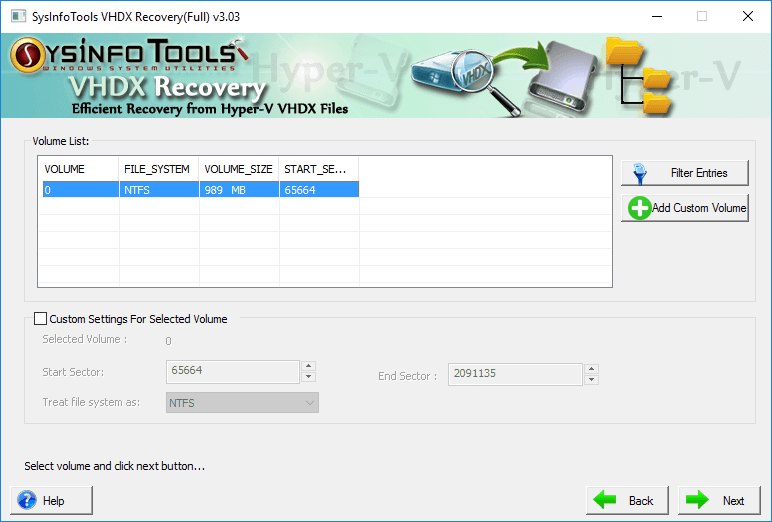
In this window you can see the volume list with its particular file system, size and start session. You can either add a new Volume by clicking on “Add Custom Volume” or “Filter Entries”. The select volume can also be customized by on the basis of their start and end session or file system, for the check the “Custom Setting For Selected Volume”. After all the selection completes click on the Next Button.
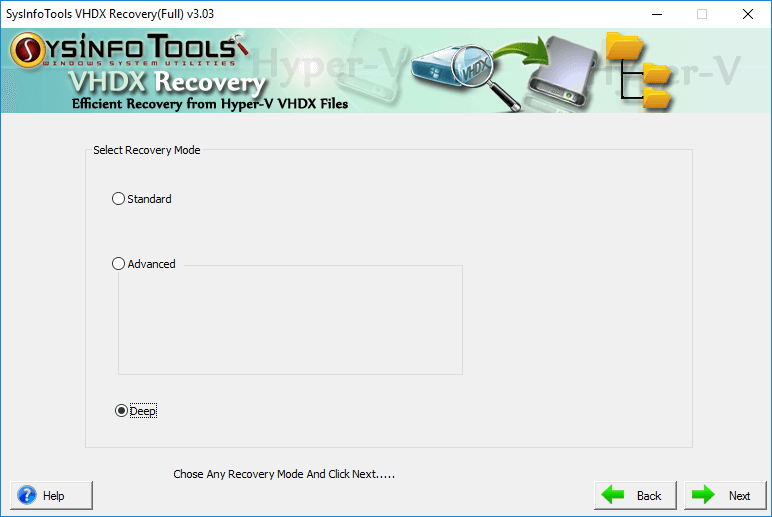
Choose the Recovery Mode as per you corruption level in the VHDX file.
After the recovery process finishes, you will get a popup dialog box saying that the scanning is completed. Click OK and proceed to the saving process.
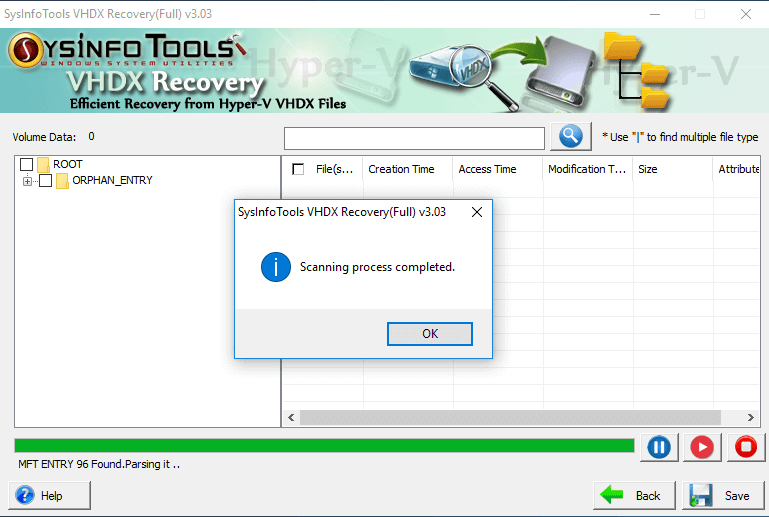
The software recovers each and every files with the VHDX file, as shown in the image below. Choose the file(s) from the file directory shown, that you want to save. And click on the Save Button.

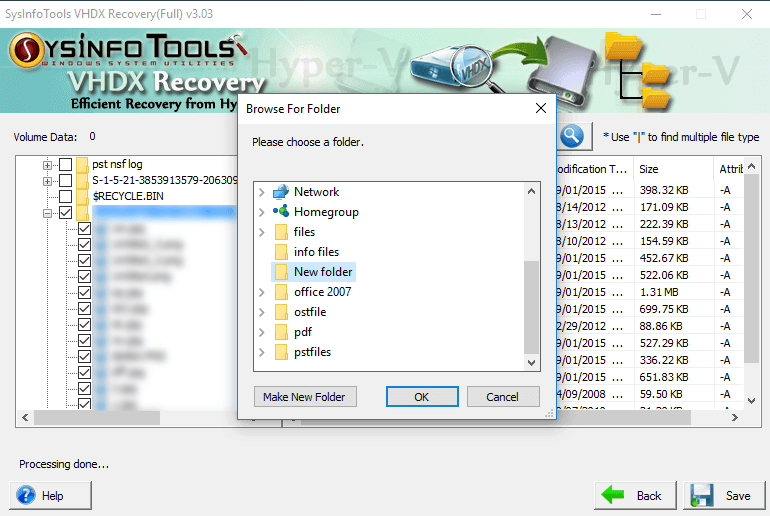
Now select the destination folder to save or extract the recovered data in VHDX file and OK Selection.
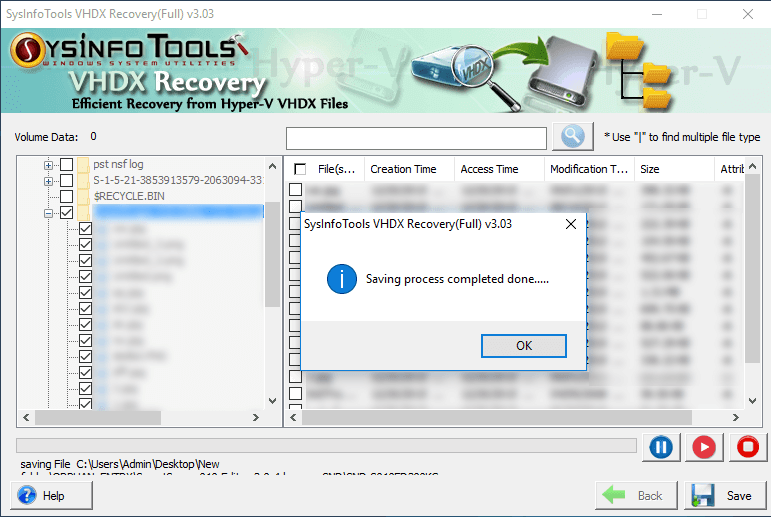
The Saving process will take few of your minute to save the files to the selected location. Once it completes give a message saying “Saving process completed”. Click on the OK button.
Complete Software Documentation
System Requirement
What's New in this Version?
- Improved and intuitive interface.
- Faster scanning and recovering process as compared to older version.
- Enabled Raw Recovery mode.
- Fixed and removed every software errors and Bugs.