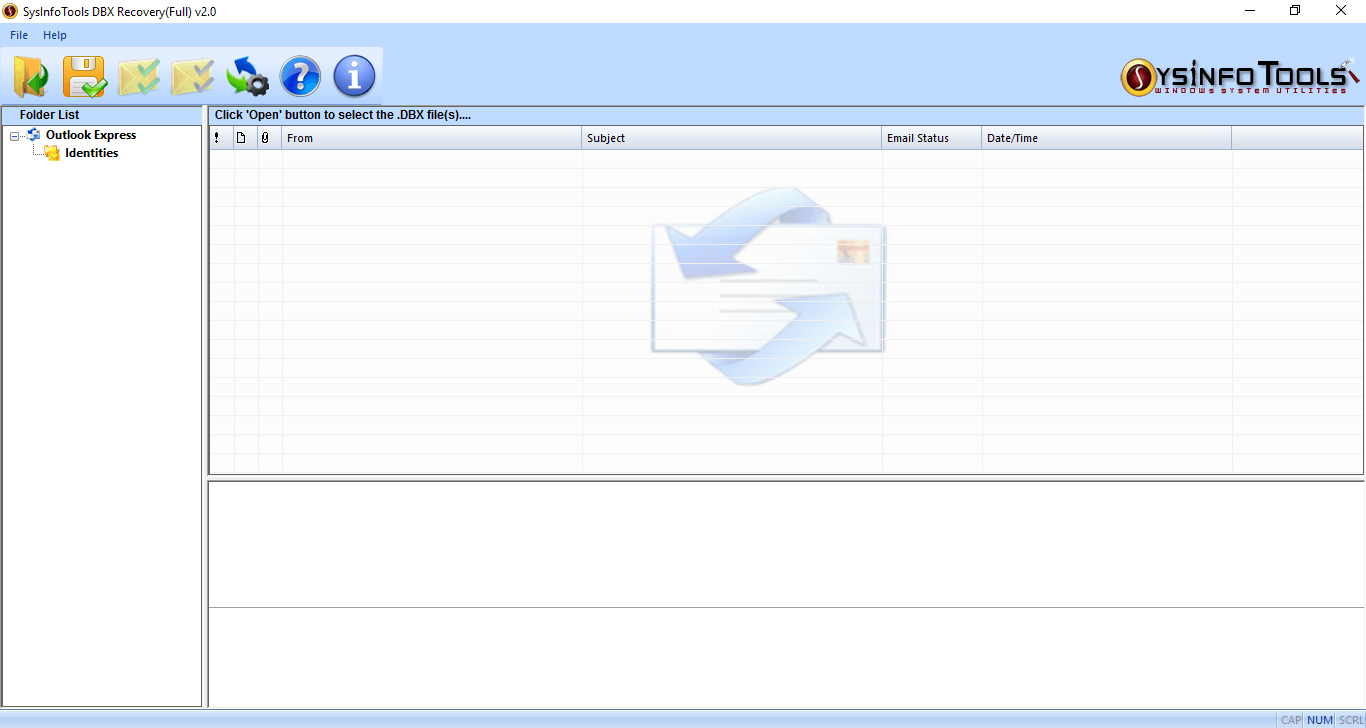
Launch the SysInfo DBX recovery Tool you will find this type of window on your screen. Click on the Open Button from the main menu bar to open the DBX that you want to recover.
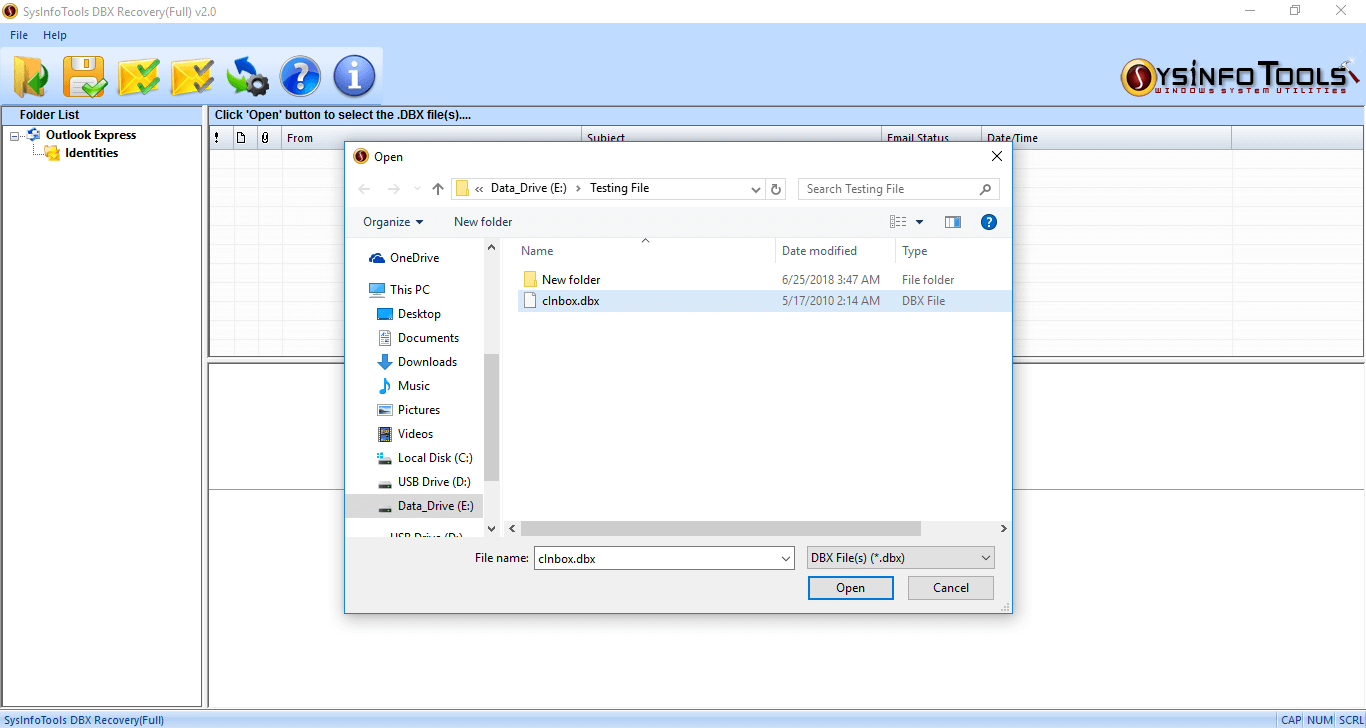
Browse the file from the system the drive where your file is saved. Click to Open button after selecting the corrupted .dbx file.
Once you add the file, click on the added file within the application. A popup window will appear that will show you the recovery modes(As Image Shown below). You can also choose the RAW Recovery option if you want to.
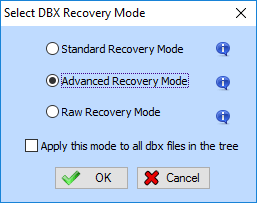
After you have selected the mode, the recovery process will start and the process will scan all your lost emails.
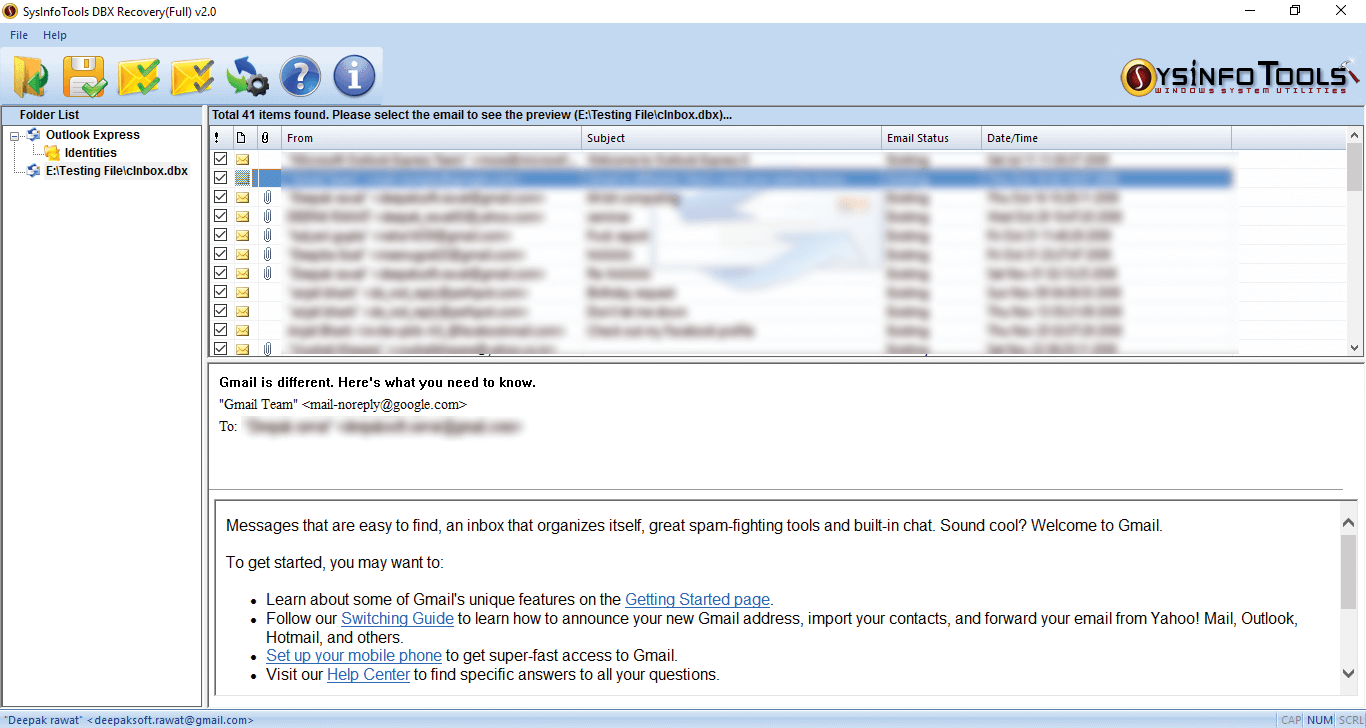
When the process finishes, all the emails within the DBX file will appear in front of you & can check the preview of all your mail items. Select an email to check the preview in detail.
To save the emails or recovered DBX file click on the Save Option from the taskbar, which will show the options to save the file as EML, DBX, MSG, RTF & PST(well here we are selecting the option "Save as PST").

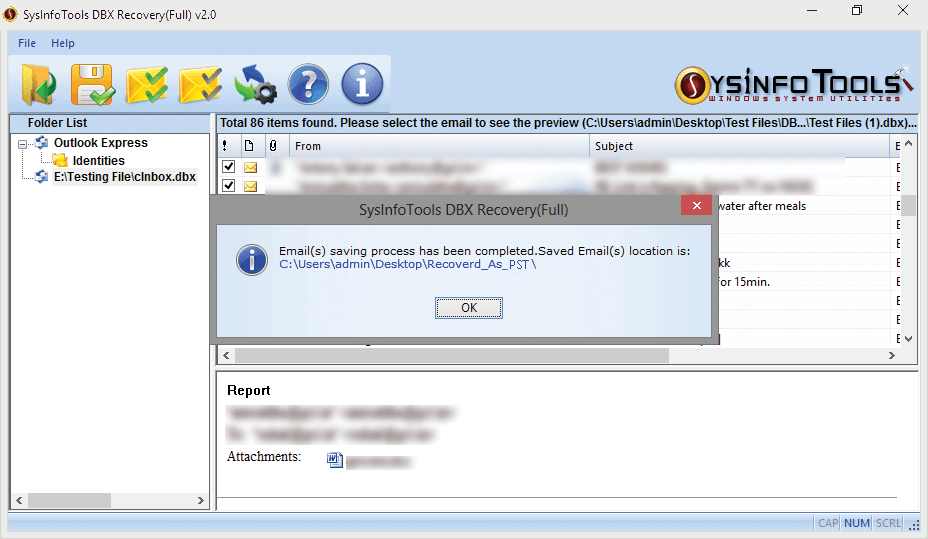
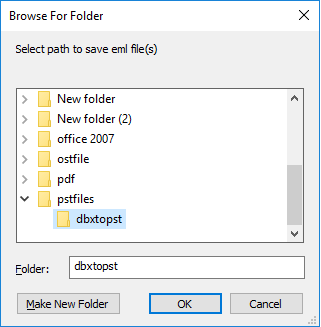
Select the location to save the recovered email from the DBX file as PST, Click on OK.
Click OK, after the saving process is completed and you can find your corrupt files on your saved path.