Launch the PDF Manager Tool on your system. Run it as an administrator.

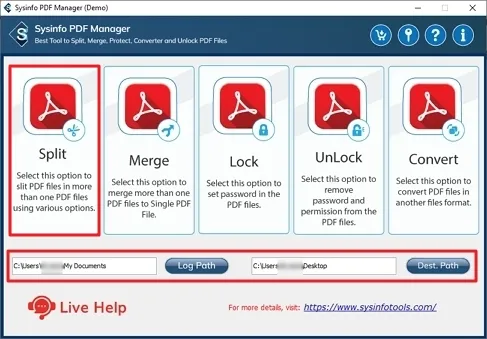
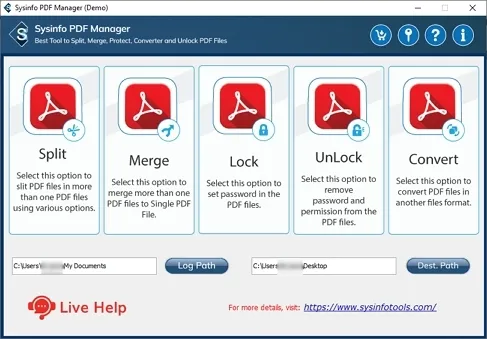
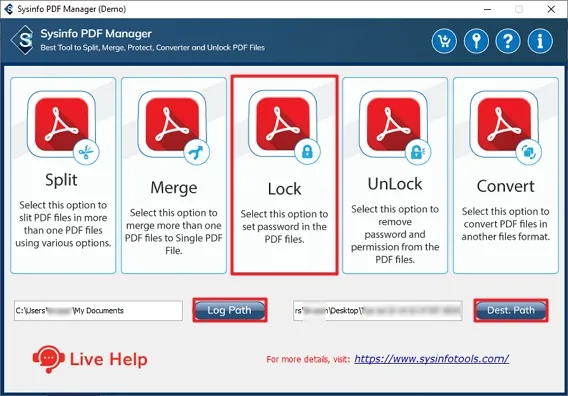
Click the Log Path button to specify the path for the software log file. Subsequently, click Dest. Path button to enter the path to save the resultant PDF. Click Split.
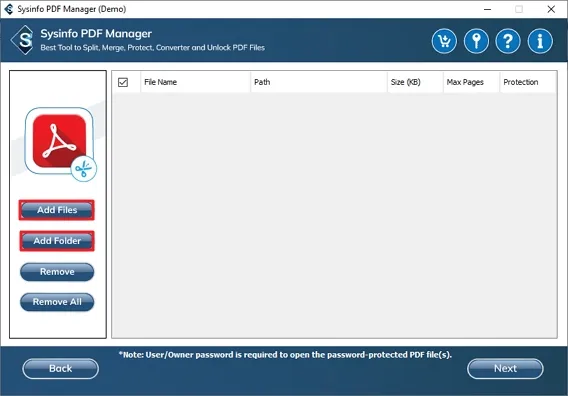
Now, you have two options. Either choose Add Files to add single/multiple files or Add Folder to insert a folder in the software wizard.

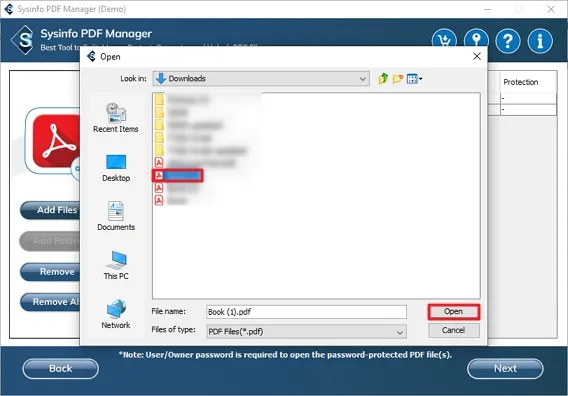
Next, browse and locate the PDF files that you want to split. Select them and click Open.

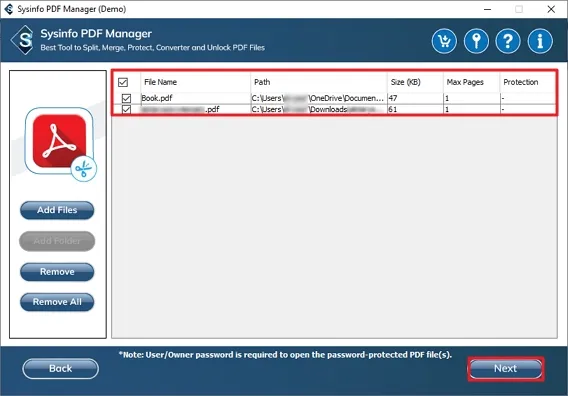
Here, check the added PDF files. You can remove the unnecessary files. Click Next.

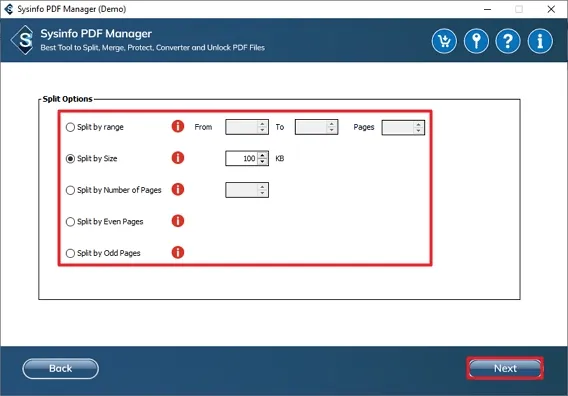
This tool provides you with different options to split. However, you can only choose one of the following:
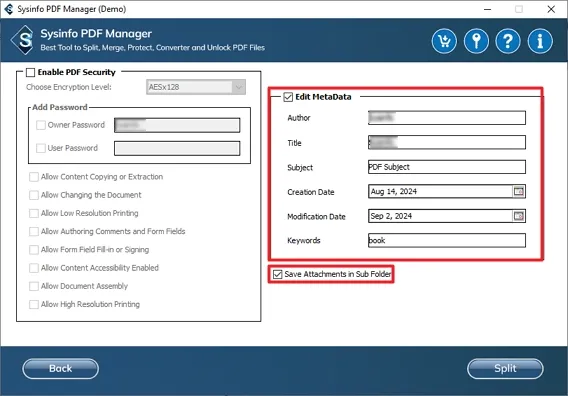
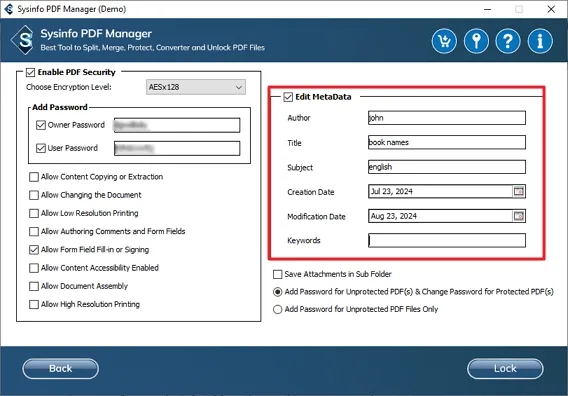
The tool has an option to enable PDF Security. In this, choose the encryption level and enter Passwords for your PDF. Additionally, choose other security options as required.
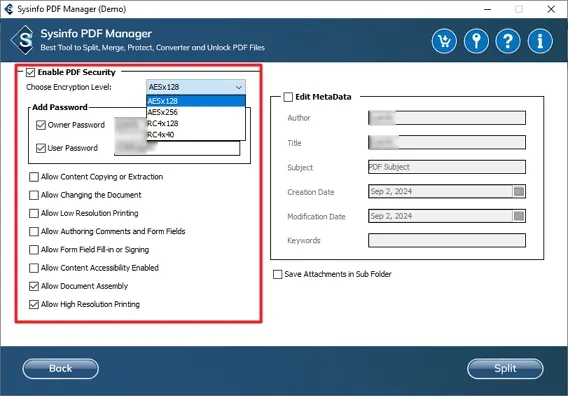
Furthermore, choose to Edit MetaData of the PDF file manually. Also, you can select the Save Attachments in Sub Folder option to store them in a different folder.
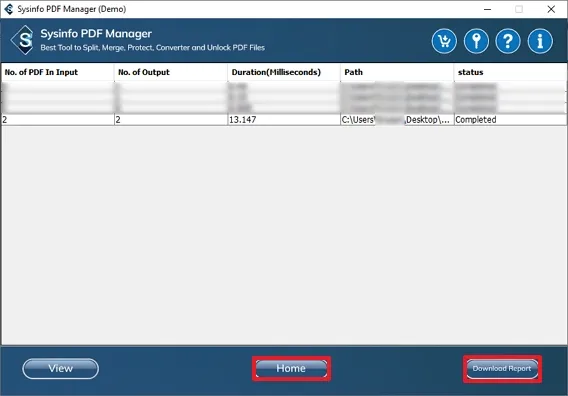
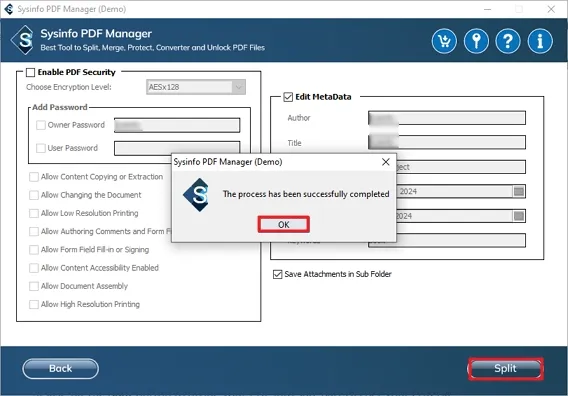
At last, hit the Split button to divide your PDF into sub-parts based on your criteria. Once done, click OK.
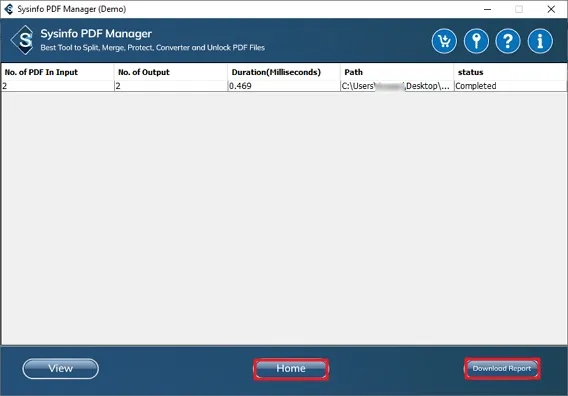
You can also view a report of PDF Split by clicking the Download Report button. In addition, click the Home button to restart the process.
Download and Install the PDF Manager Tool on your system. Run it as an administrator.
Click Dest. Path button to specify the path to save the resultant PDF. Further, click Merge.

Choose either of the two options: Add Files to add single/multiple files or Add Folder to insert a folder in the window opened.
Afterward, locate the PDF files that you want to merge.
Select them and click Open.
Note: Ensure you select more than one PDF. Otherwise,
this feature may not work.
Now, check the added PDF files. Remove the files or add more PDFs. Click Next.
Select the Enable PDF Security option to protect your PDF. Choose the level of Encryption and specify Passwords. In addition, checkboxes for other needed security filters.
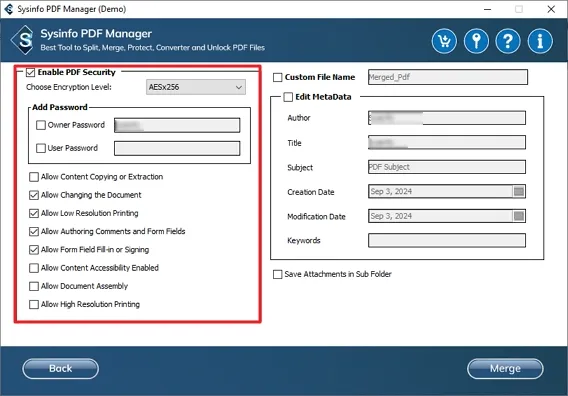
Furthermore, choose to Edit MetaData of the PDF file manually. Enter the required details and add a title and subject for your PDF.

Moreover, you get two additional filters. Select them to make your PDF file search easy. These are:
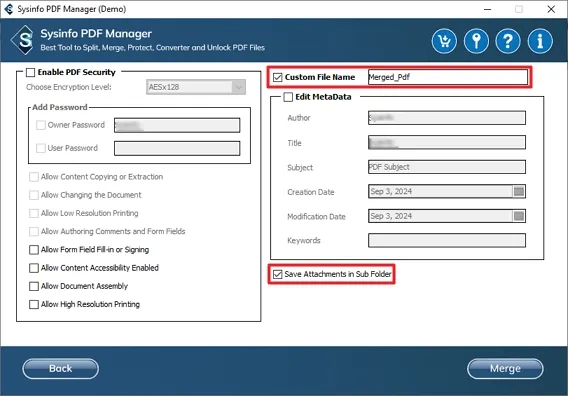
At last, hit the Merge button to combine all the selected PDFs as one PDF.

If you wish to see a detailed report of your merging, click the Download Report button. Moreover, click the Home button to restart the process again.

Launch the PDF Manager Tool on your system. Run it as an administrator.

Enter the Log. Path and Dest. Path for your PDFs. Click Lock.
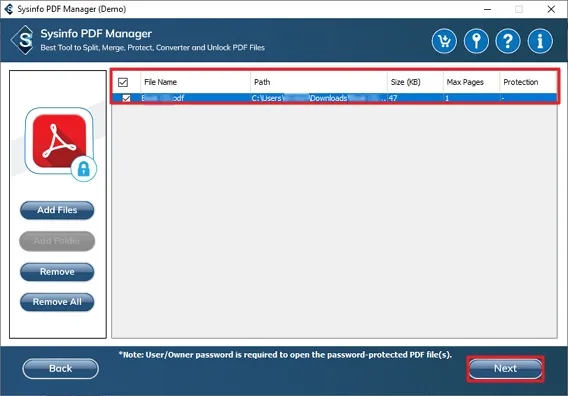
Next, select Add Folder to insert a folder and Add Files to add single/multiple files in the tool.

Further, browse and select the PDF file/folder you want to lock. Click Open.

Ensure you have selected all required PDFs. Click Next.
Checkbox Enable PDF Security option and select the required options. Specify the encryption level and owner and user passwords.
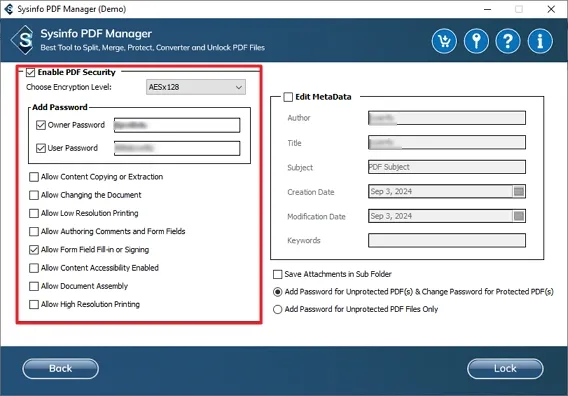
This feature allows you to manually enter the basic details for your PDF like author, title, subject, and more.
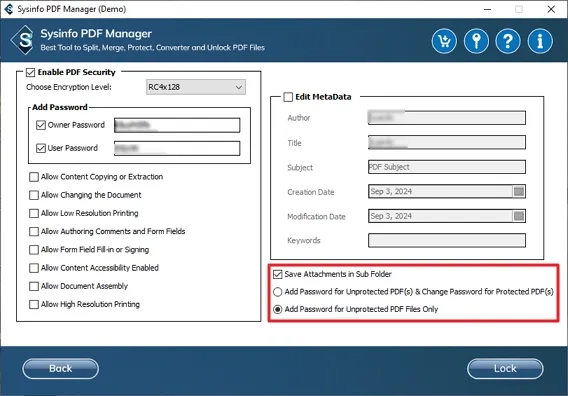
Select these options as required:
Note: You can only choose one option for Password protection.
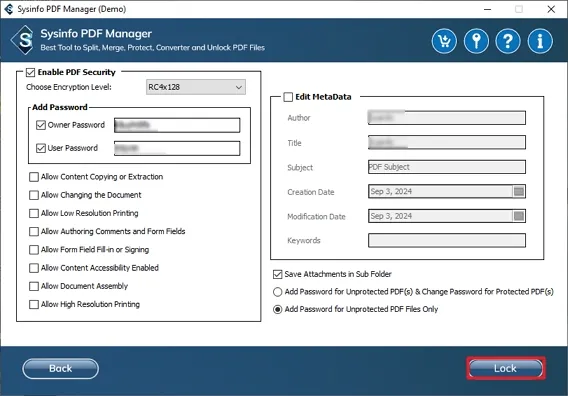
Lastly, click Lock to encrypt and protect your PDF files and data.
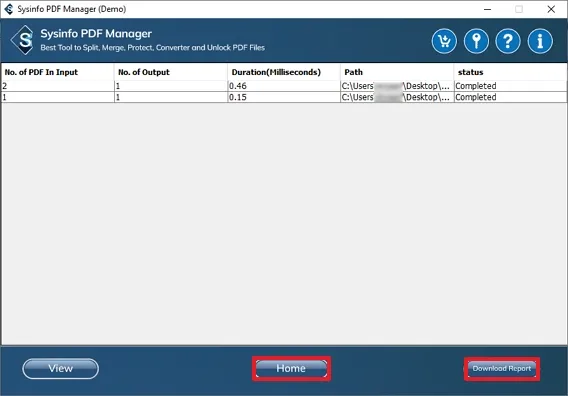
Click the Download Report button to get the detailed report of locked PDF. Furthermore, you can click the Home button to restart the process.
Download and finish installing the PDF Manager Tool on your system. Run it as an administrator.

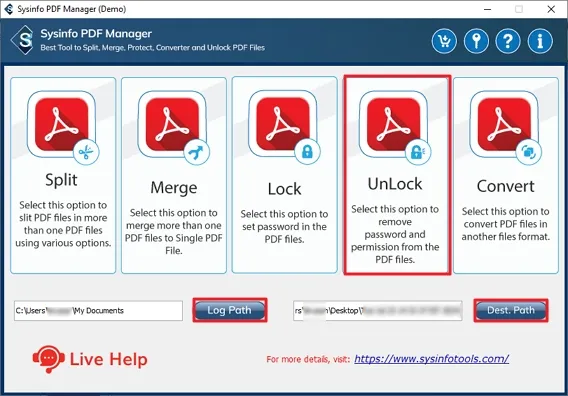
Then, enter the Log. Path for source PDF and Dest. Path for resultant PDFs. Hit the UnLock section.
Select Add Folder to add a folder and Add Files to insert single/multiple files in the opened window.

Further, select the password-protected PDF you want to unlock and click Open. The tool prompts for a password. Enter the correct password to proceed.

Ensure you have selected the right PDF. In case you have inserted the wrong one, click the Remove button and insert it again. Click Next.

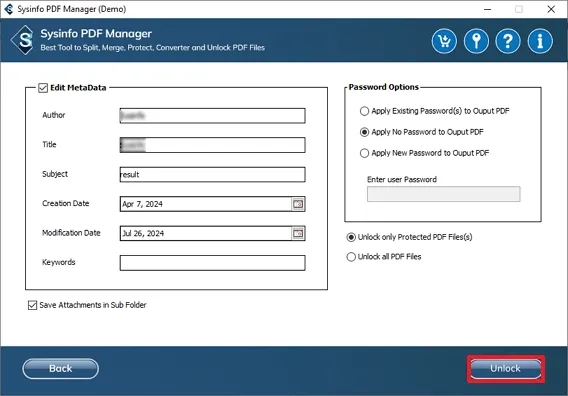
Choose the Edit Metadata feature to edit the details of your PDF like author, title, subject, and other. Additionally, select Save Attachments in Sub Folder to save attachments elsewhere on your system.
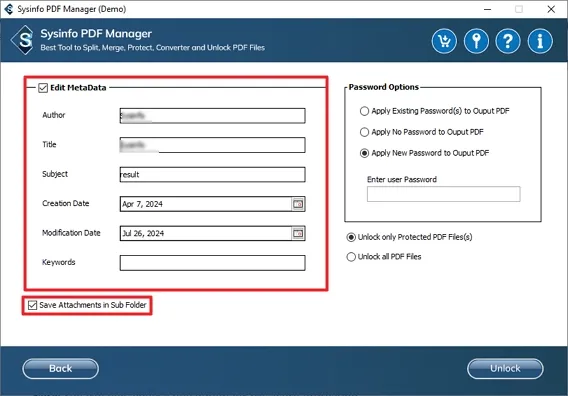
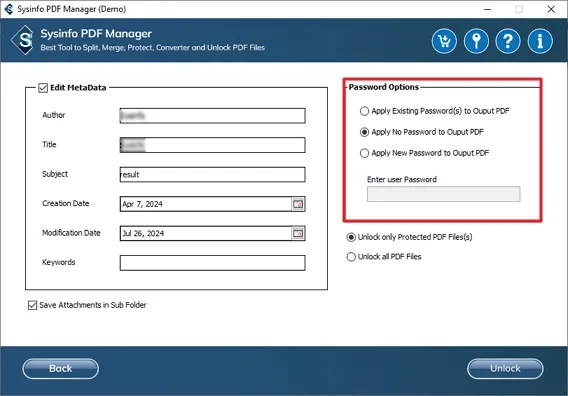
This tool provides different options for your password settings, such as:
Note: You can only choose one from the given list of options for Password.
Choose either of the two options: Unlock only Protected PDF File(s) or Unlock all PDF files as required.
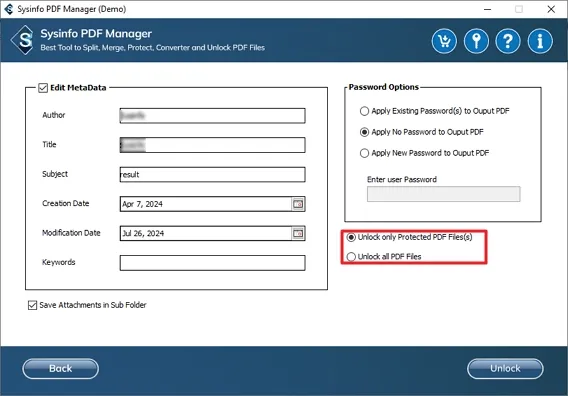
Lastly, hit UnLock to remove the password and get access to your locked PDF files.
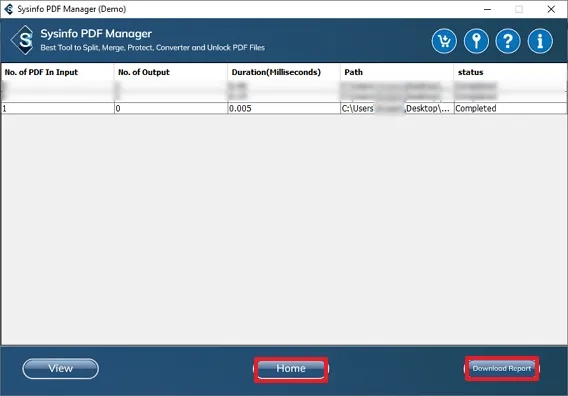
Click the Download Report button to see the unlock report of your PDF. Also, click Home to restart the process from the beginning or select another feature to manage PDF.
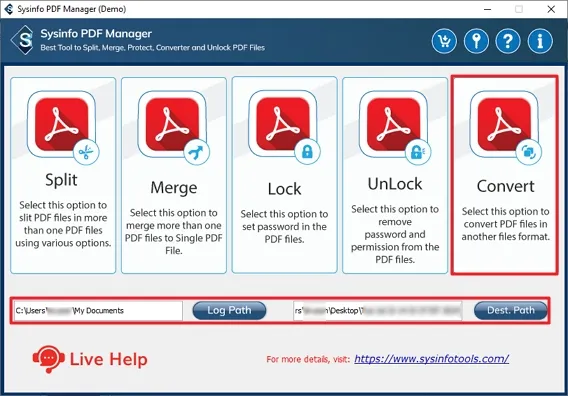
Install the PDF Manager Tool on your system. Run it as an administrator.

Provide the Log. Path for source PDF and Dest. Path for resultant PDF. Hit Convert.
Select Add Folder to add a folder with PDF files. Or select Add Files to insert single/multiple files in the software window.

Further, select the PDF that you want to convert to a different format and click Open.

Once the PDFs are inserted in the tool, recheck them and click the Next button to continue.

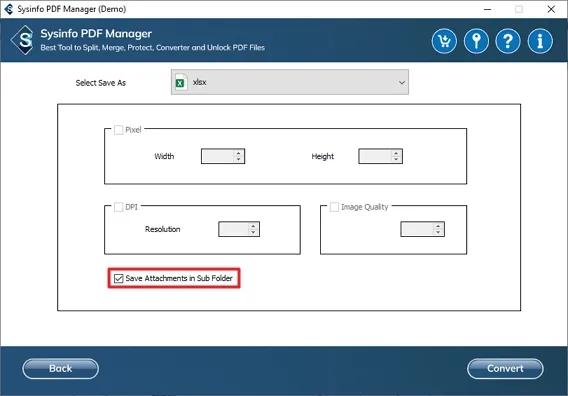
Afterward, choose the desired file format for your PDF from the given drop-down list, such as docx, pptx, html, etc.
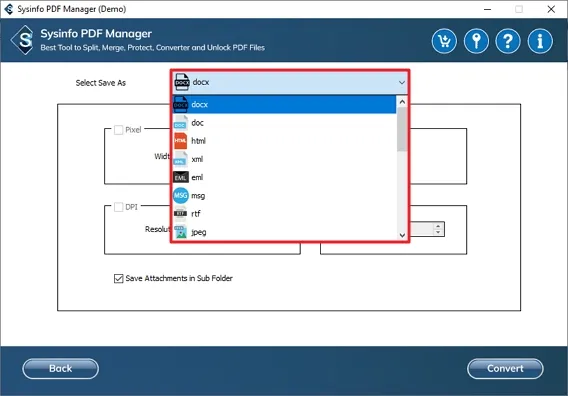
Further, select the Save Attachments in Sub Folder option to save attachments in a different folder.
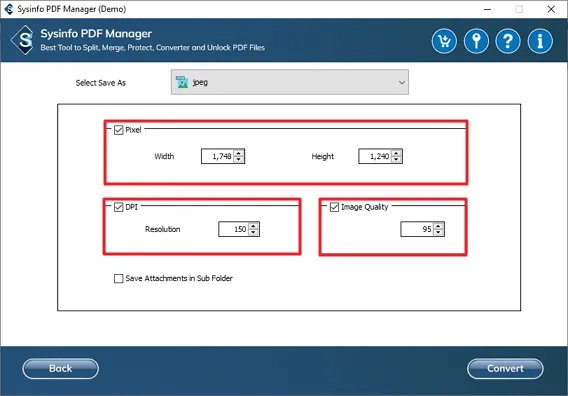
If you selected an image format to convert your PDF file into like jpeg, png, bmp, etc. Then, you get the additional filter options. Choose as per your preference:
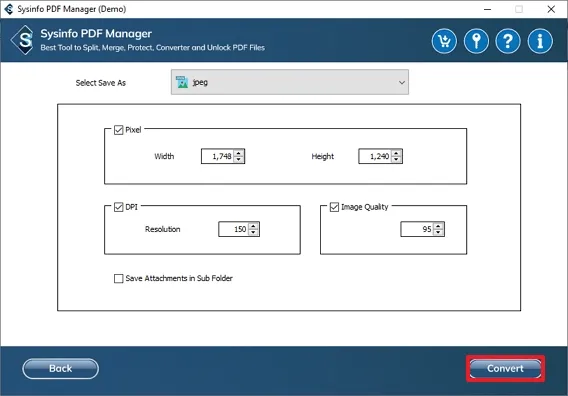
Finally, hit the Convert button to change your PDF to the desired format.
At last, click the Download Report button to check the detailed report for conversion. Hit the Home button to start the process again or choose another feature for PDF management.