Launch the OLM Converter Tool as an administrator. Click the Continue button.

Click the buttons Select Files and Select Folders to add the OLM Files from the system.

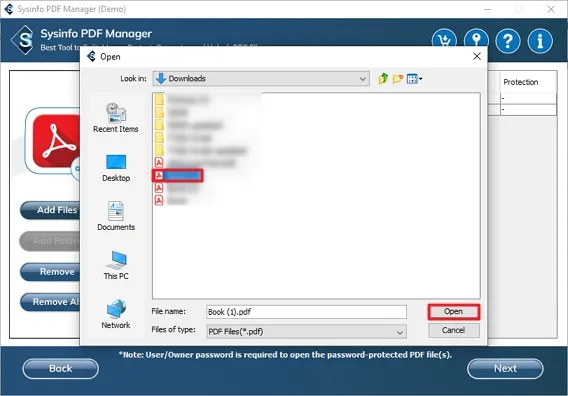
Browse the OLM Files in your system and click Open to add the files to the software wizard.

Preview the files you have added using the advanced preview panel in the software wizard. Click Next to continue

The software wizard will show a pop-up message indicating "Your File has been Successfully Imported. Please Expand the Tree Hierarchy." Click the OK button to continue.

Expand the tree-structure format and select the files and the folders. Additionally, select the file to preview in the advanced preview panel using the Preview button. Then, click on the Next button to proceed further.

Now, to migrate the OLM Files to Office 365, select Office 365 from the drop-down menu.

Enter your Office 365 Credentials in the software wizard and click on the Sign In button to authenticate your account.

Upon successful authentication, you will receive this message in your default web browser.

After successful authentication, you can opt for the optional features and filters. Some amazing features of this software are:

Some other Features and filters of the OLM Converter Tool are:

Moreover, you can choose the mailbox in Office 365 to which you intend to migrate the OLM files. The available choices for mailboxes include Mailbox, Public, and Online Archive.

Finally, click the Convert button to migrate OLM Files to Office 365.

Once the migration is successful, click the OK button to close the window. Additionally, press the Download Report button to obtain a comprehensive report of the migration.

If you want to migrate OLM Emails to your Gmail Account select Gmail from the drop-down menu.

Enter your Gmail credentials and select Login with Modern Authentication. Then click on the Sign In button to authenticate your account.

Now, select your Gmail account in your default browser.

Provide all necessary permissions to the application to ensure smooth operation of the software. Click Continue.

Upon successful authentication, you will receive this message in your default web browser.

Upon successful authentication, you have the choice to explore optional features and filters. Some remarkable features of this software include:

Some other features and filters of the OLM Converter Tool are:
Finally, click Convert to migrate OLM Files to your Gmail Account.

Once the migration is successful, click the OK button to close the window. Additionally, press the Download Report button to obtain a comprehensive report of the migration.

If you want to Convert OLM Emails to PST file format, select PST from the drop-down menu.

You have the choice to explore optional features and filters. These include:

Some other features and filters of the OLM Converter Tool are:

Finally, click the Convert button to convert OLM Files to PST.

Once the migration is successful, click the OK button to close the window. Additionally, press the Download Report button to obtain a comprehensive report of the migration.

If you want to convert OLM Emails to PDF file format select PDF from the drop-down menu.

You have the choice to explore optional features and filters. These are:

Some other features and filters of the OLM Converter Tool are as follows:
Note: You can select only one feature option for Attachments

Finally, click the Convert button to initiate the conversion process for OLM files.

Once the migration is complete, click OK to close the window. Additionally, press the Download Report button to obtain a comprehensive report of the migration.
